Step 1: Add Your First Email Contact #
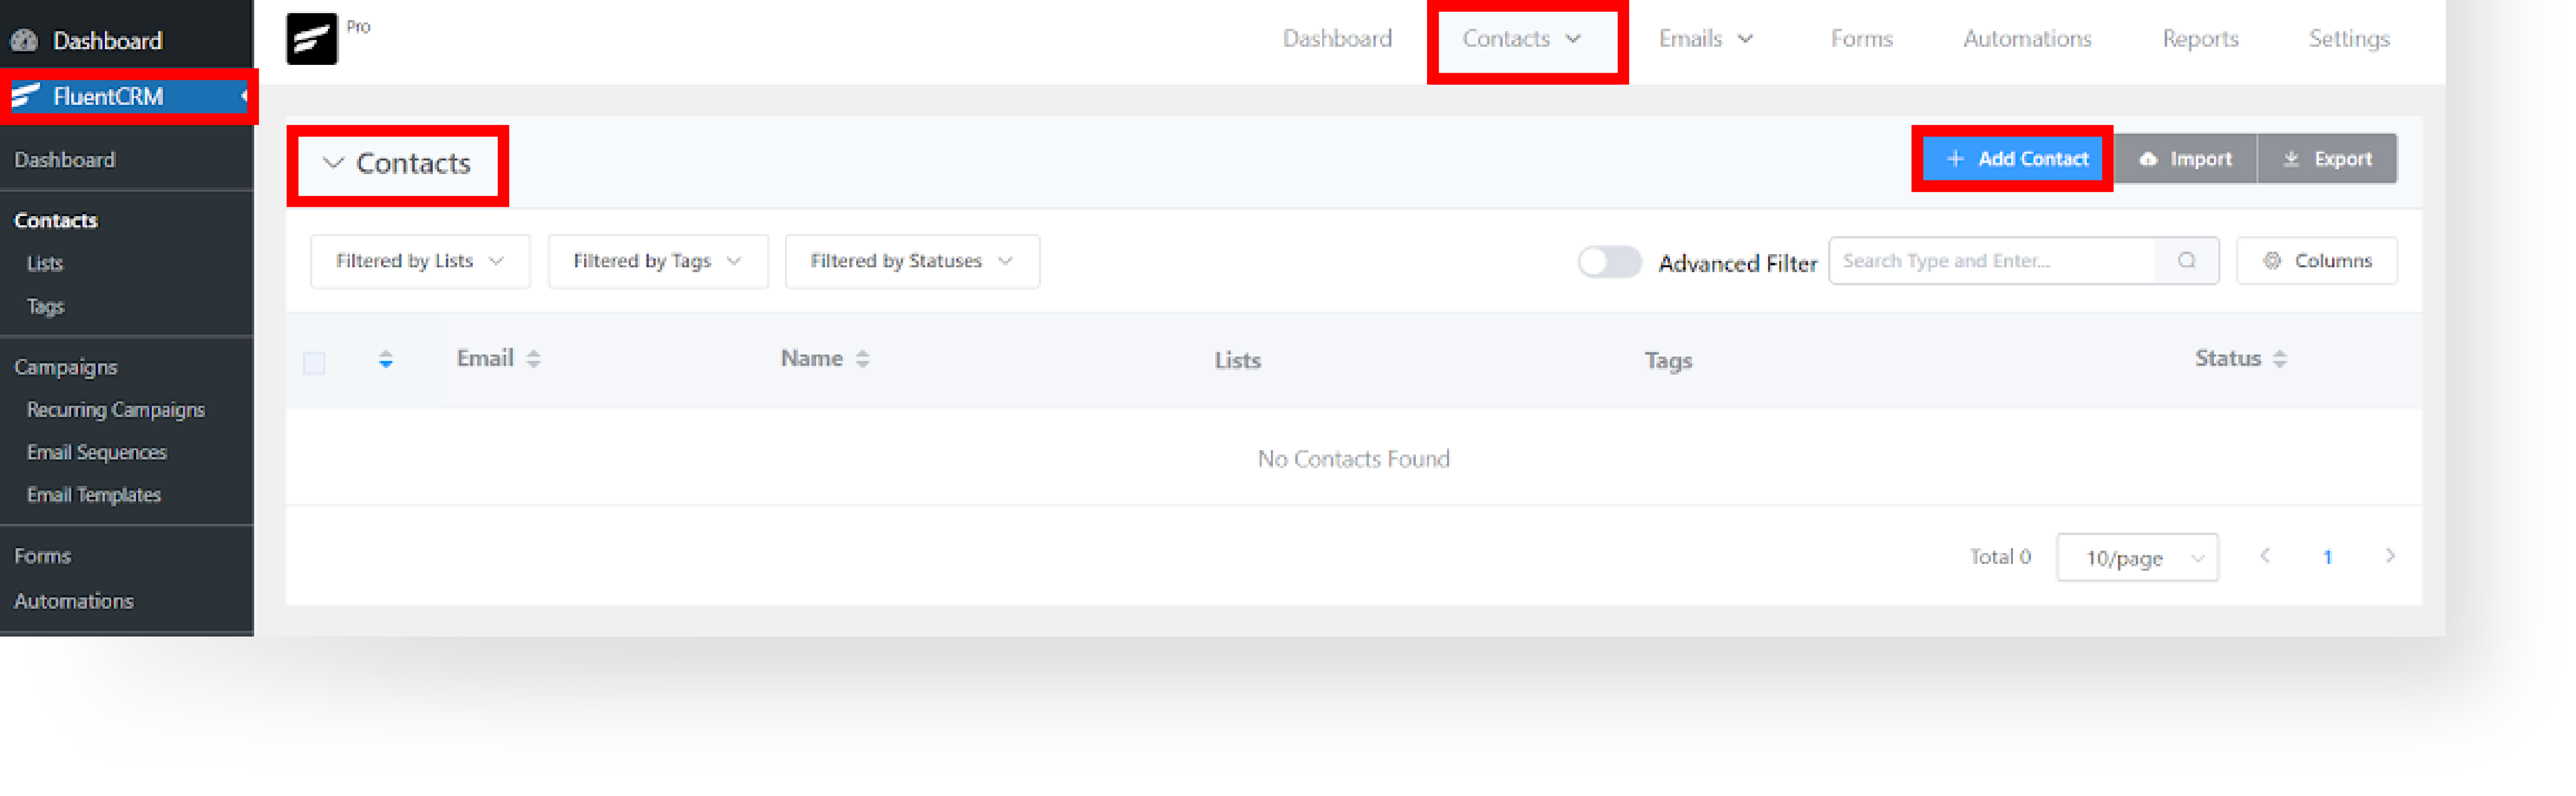
A. In your WordPress dashboard, navigate to FluentCRM → Contacts.
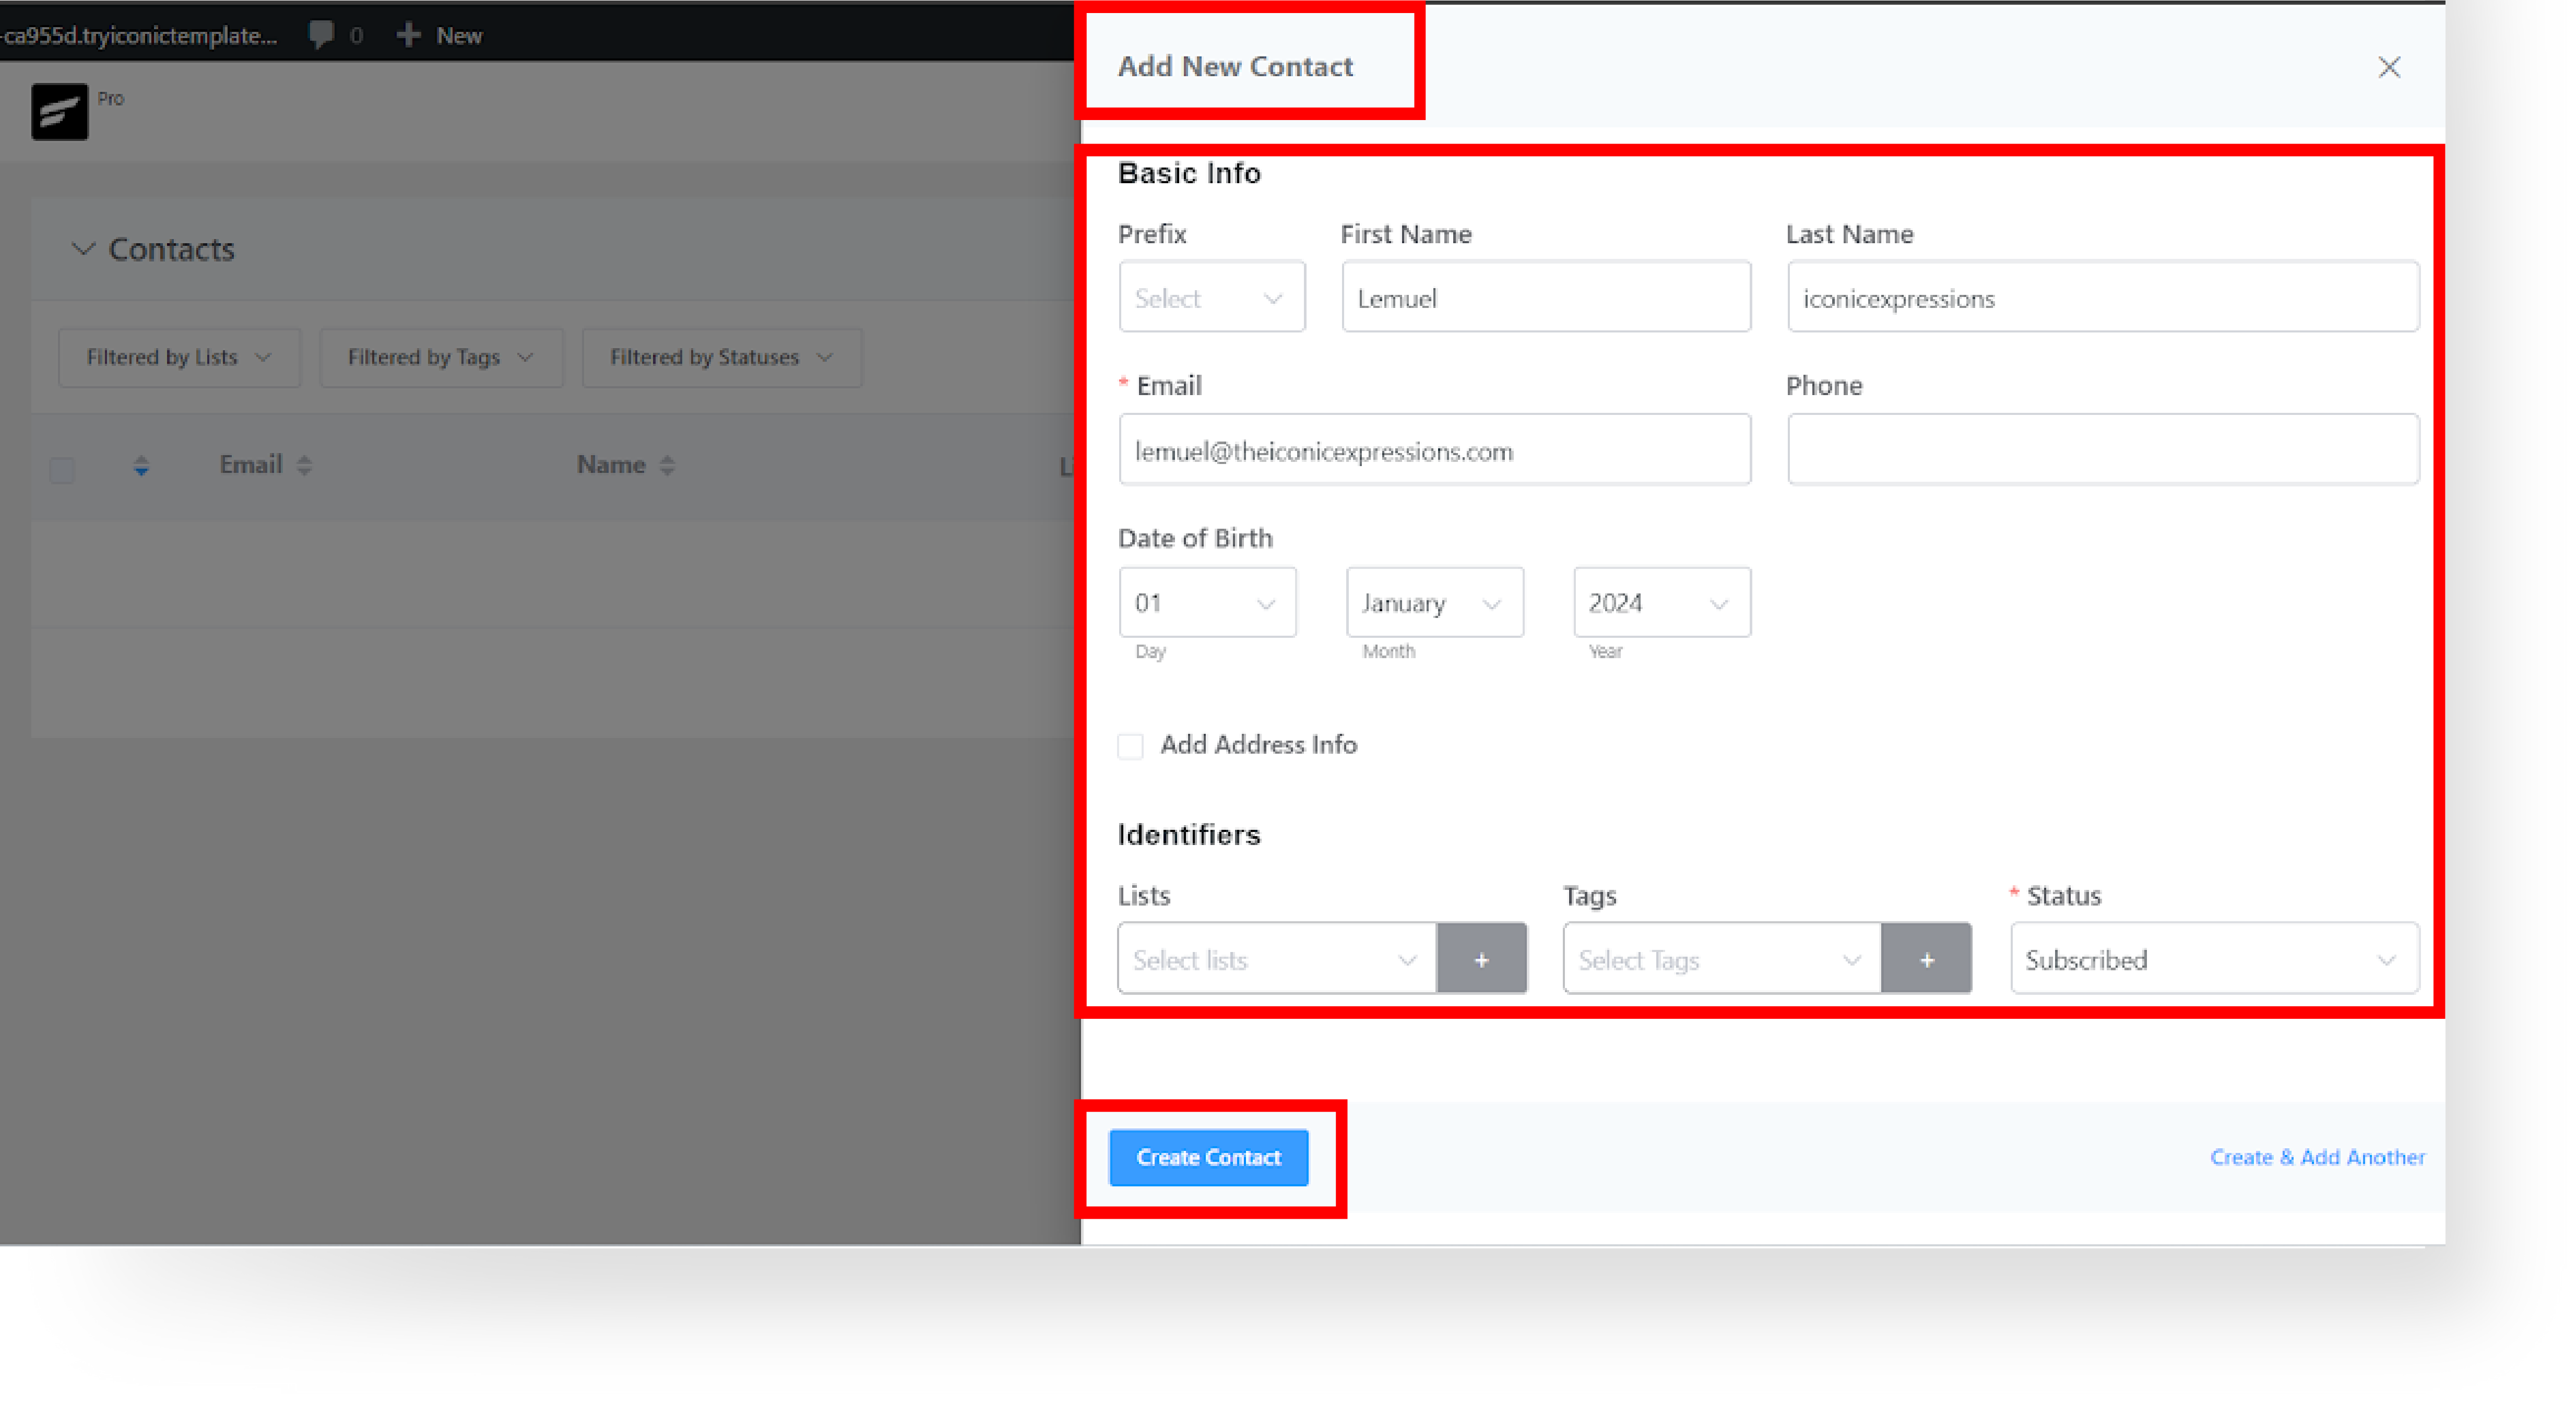
B. To add a new contact, click + Add Contact button.
C. Insert the following information in the fields, then click Create Contact.
D. After adding a contact, you can use this to test the Uni-Emails.
Step 2: Selecting Your Email Template #
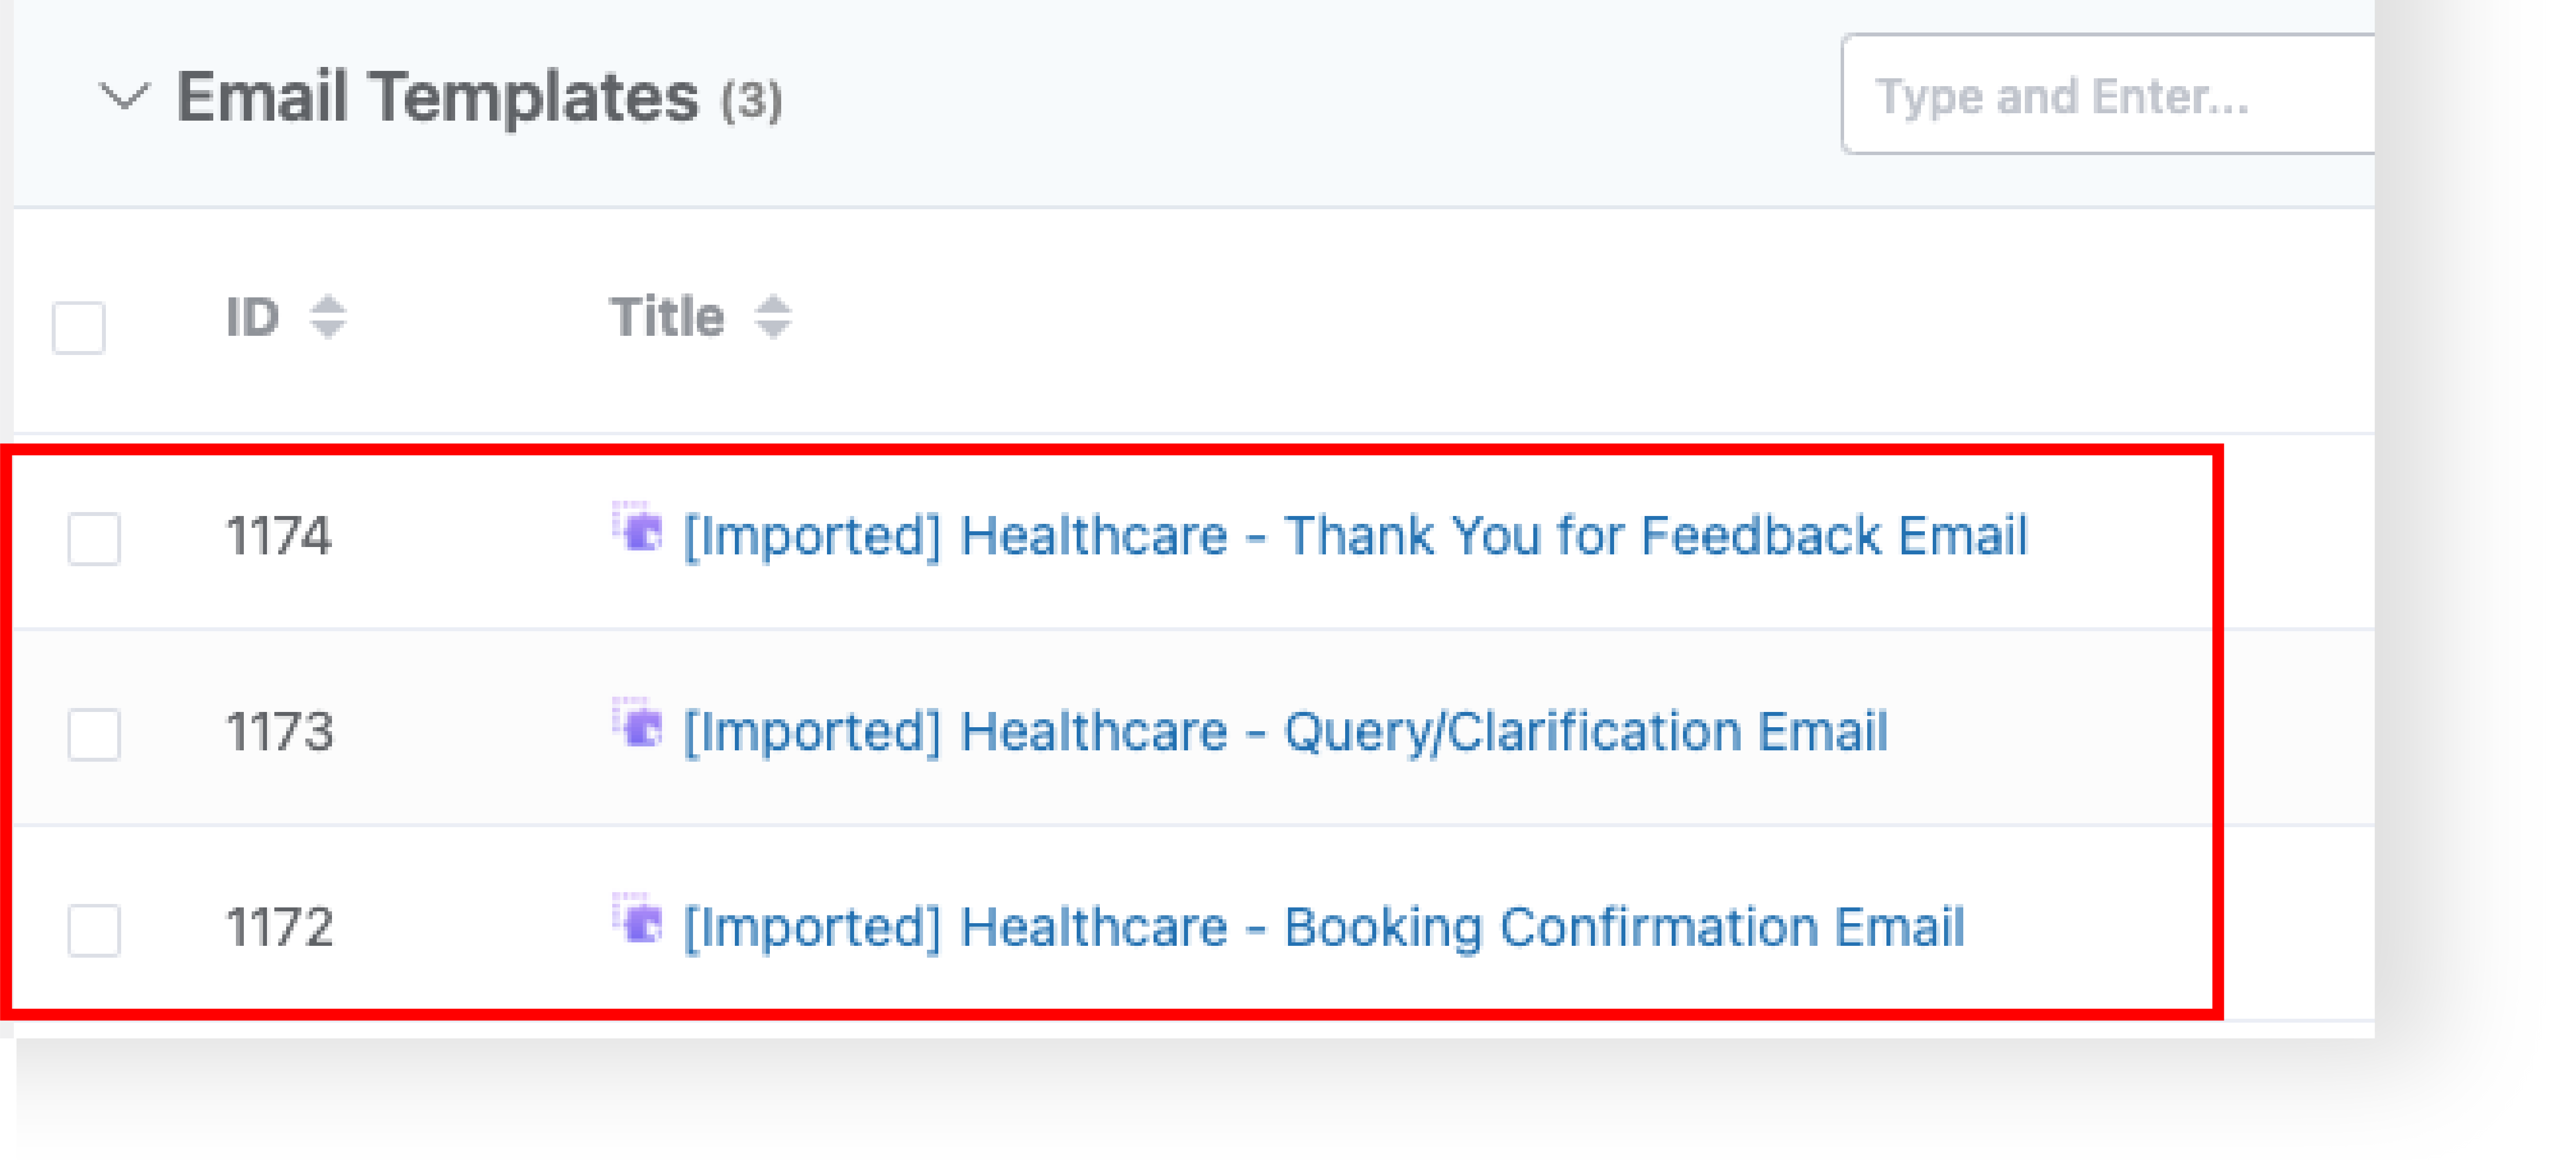
A. Navigate to FluentCRM → Email Templates.
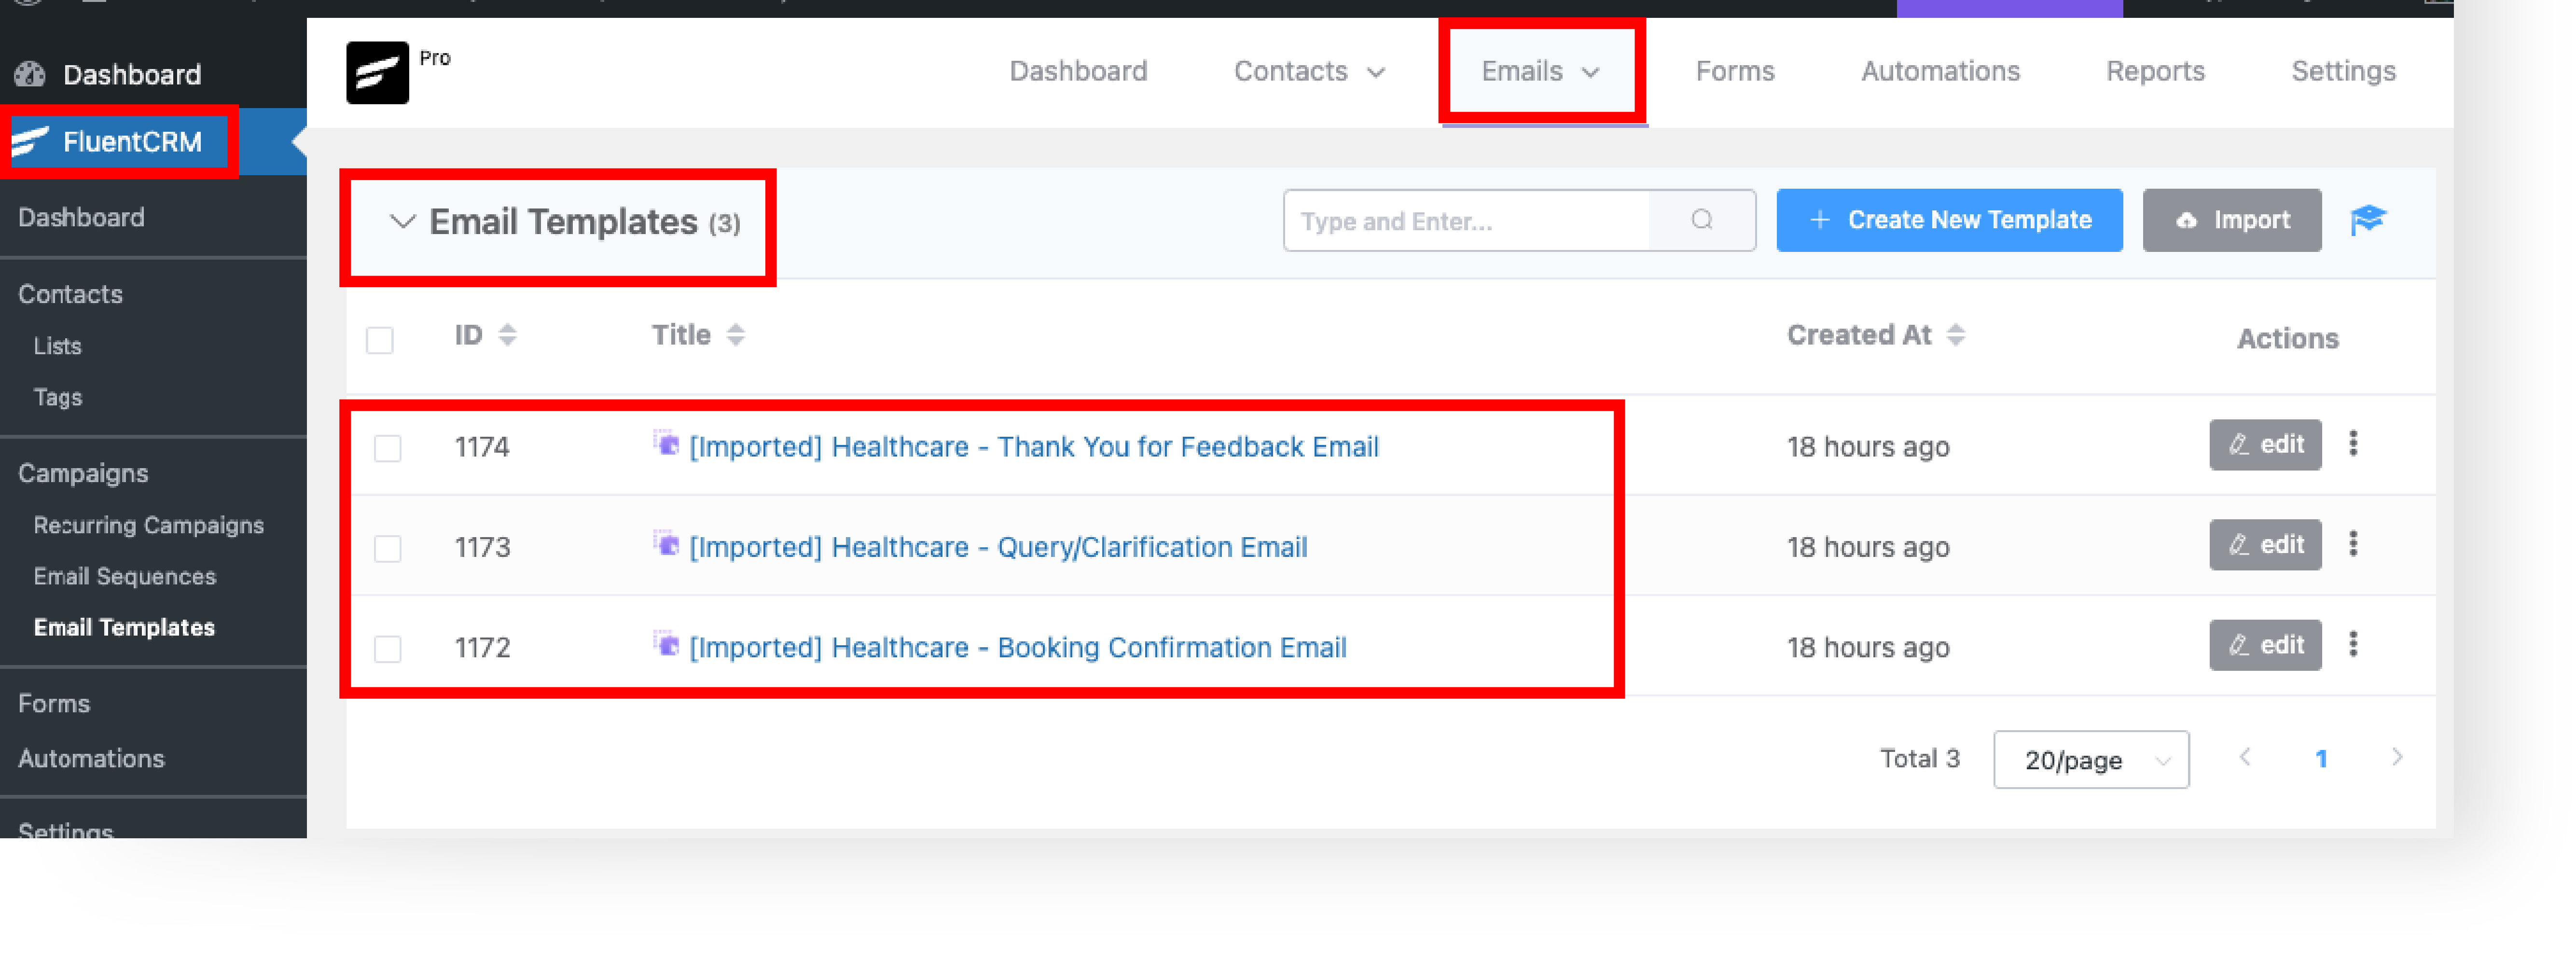
B. Select a template that aligns with your campaign goals, and click Edit.
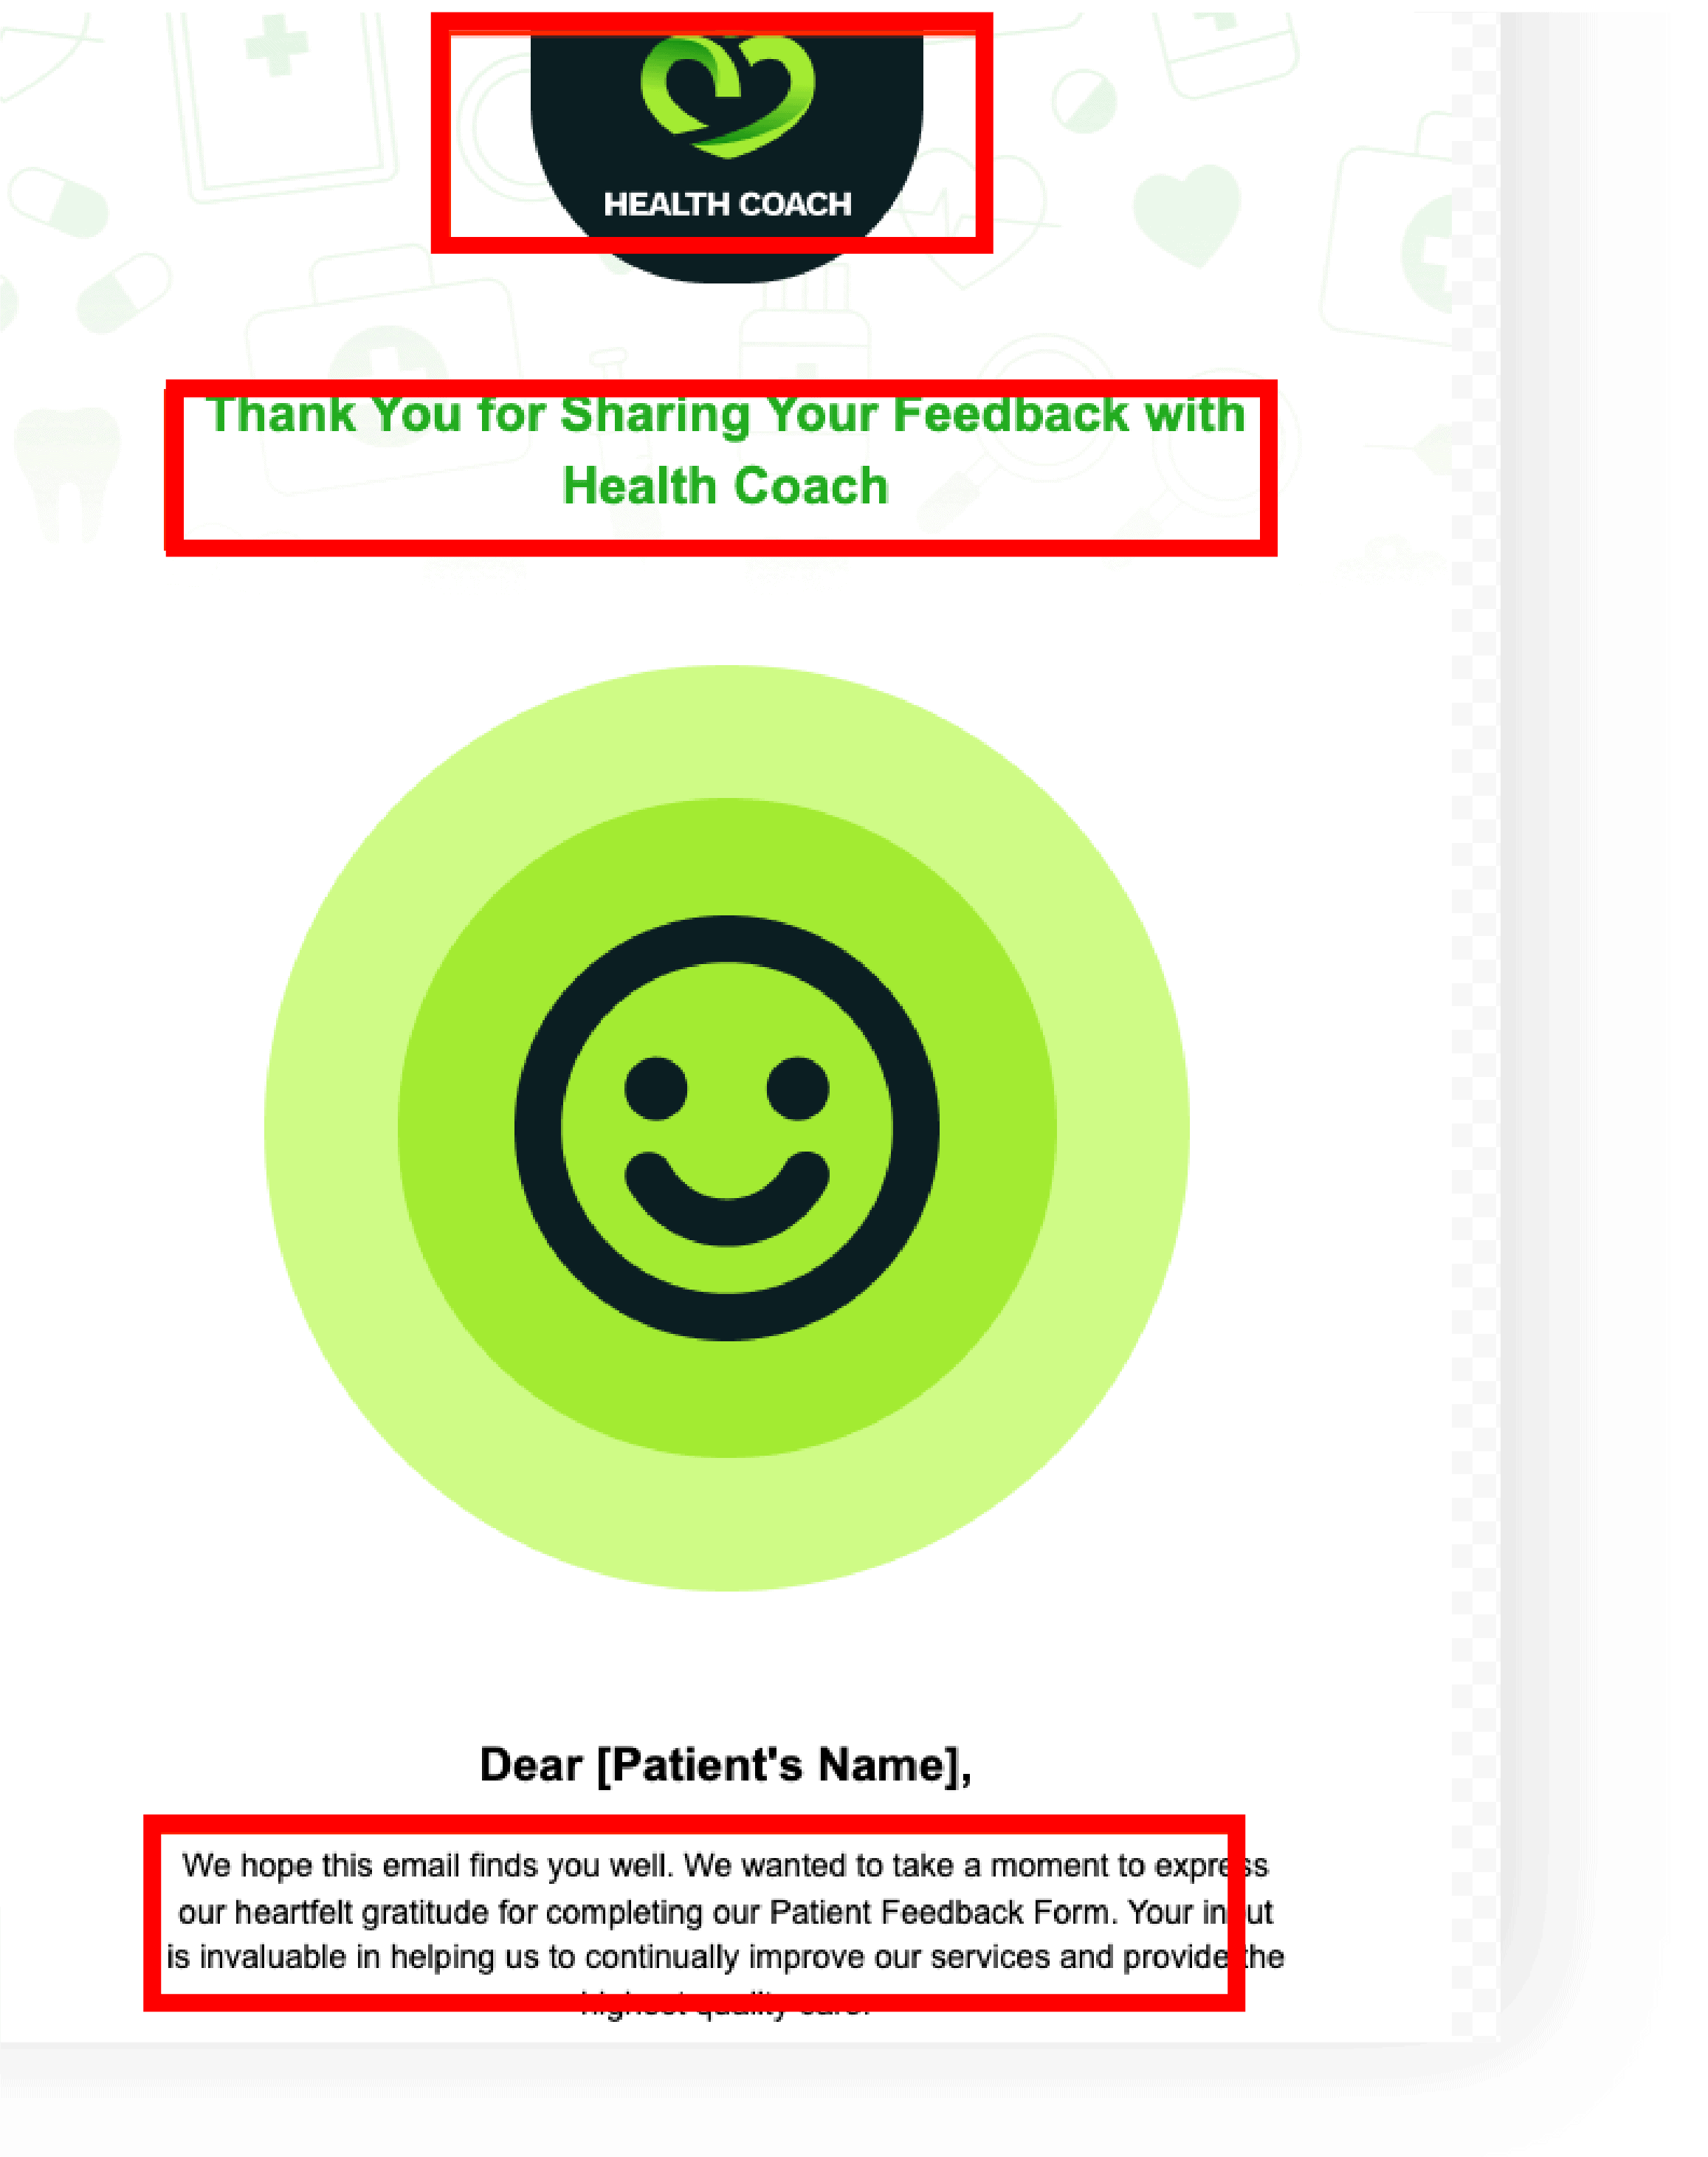
Step 3: Getting Familiar with the Email Layout #
A. Explore the structure and elements of the chosen template.
B. Identify areas for customization like text fields, buttons, or layout changes.
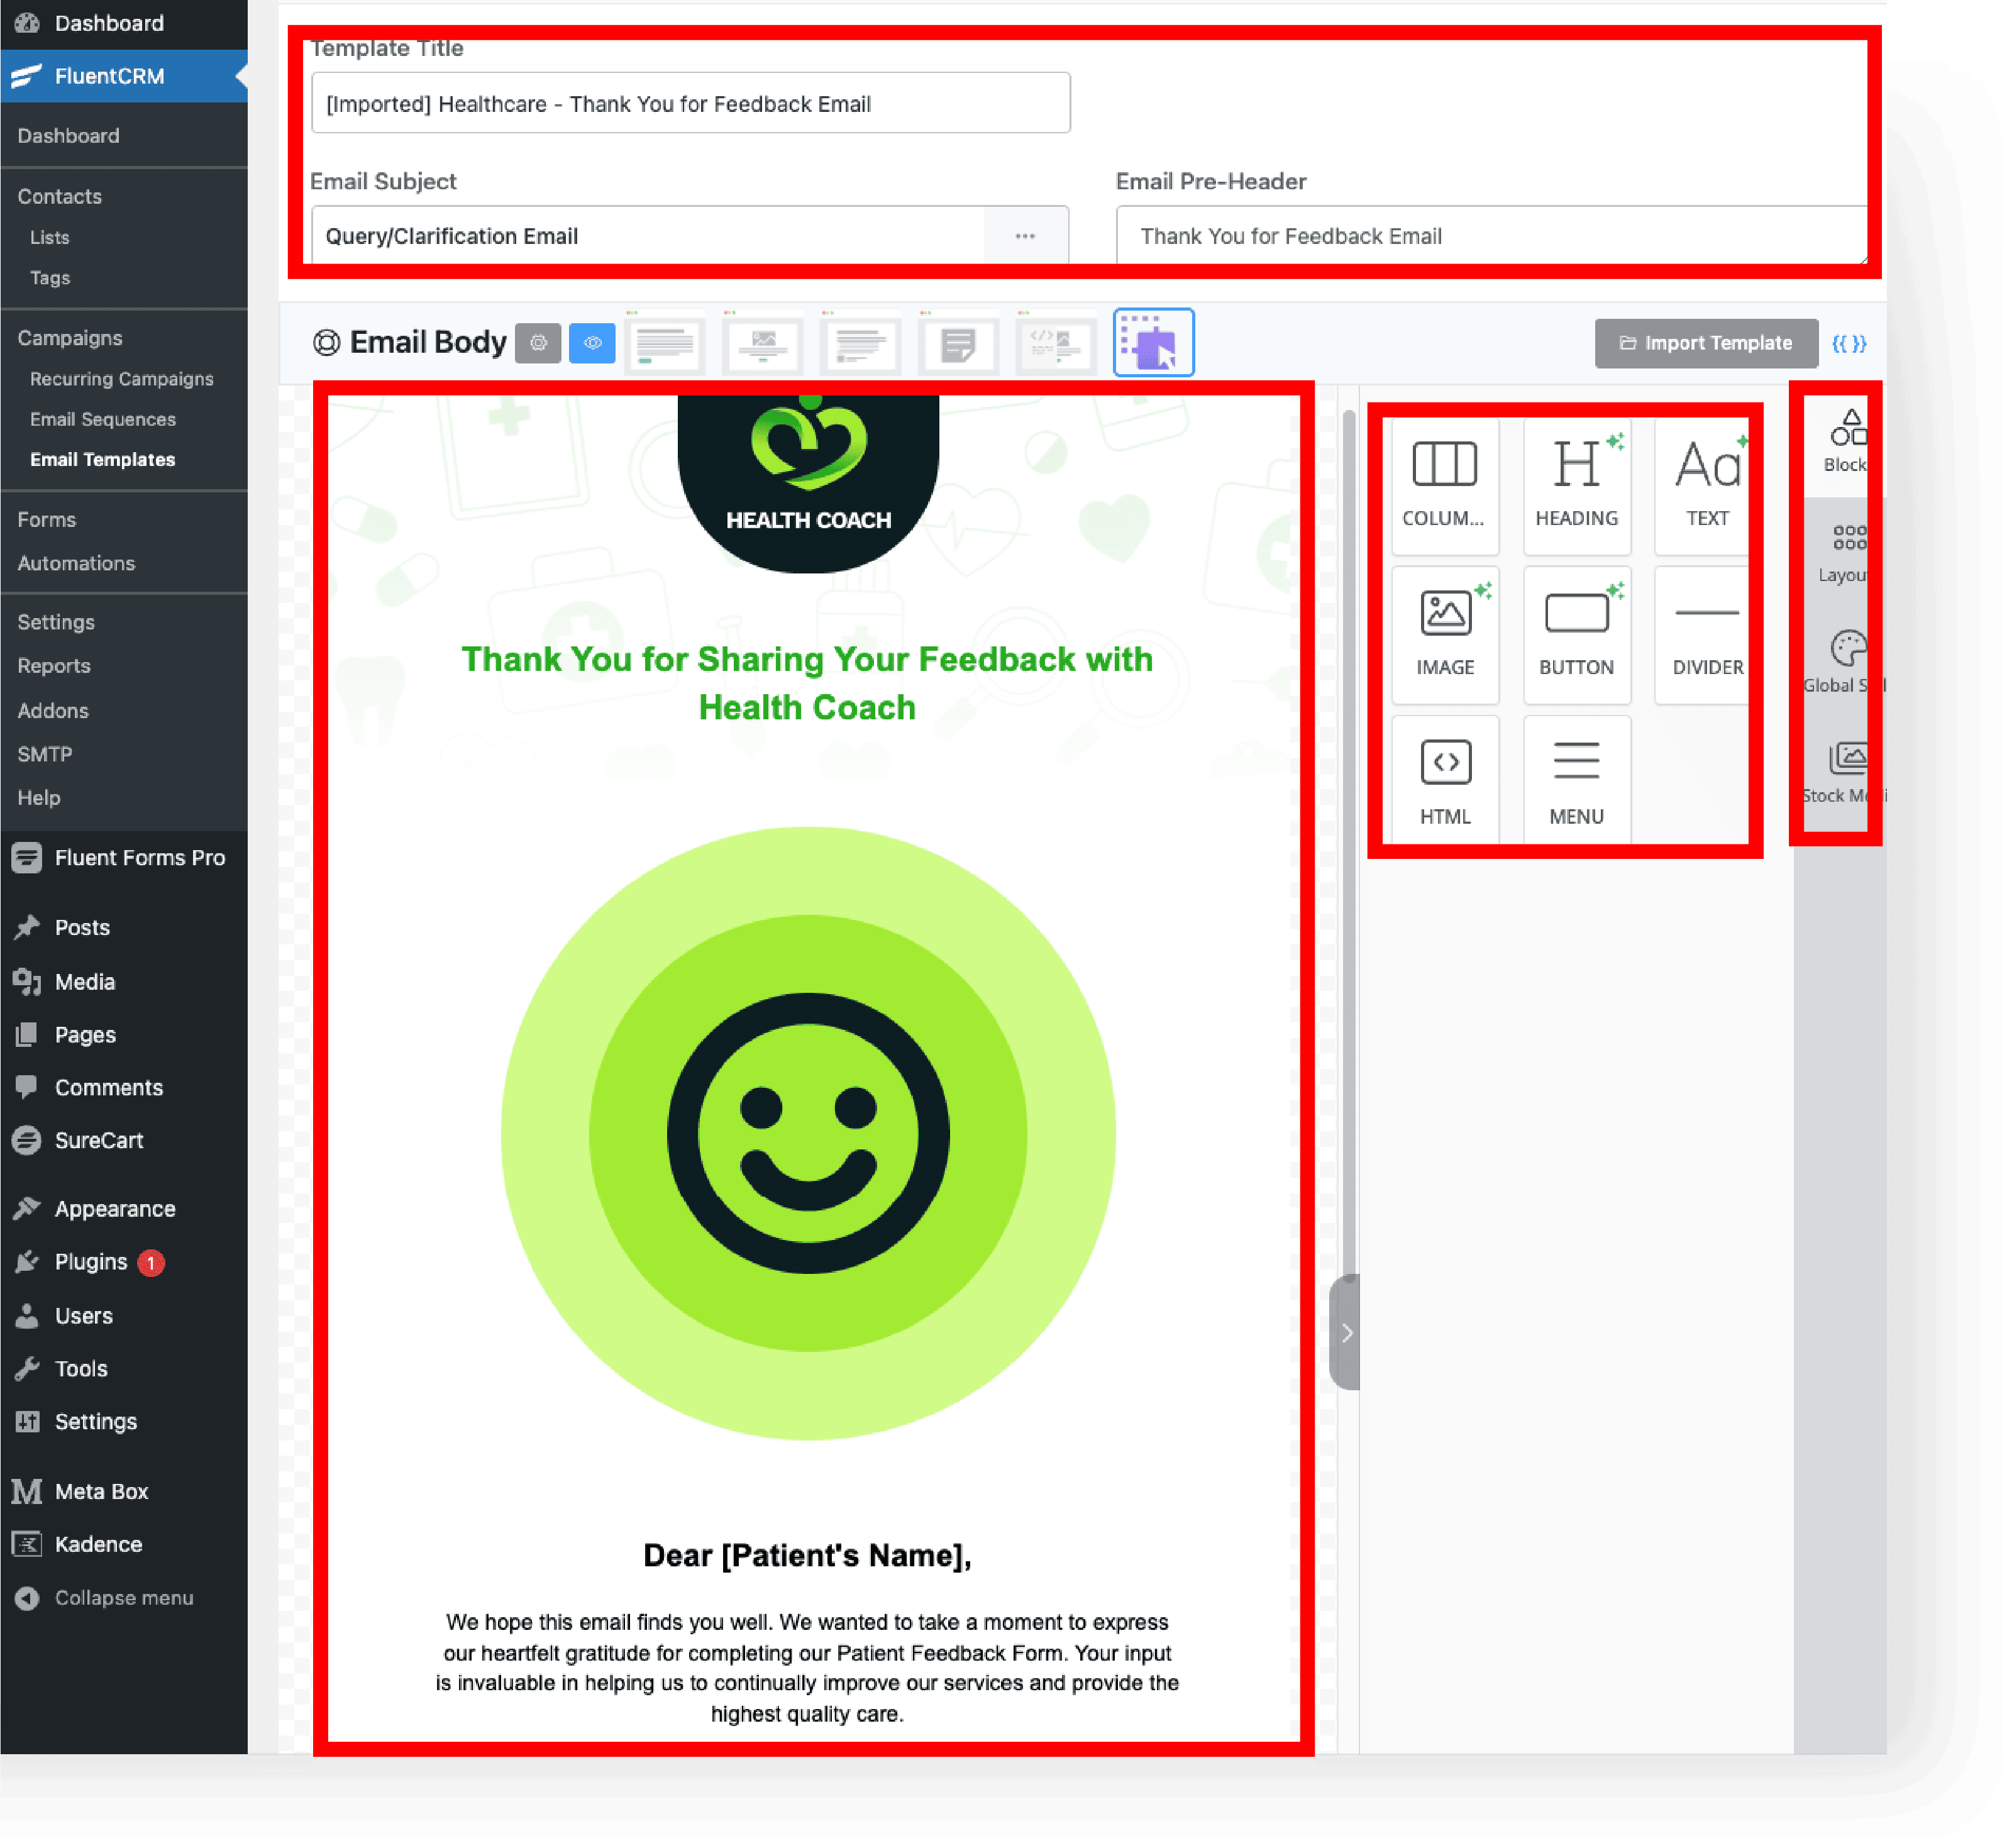
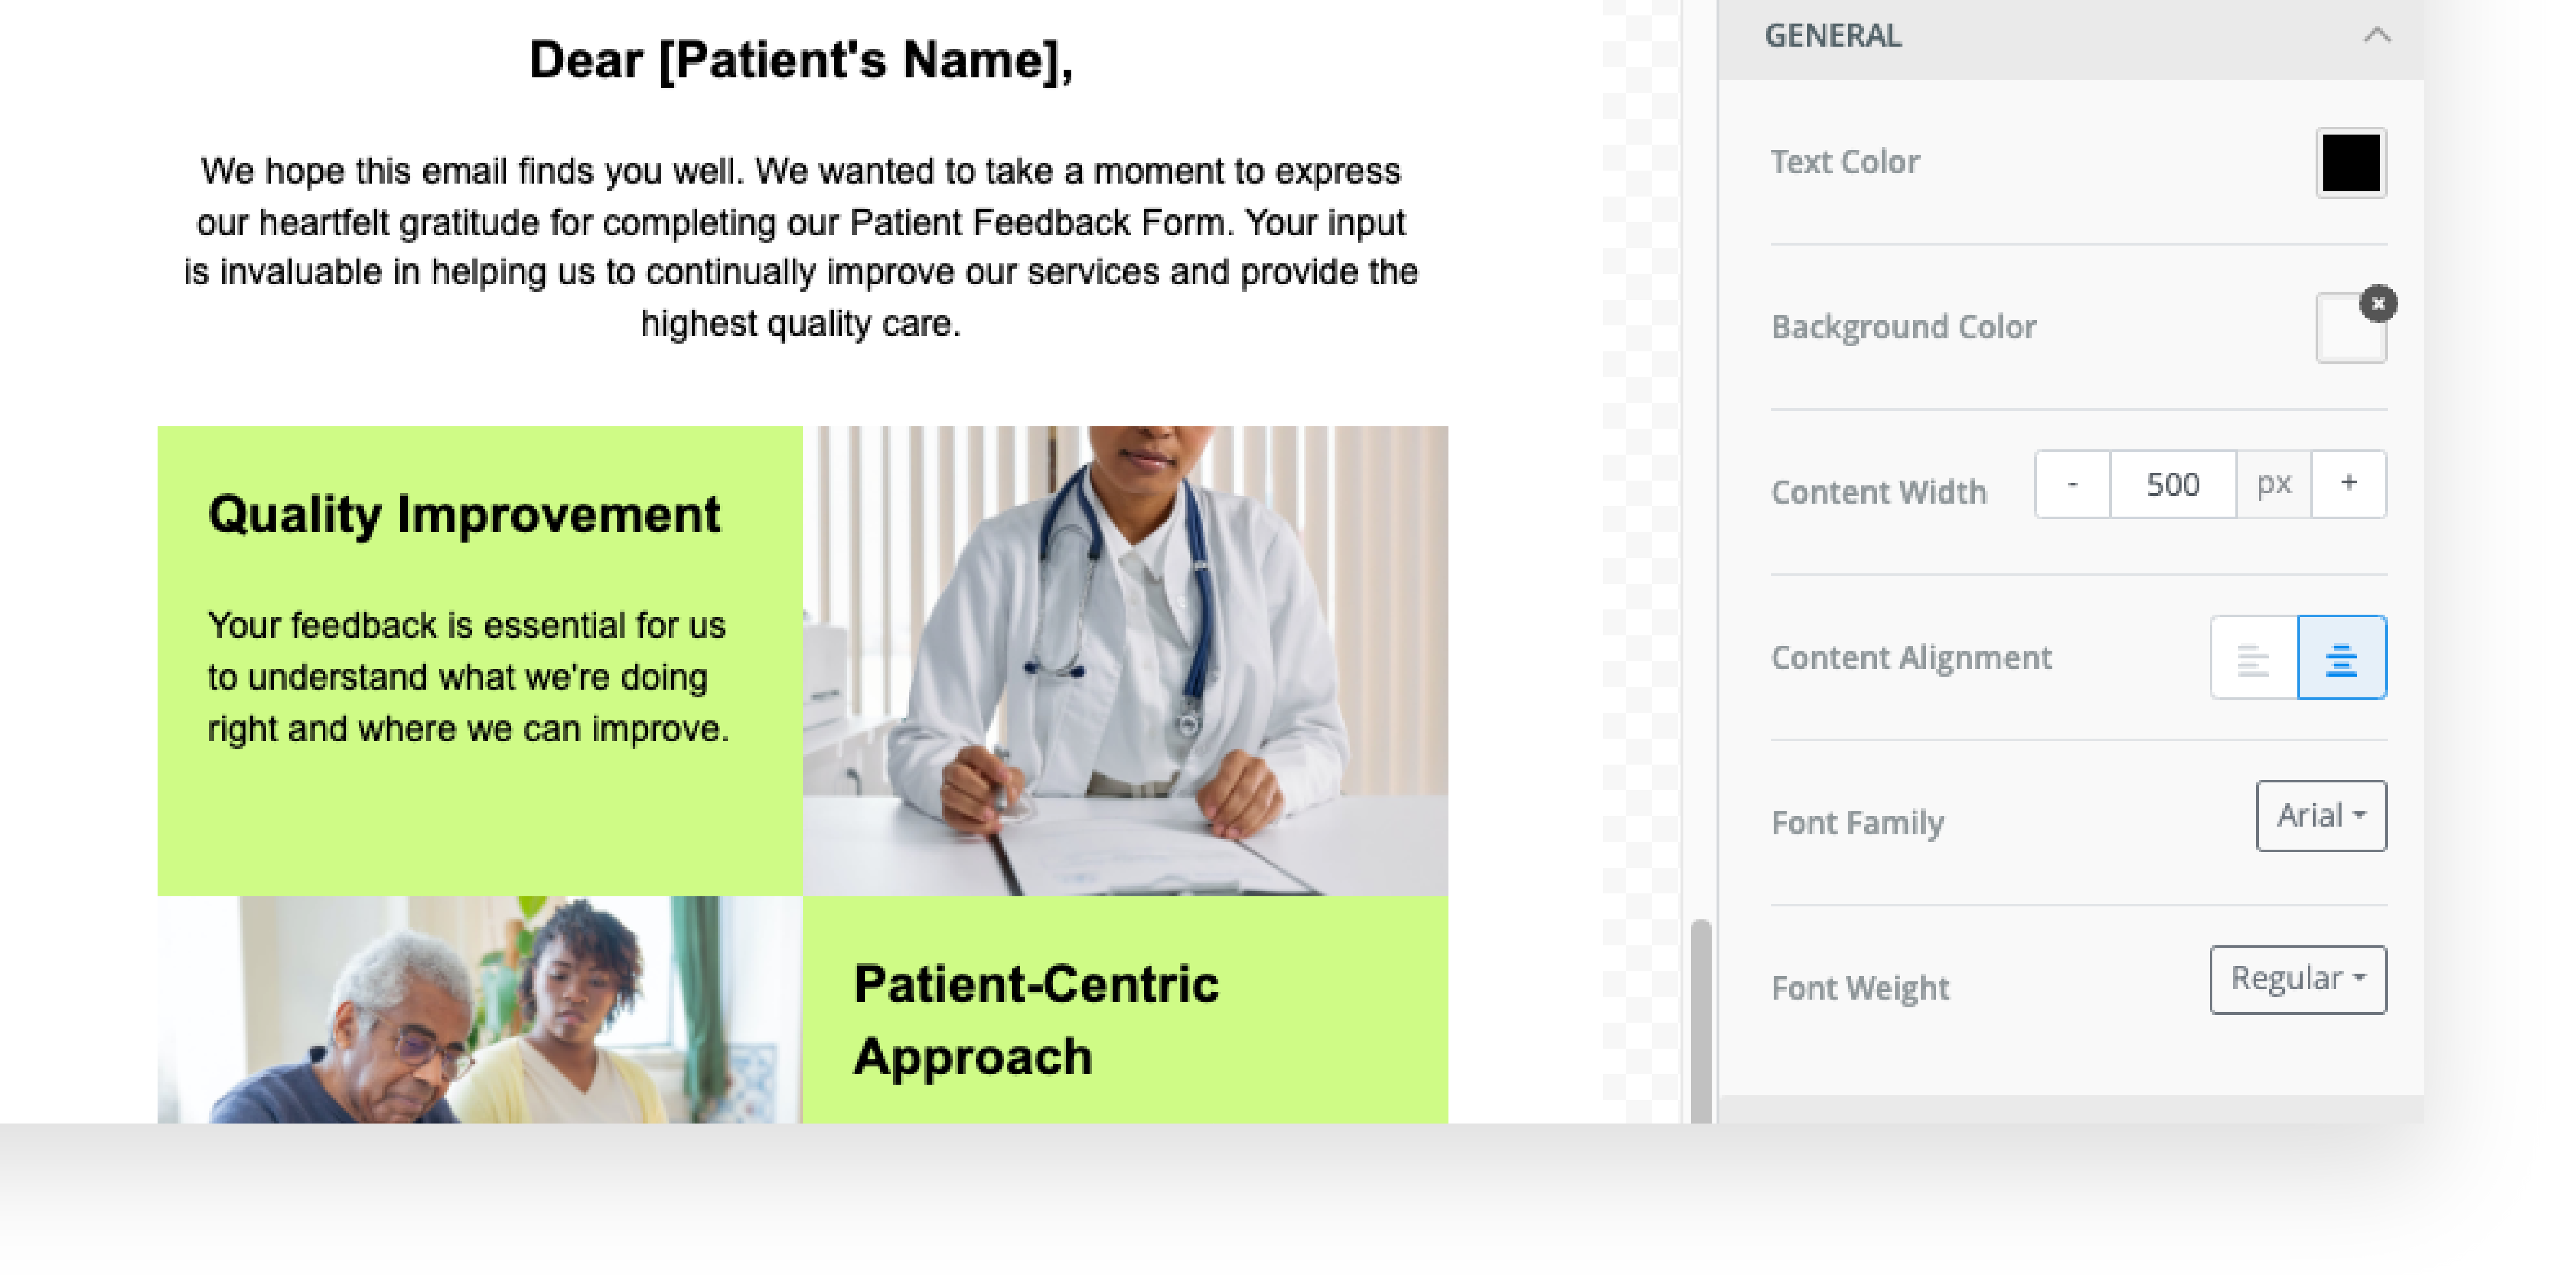
Step 4: Customizing the Email #
A. Replace default content with your own – from text to images.
B. Adjust visual elements like color and fonts to reflect your brand.
Step 5: Adding and Modifying Elements #
A. Click a row element and click the ‘+’ button above or below in the editor to add new row. Then drag and drop the selected field.

B. Rearrange elements within the email for a coherent flow and layout.
C. Tailor each element’s settings for a customized look and functionality.
Step 6: Previewing and Making Final Adjustments #
A. Regularly click the “Save Template” button on your email to update the changes and make your email live.
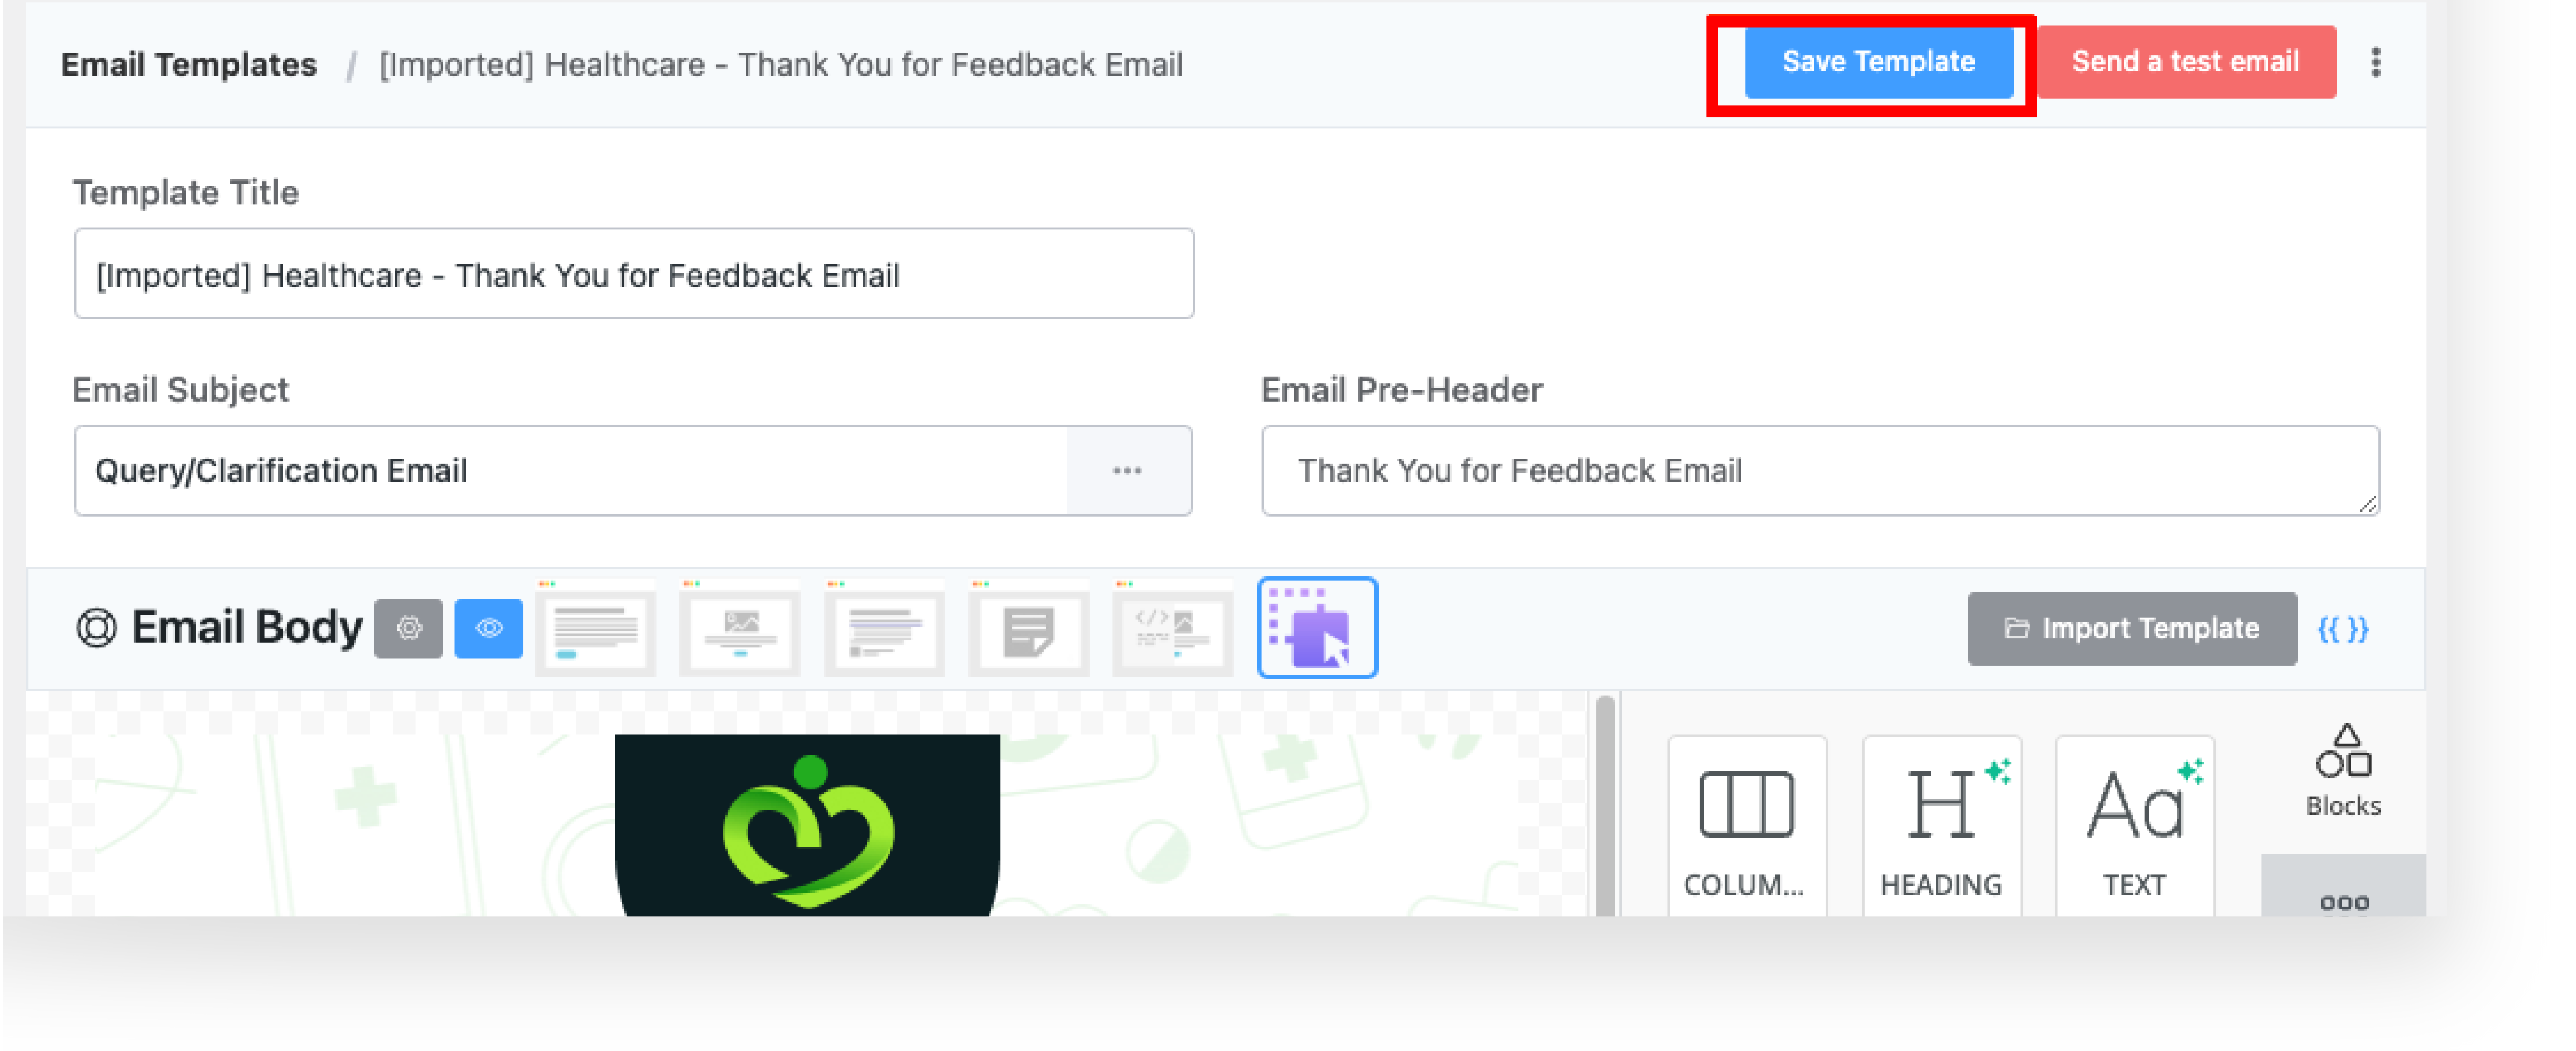
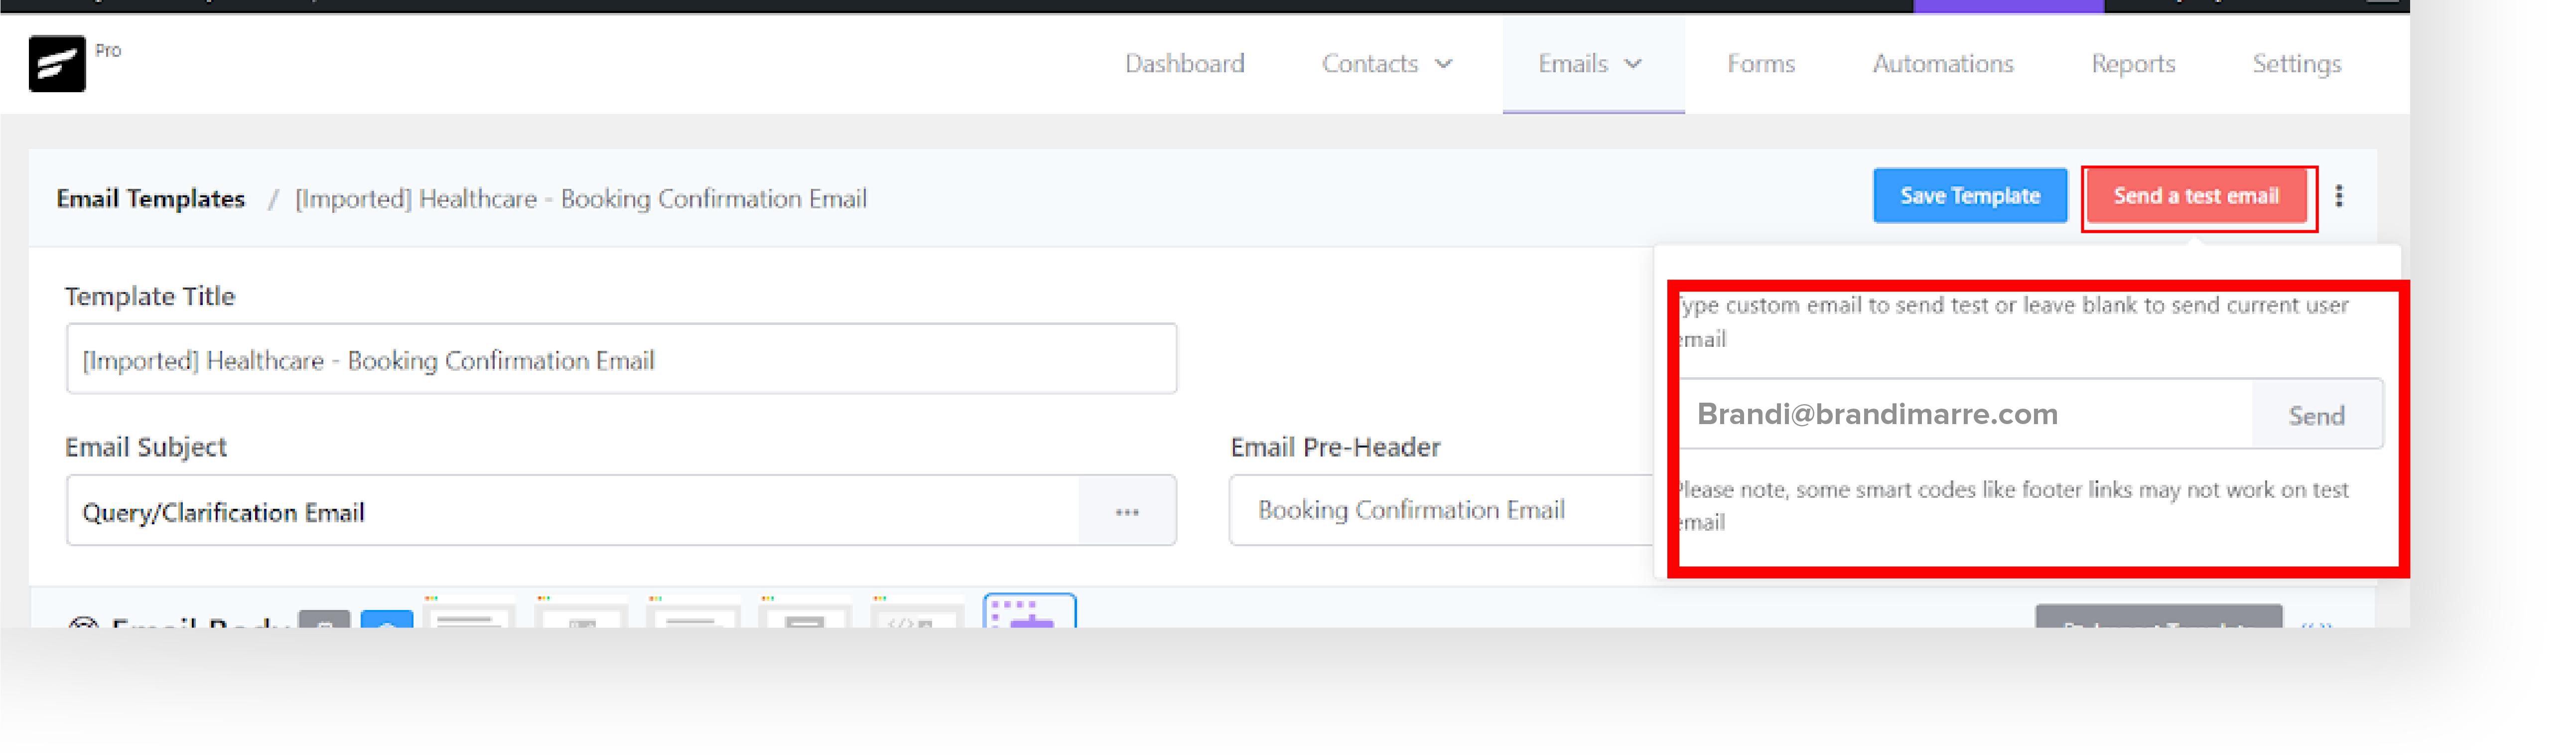
Step 7: Deploying Your Email Campaign #
A. Once satisfied with your customized email, click the Send a test email button and insert your email. after successfully submitting check your email.
B. Congratulations! You’ve finished the setup process and you’re good to go.
