Step 1: Install WordPress #
A. If you haven’t set up a WordPress website. You can do this through most web hosting providers.
Step 2: Get Your Template Theme Package #
A. Visit the Iconic Templates website (https://iconictemplates.com) and purchase the Universal Template Themes.

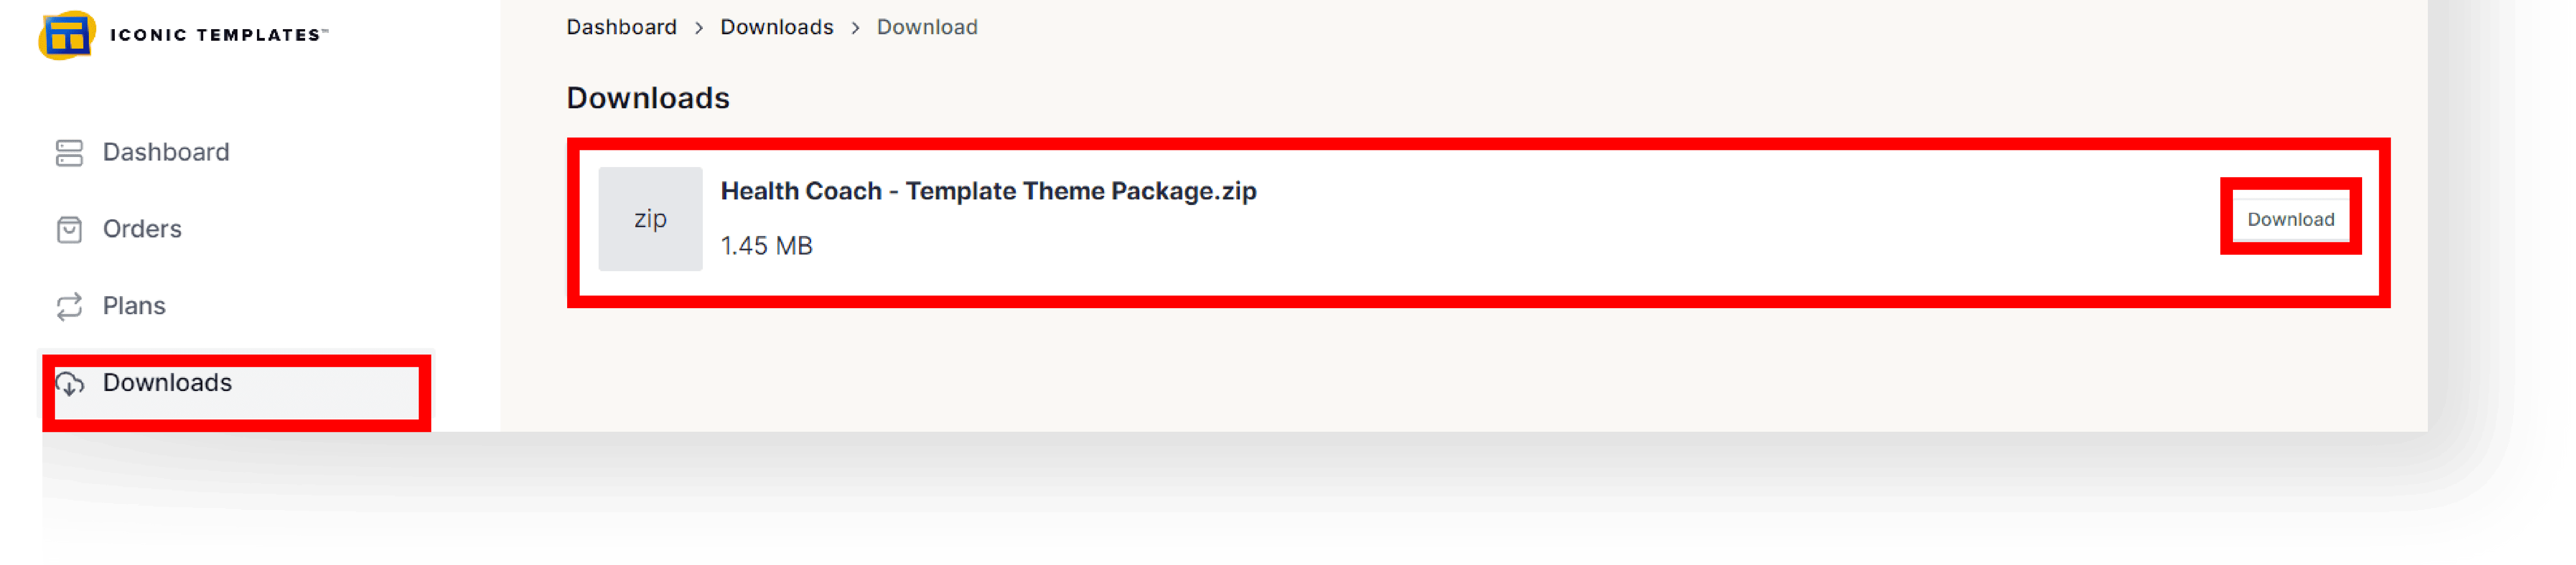
B. After you purchase, you’ll receive an access key via email and on your account, Dashboard → Downloads → Template Theme, to download the
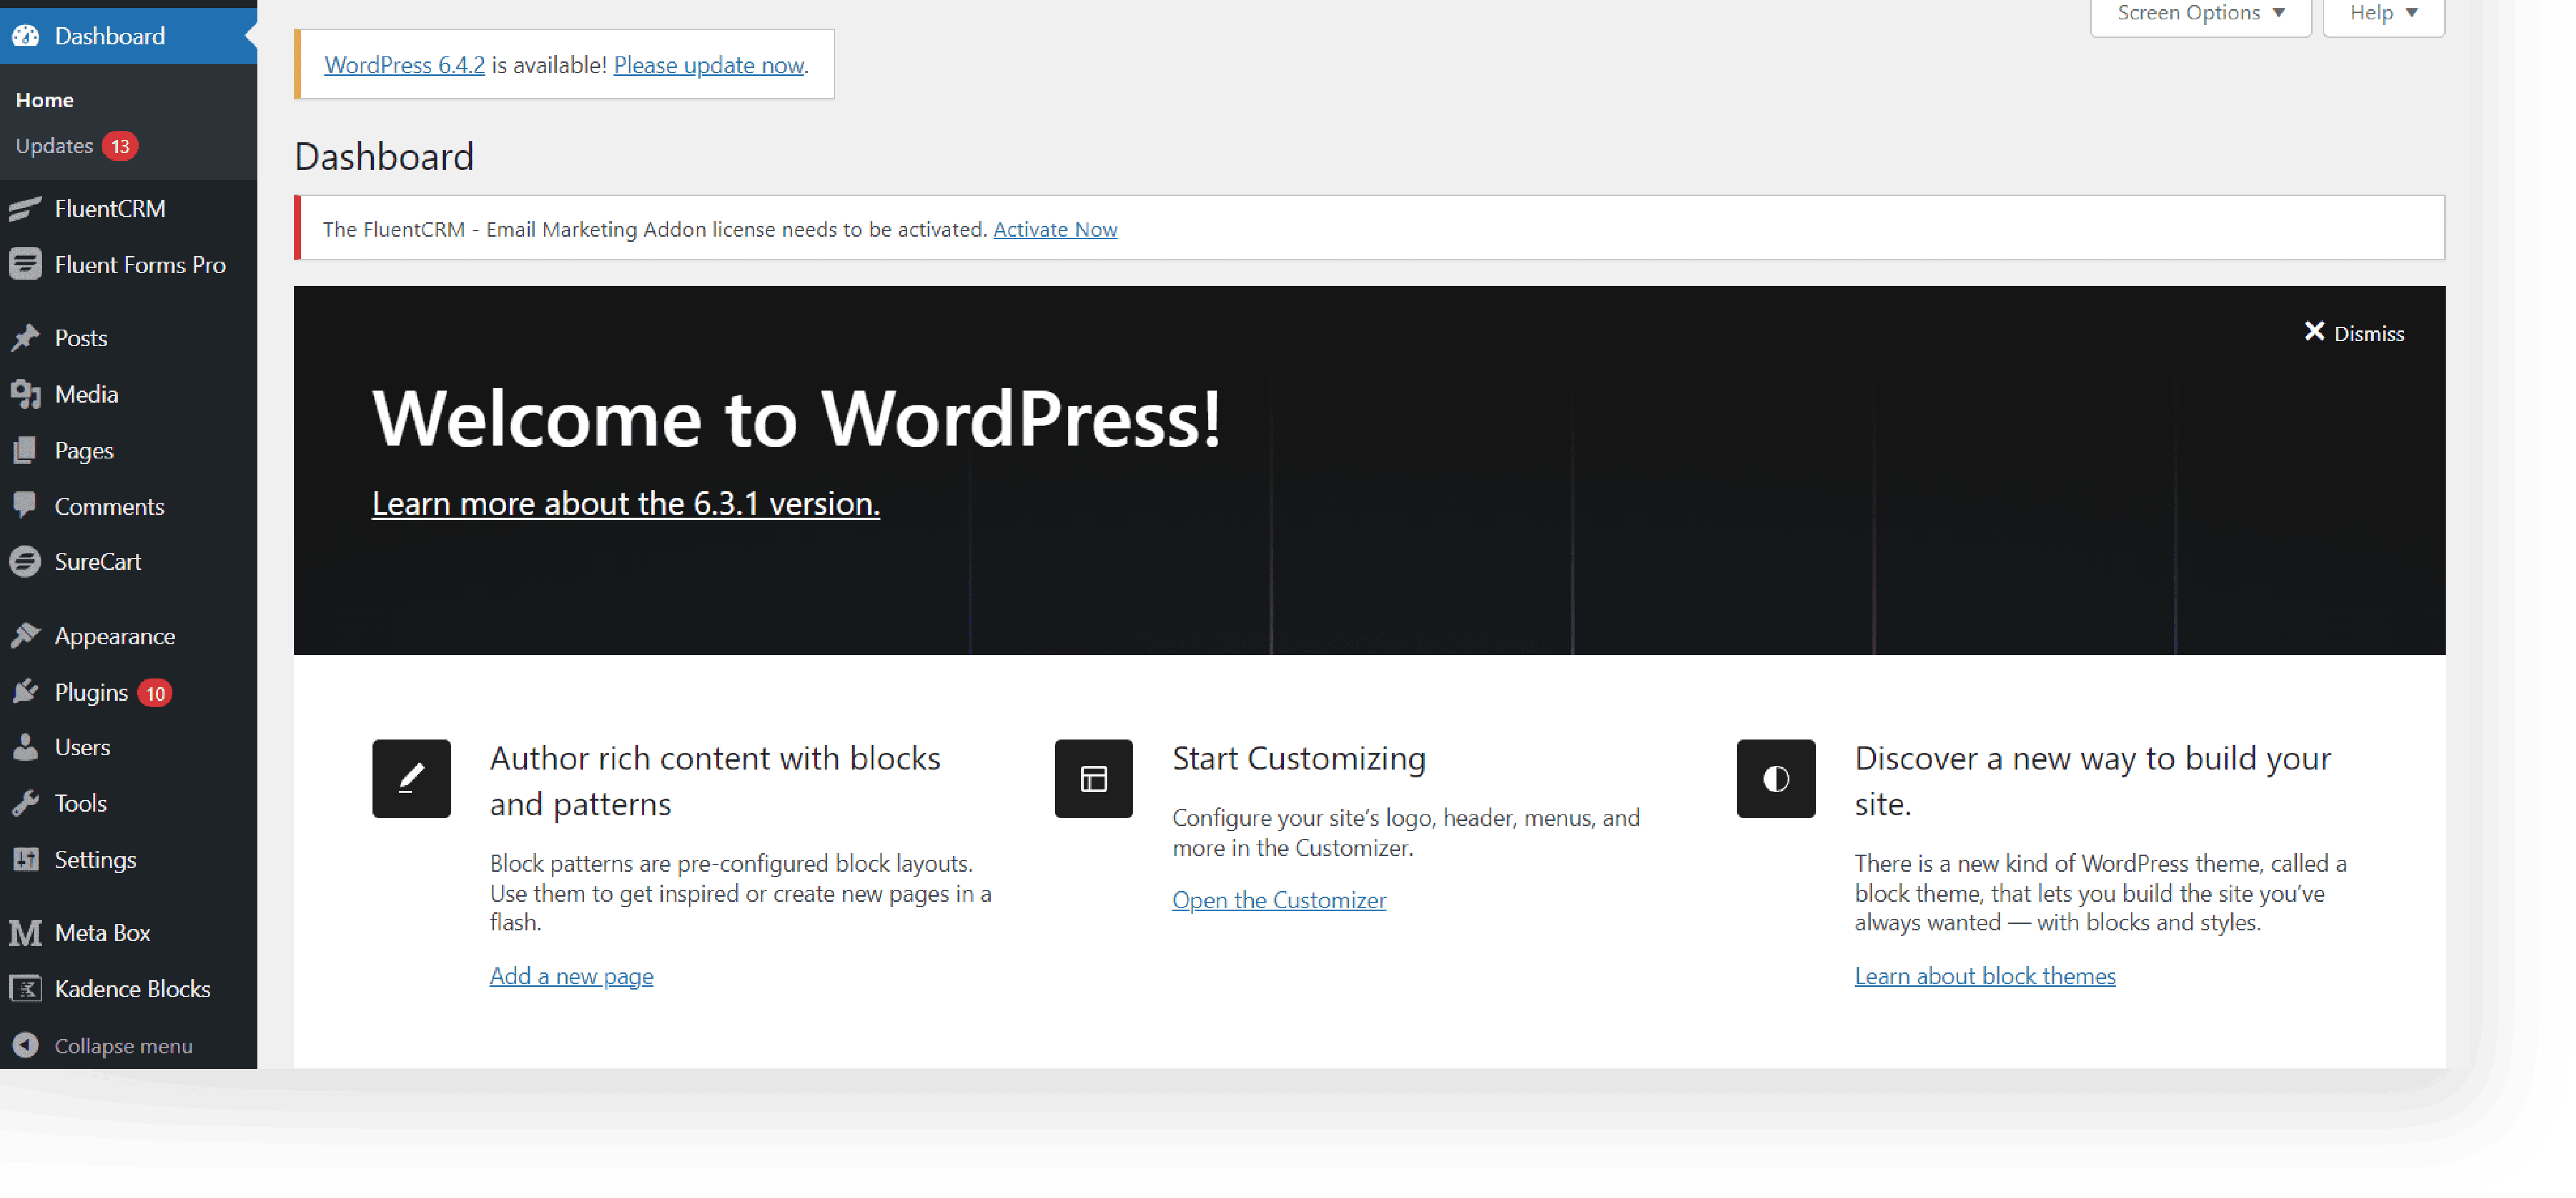
Step 3: Installing the Kadence Themes #
A. Log in to your WordPress Dashboard.
B. Navigate to Appearance → Themes.
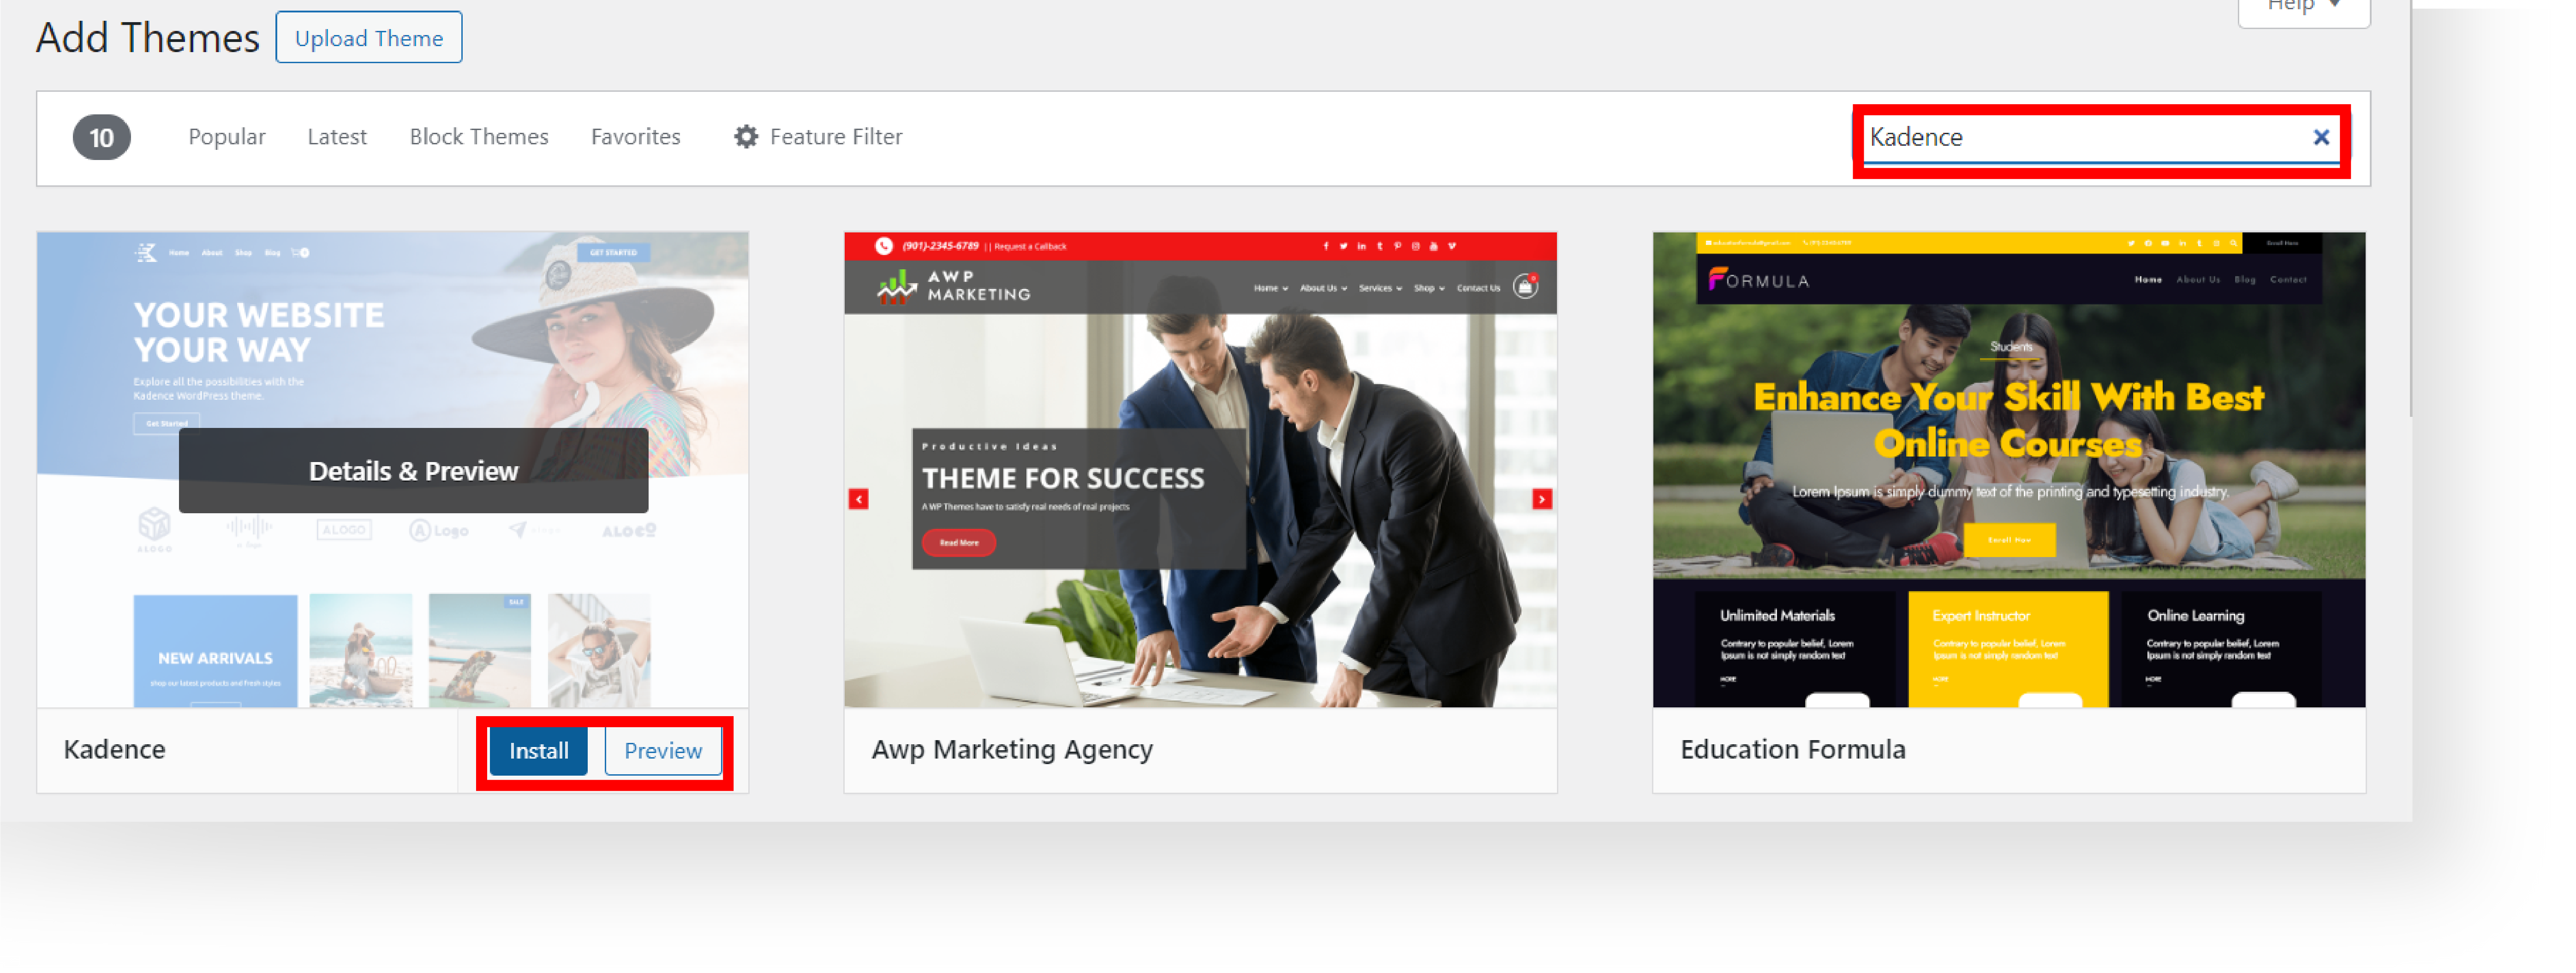
C. Click Add New Theme button

D. In the search bar, type “Kadence“.
E. Choose Kadence Theme, Install and Activate.
Step 4: Install Required Plugins #
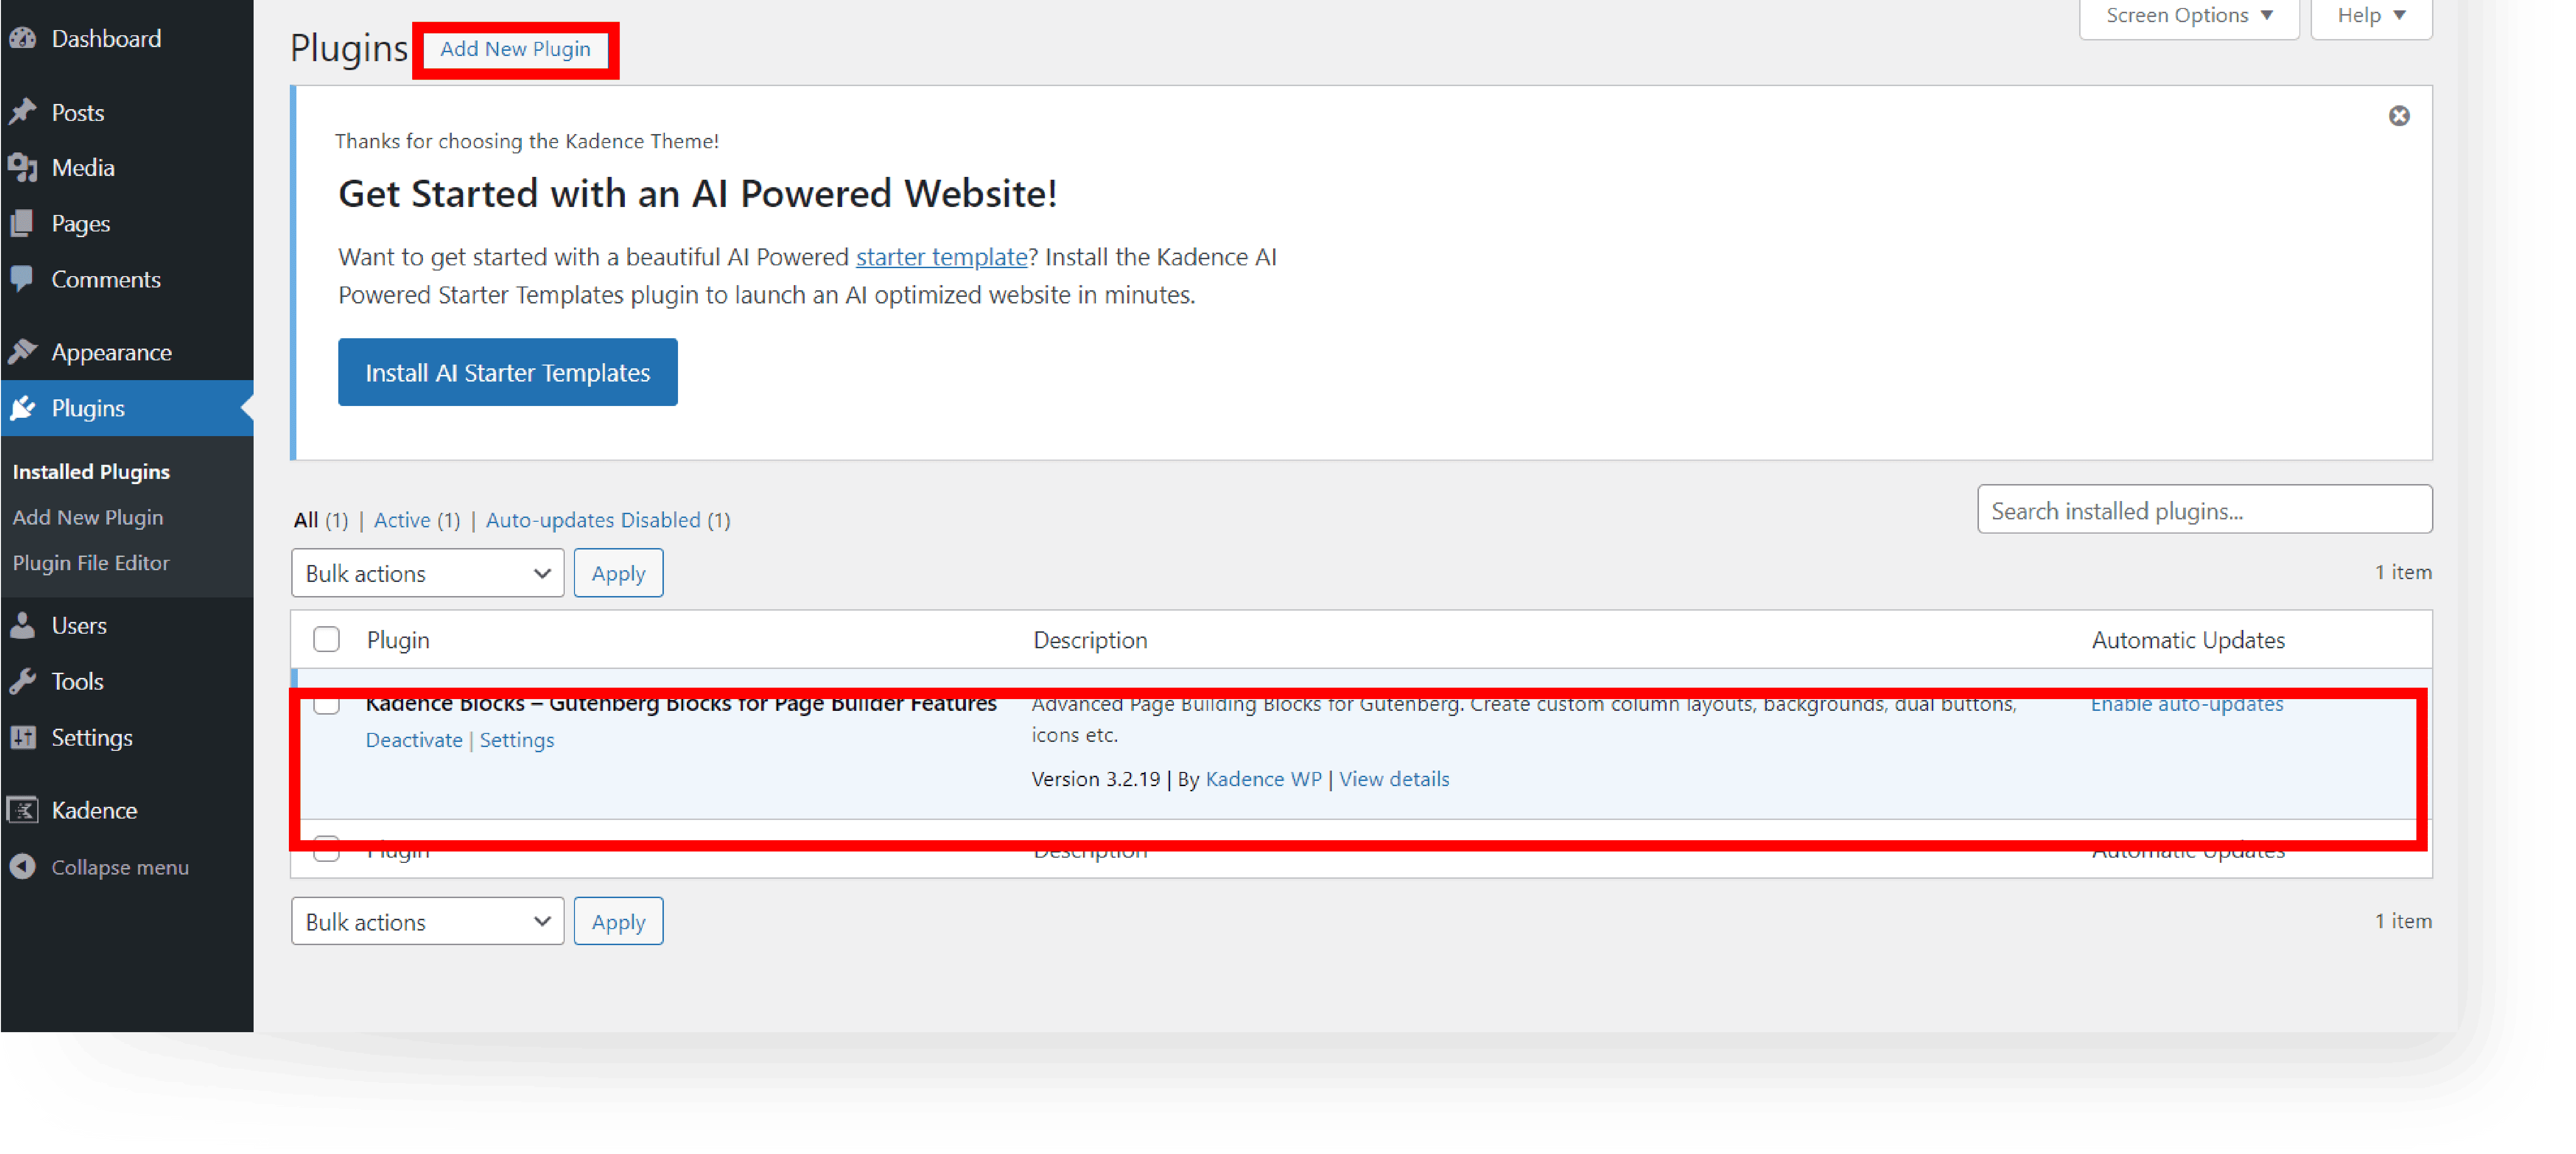
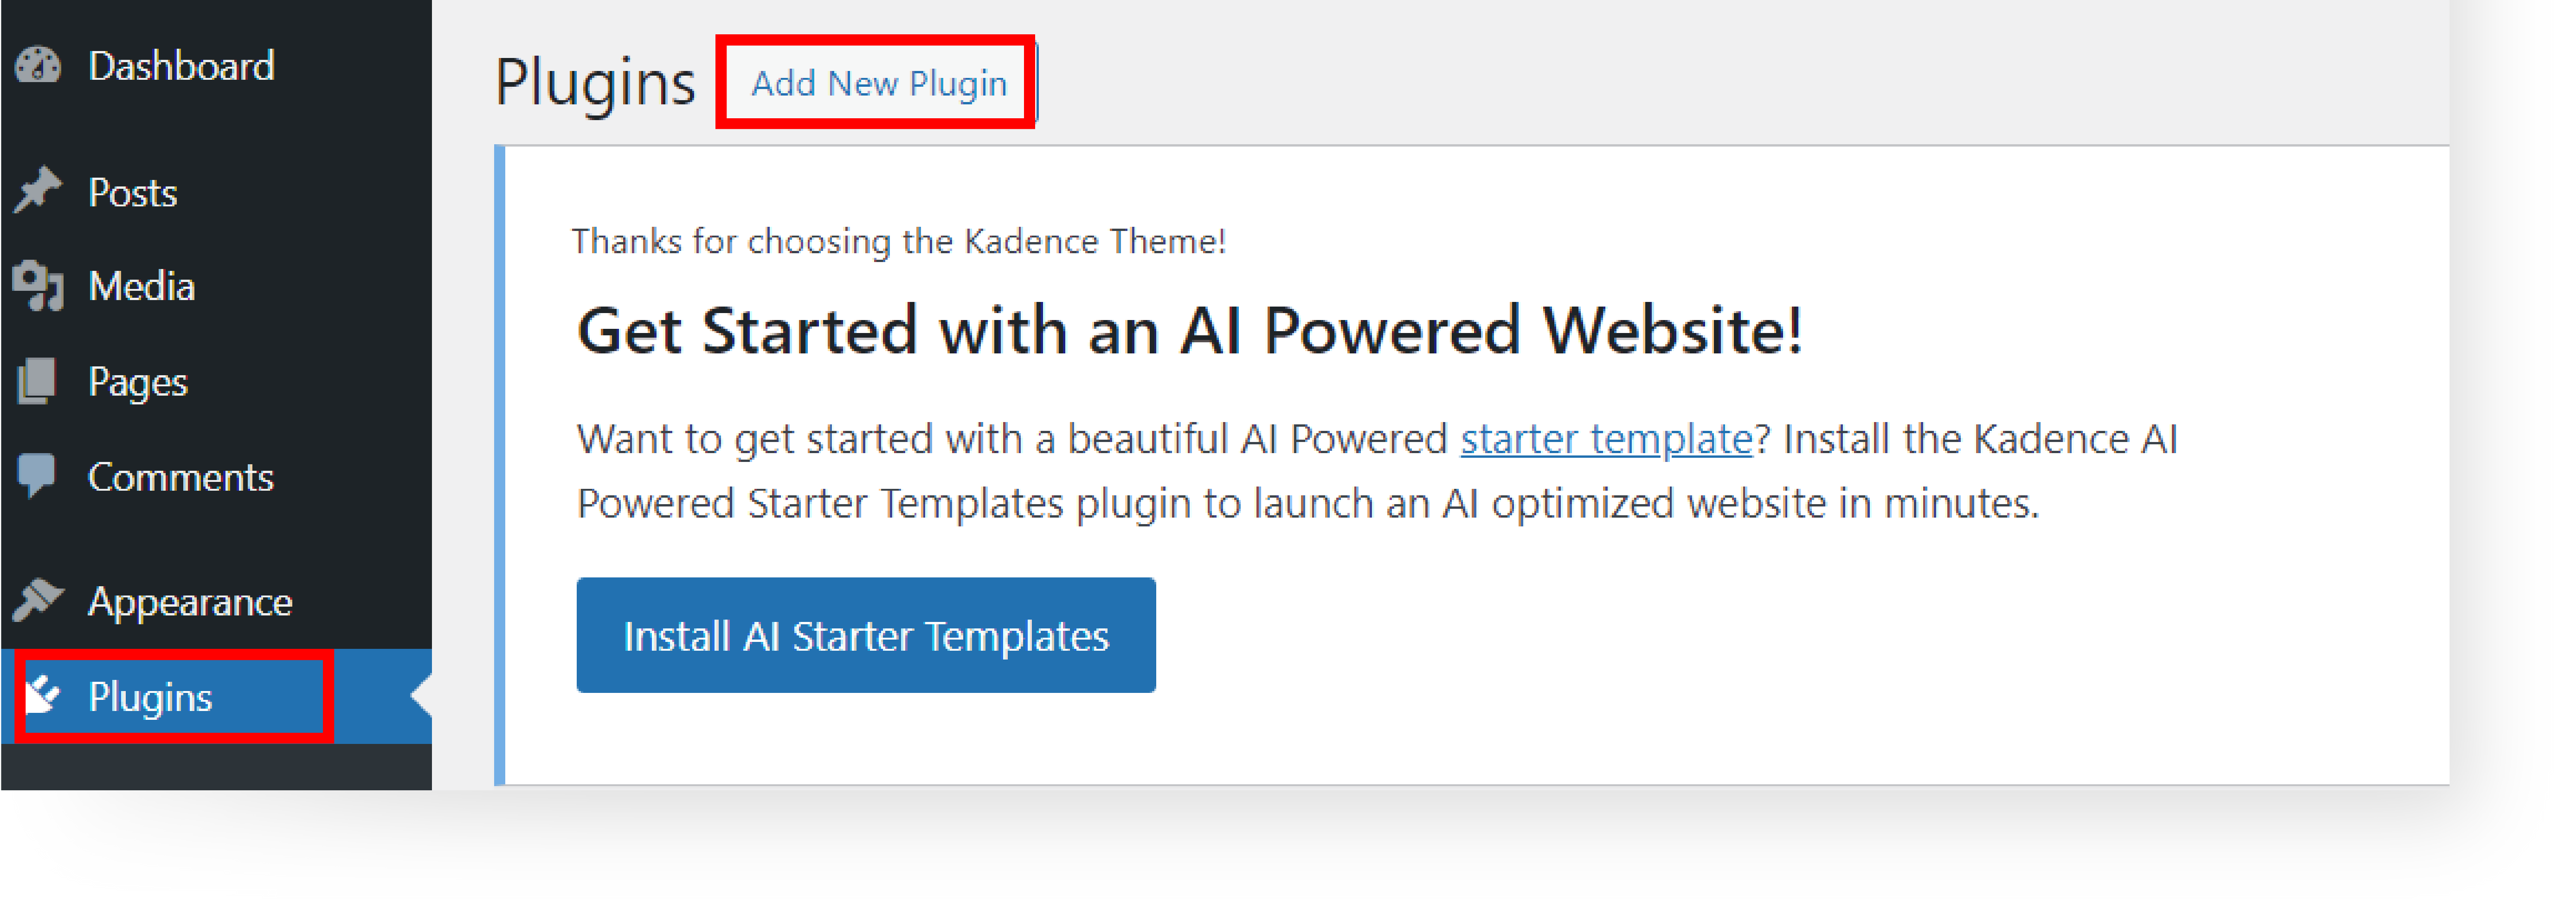
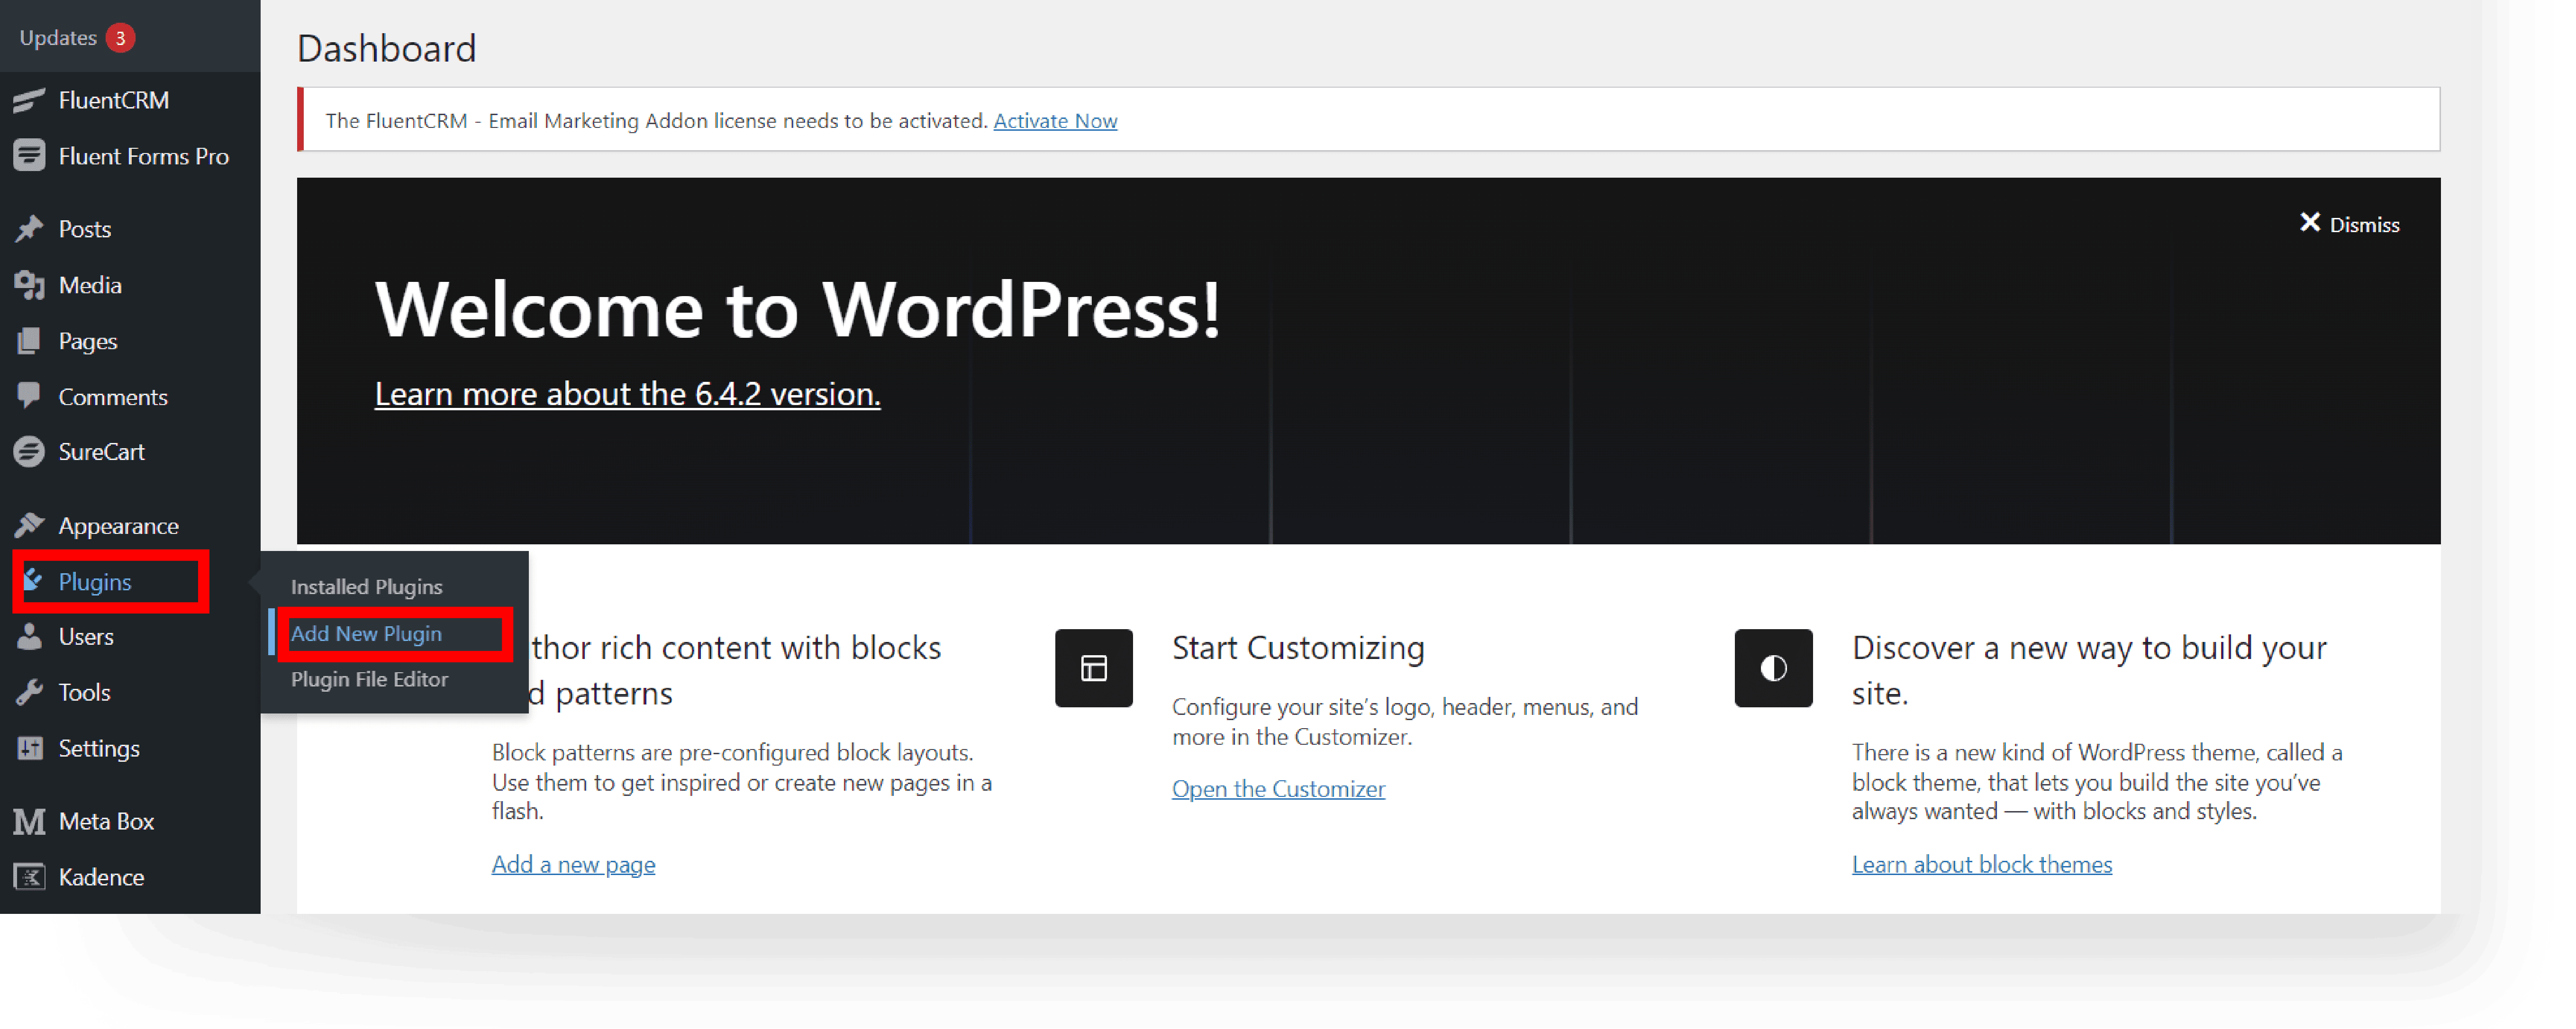
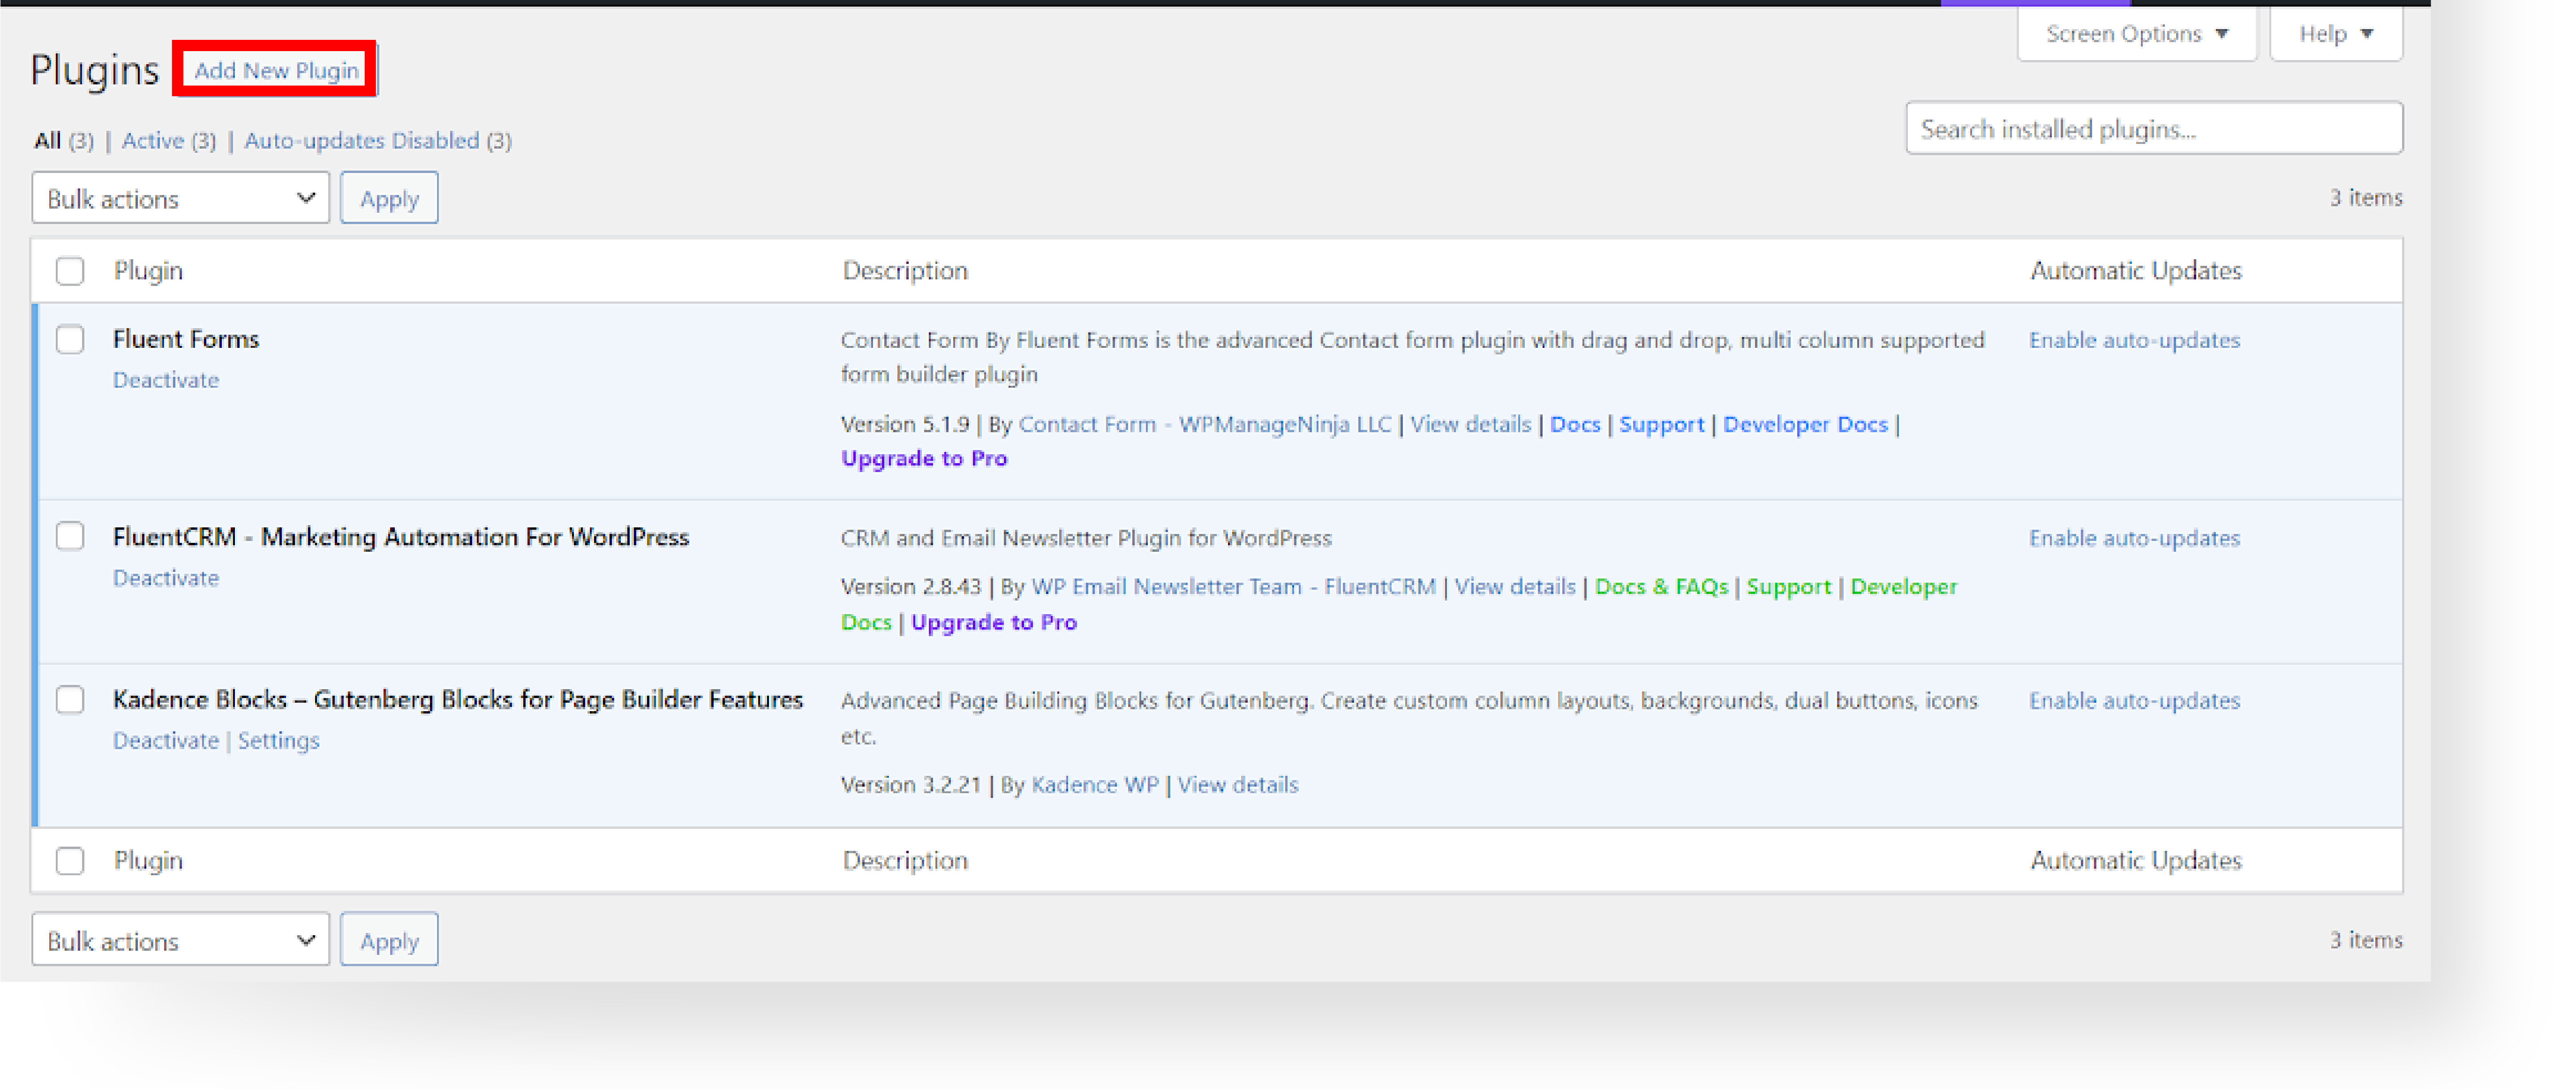
A. Go to Plugins → Add New Plugin.

B. In the search bar, type “Kadence Blocks“.
C. Find the Kadence Blocks plugin and click Install Now.
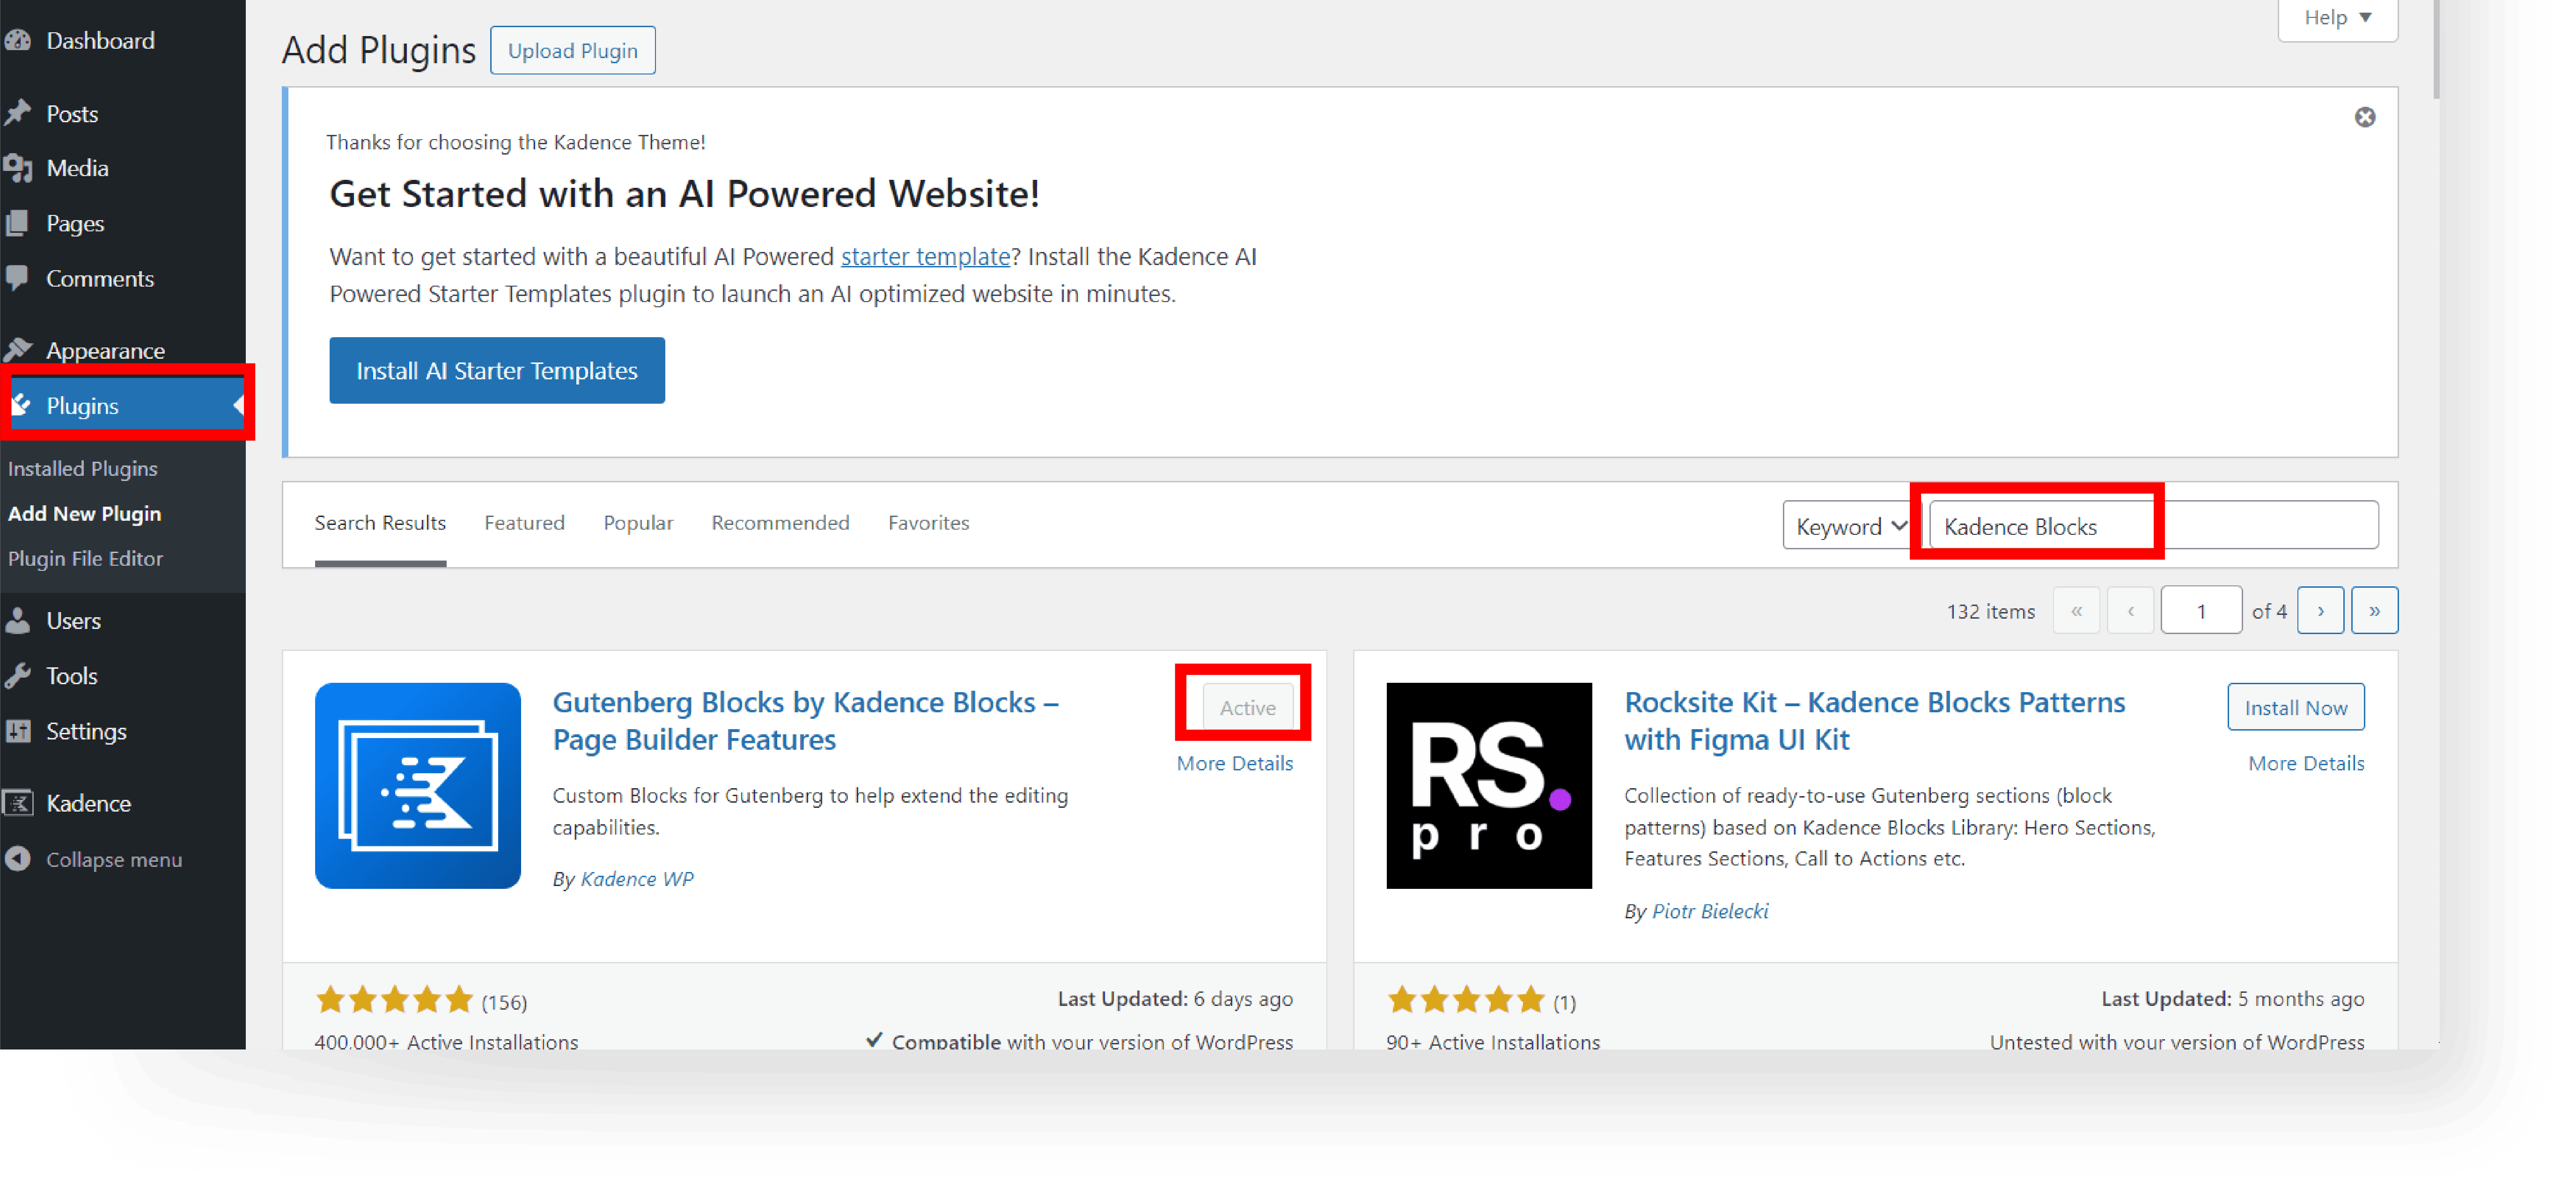
D. Once installed, click Activate.
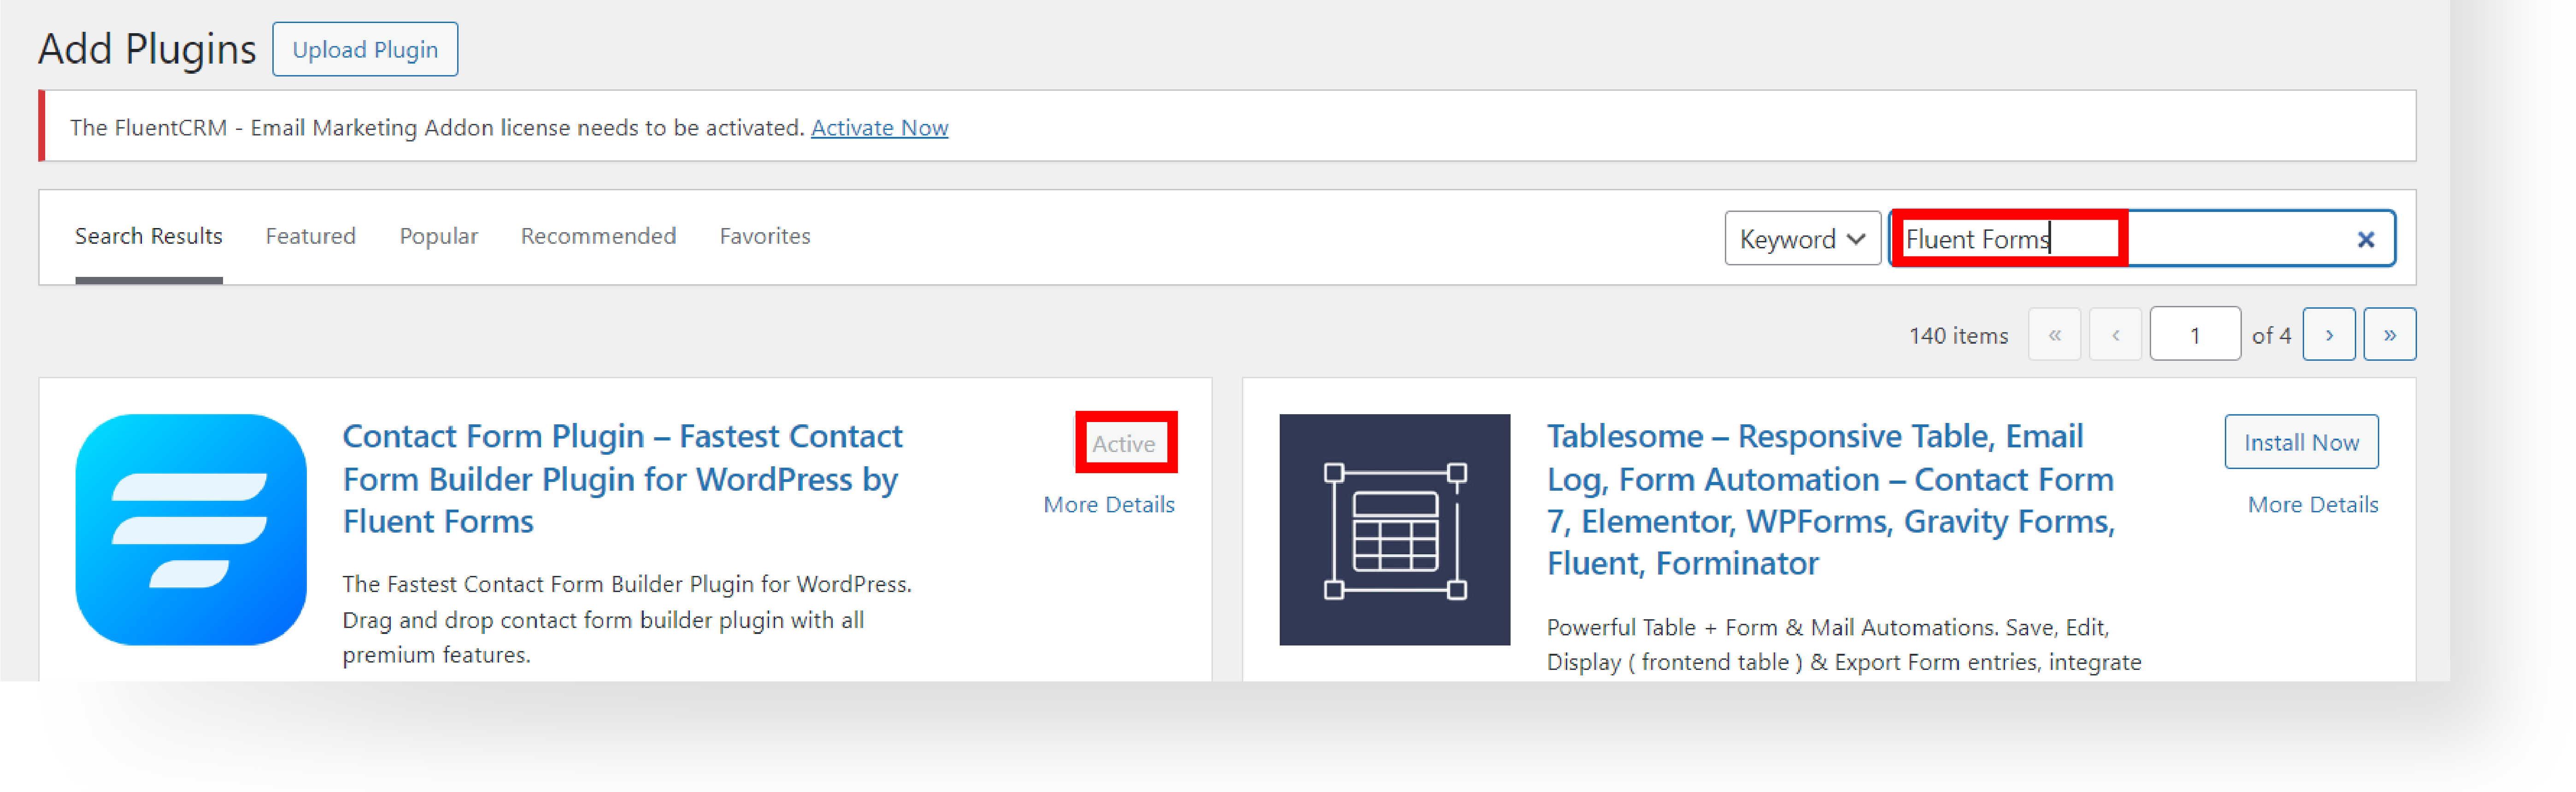
E. Once the Kadence Block was installed, click Add New Plugin button.
F. In the search bar, type “Fluent Forms“, install and activate the plugin.
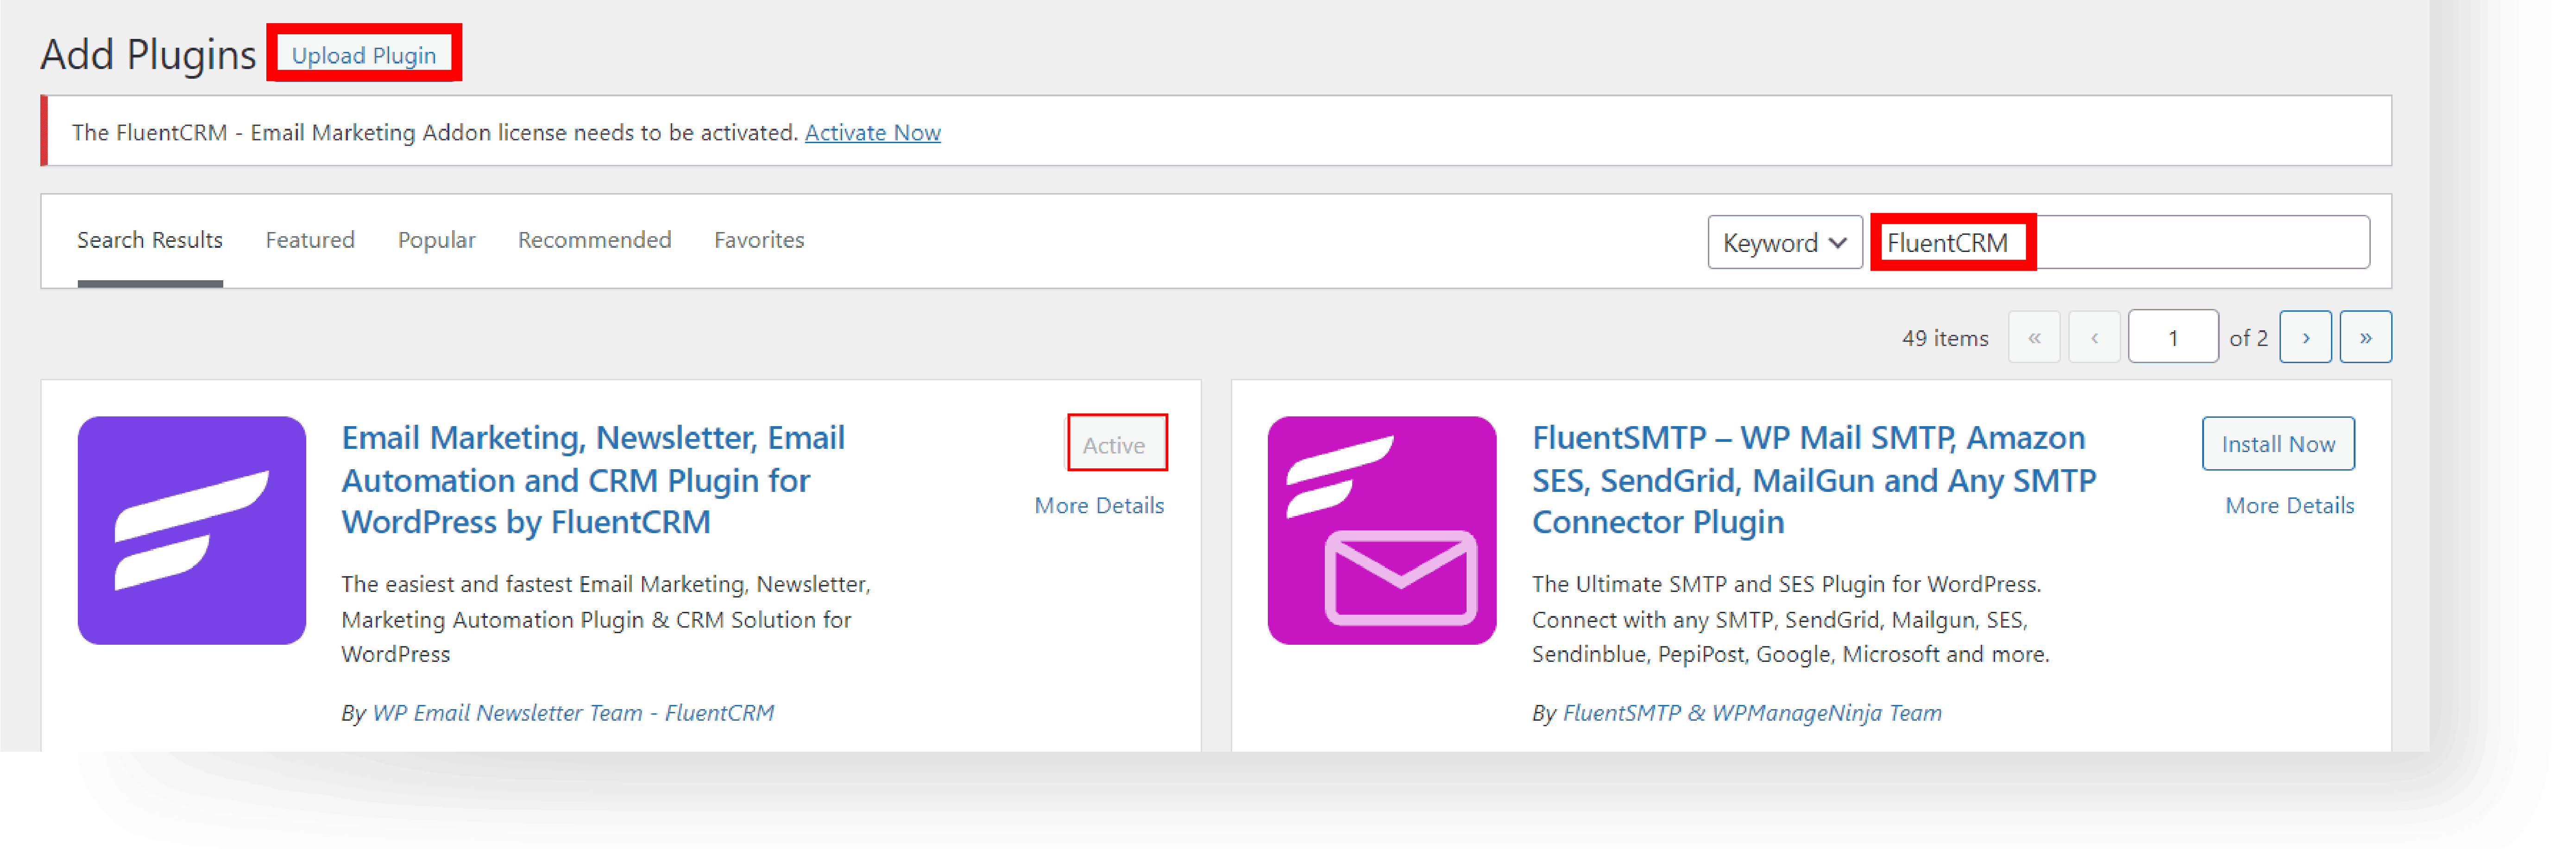
G. Once installed, click Add New Plugin button
H. In the search bar, type “FluentCRM“, install and activate the plugin.
I. Once installed, click Add New Plugin button
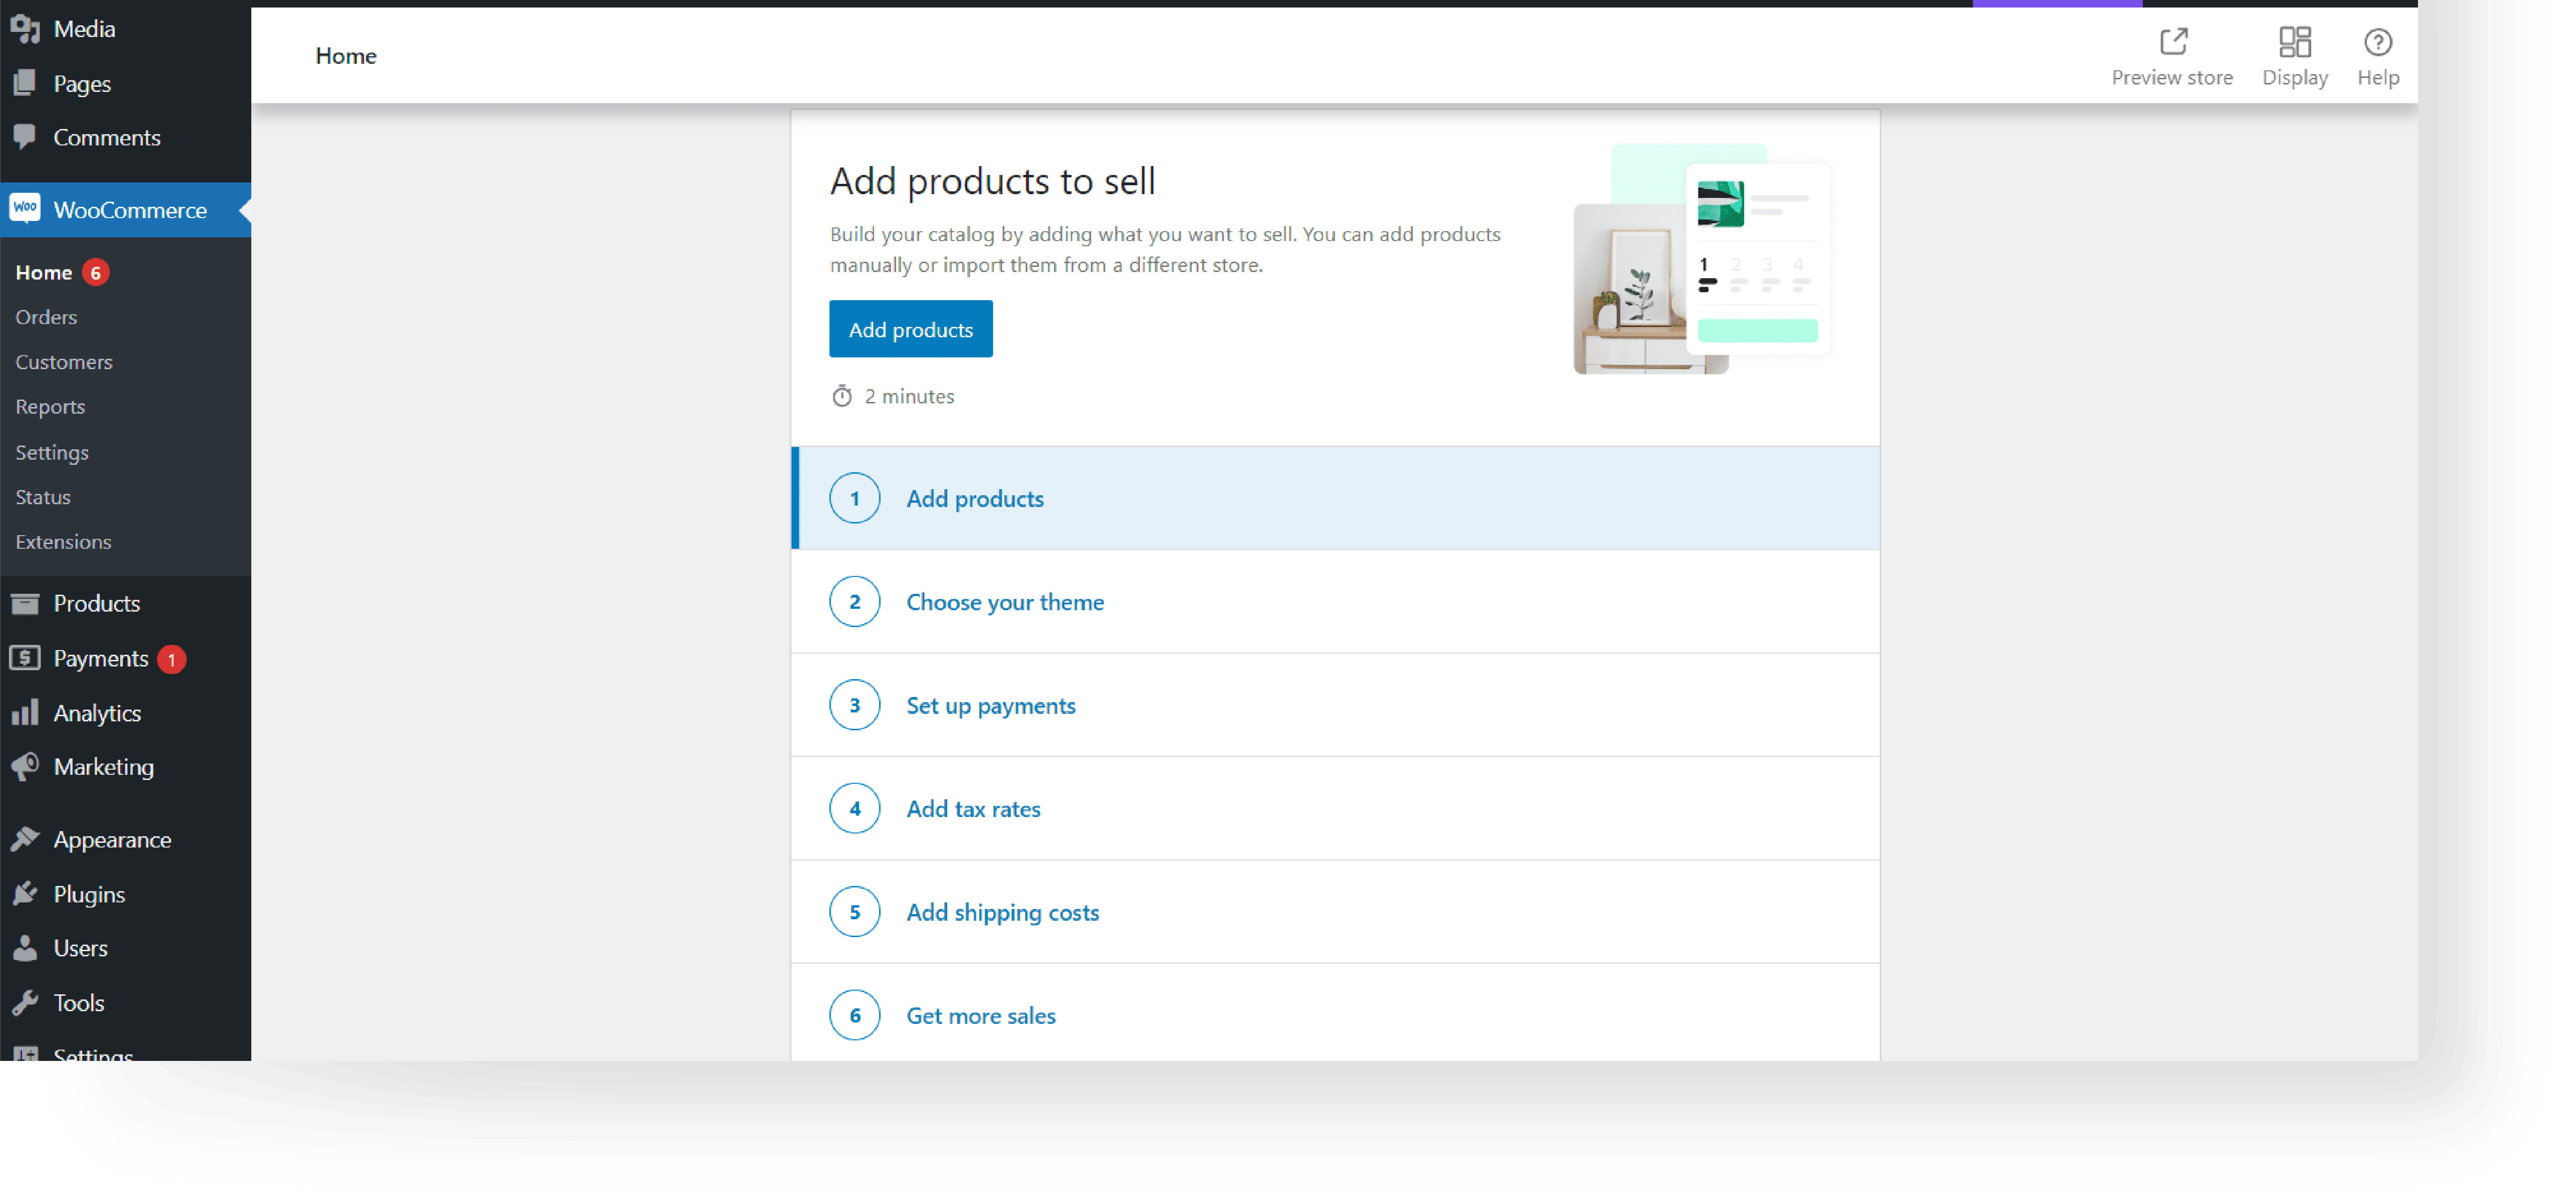
J. In the search bar, type “Woocommerce“, install and activate the plugin.

K. Once Woocommerce activated, setup you’re Woocommerce.
L. After setting up you’re Woocommerce store, go to Plugins → Add New Plugin.
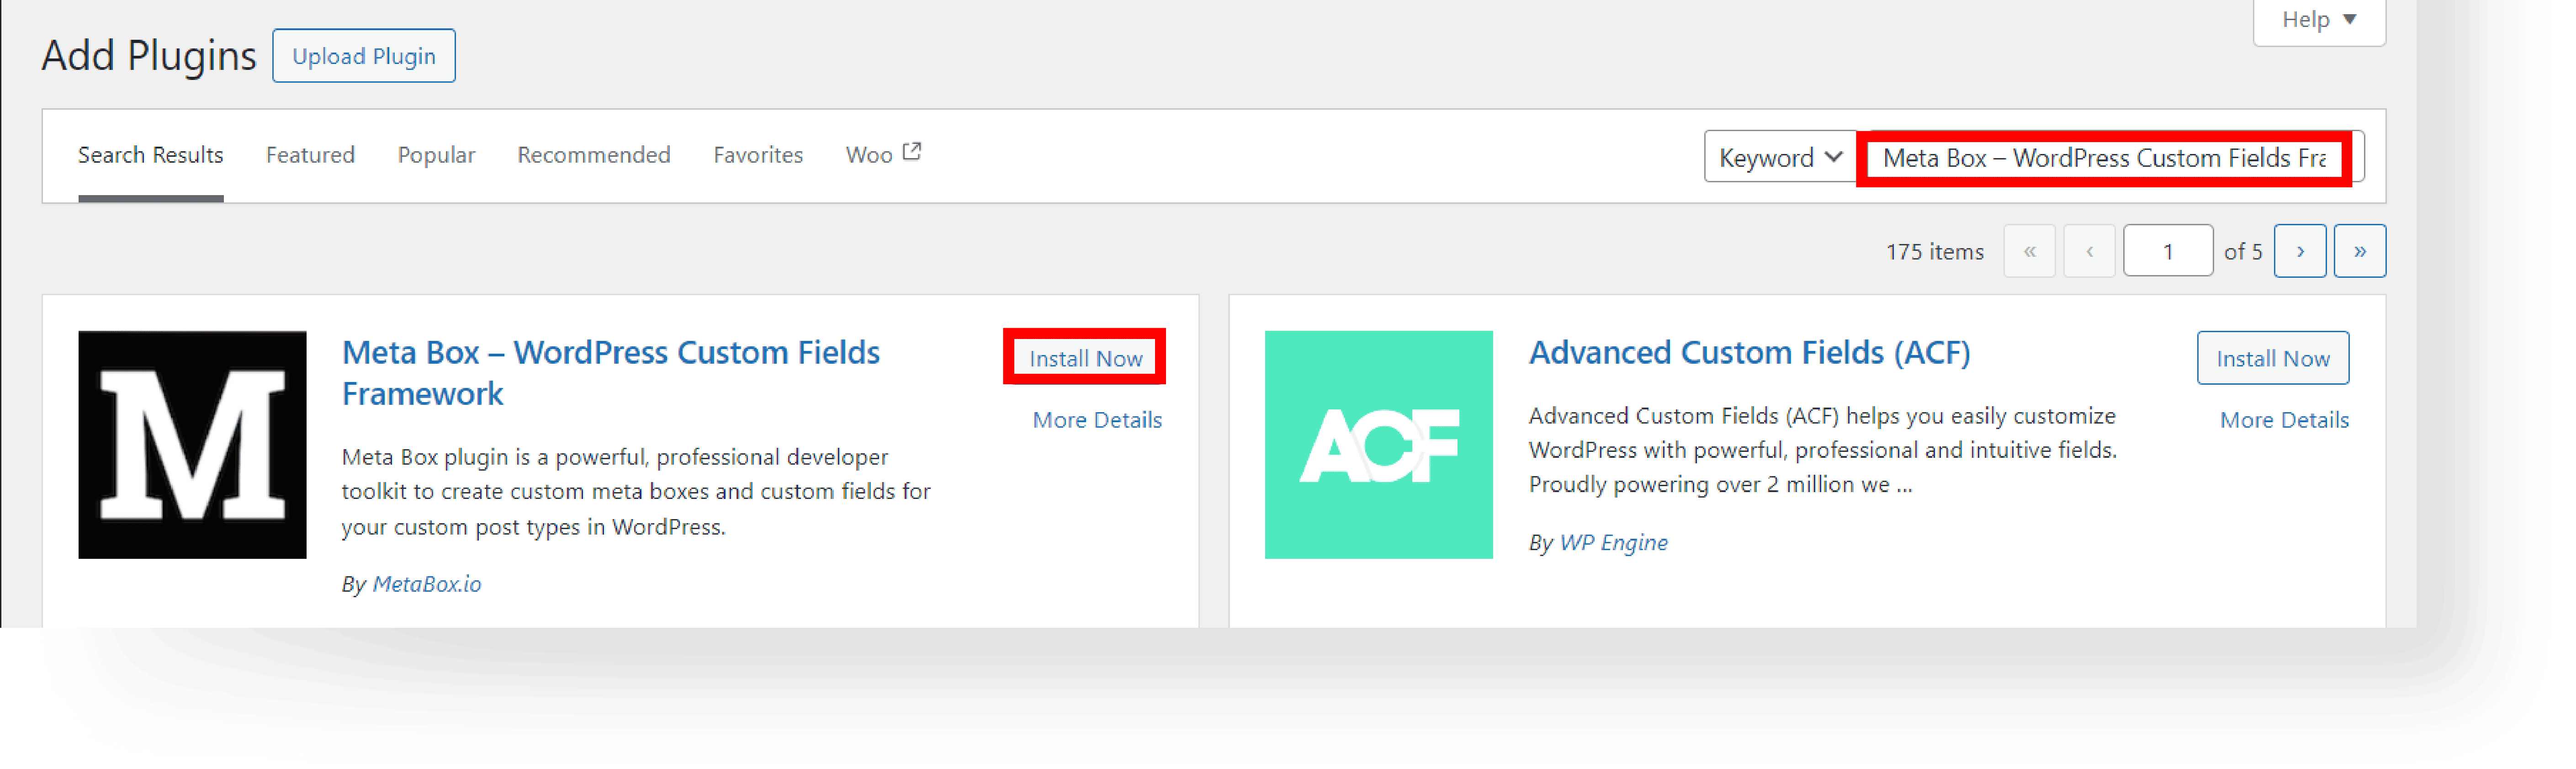
M. In the search bar, type “Meta Box“, install and activate the plugin.
N. Once installed, go to Plugins → Add New Plugin
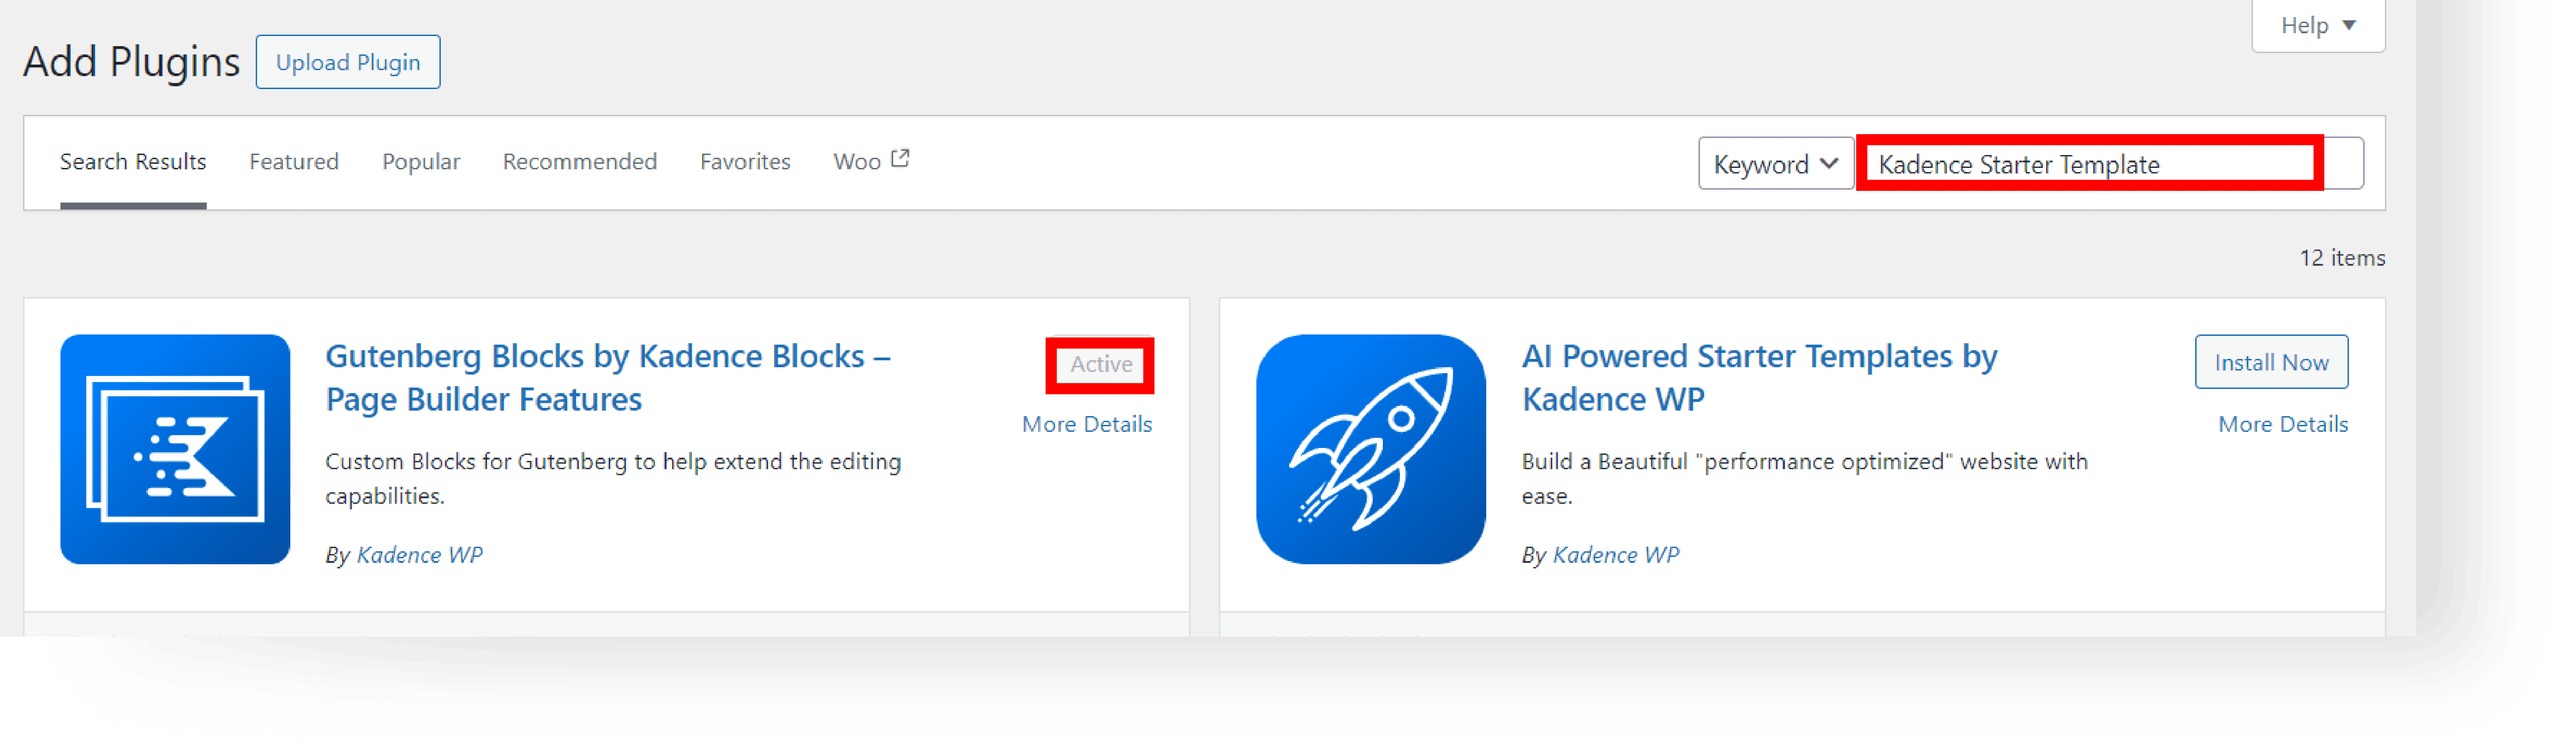
O. In the search bar, type “Kadence Starter Template“, install and activate the plugin.
Step 5: Install and Activate Pro Plugins #
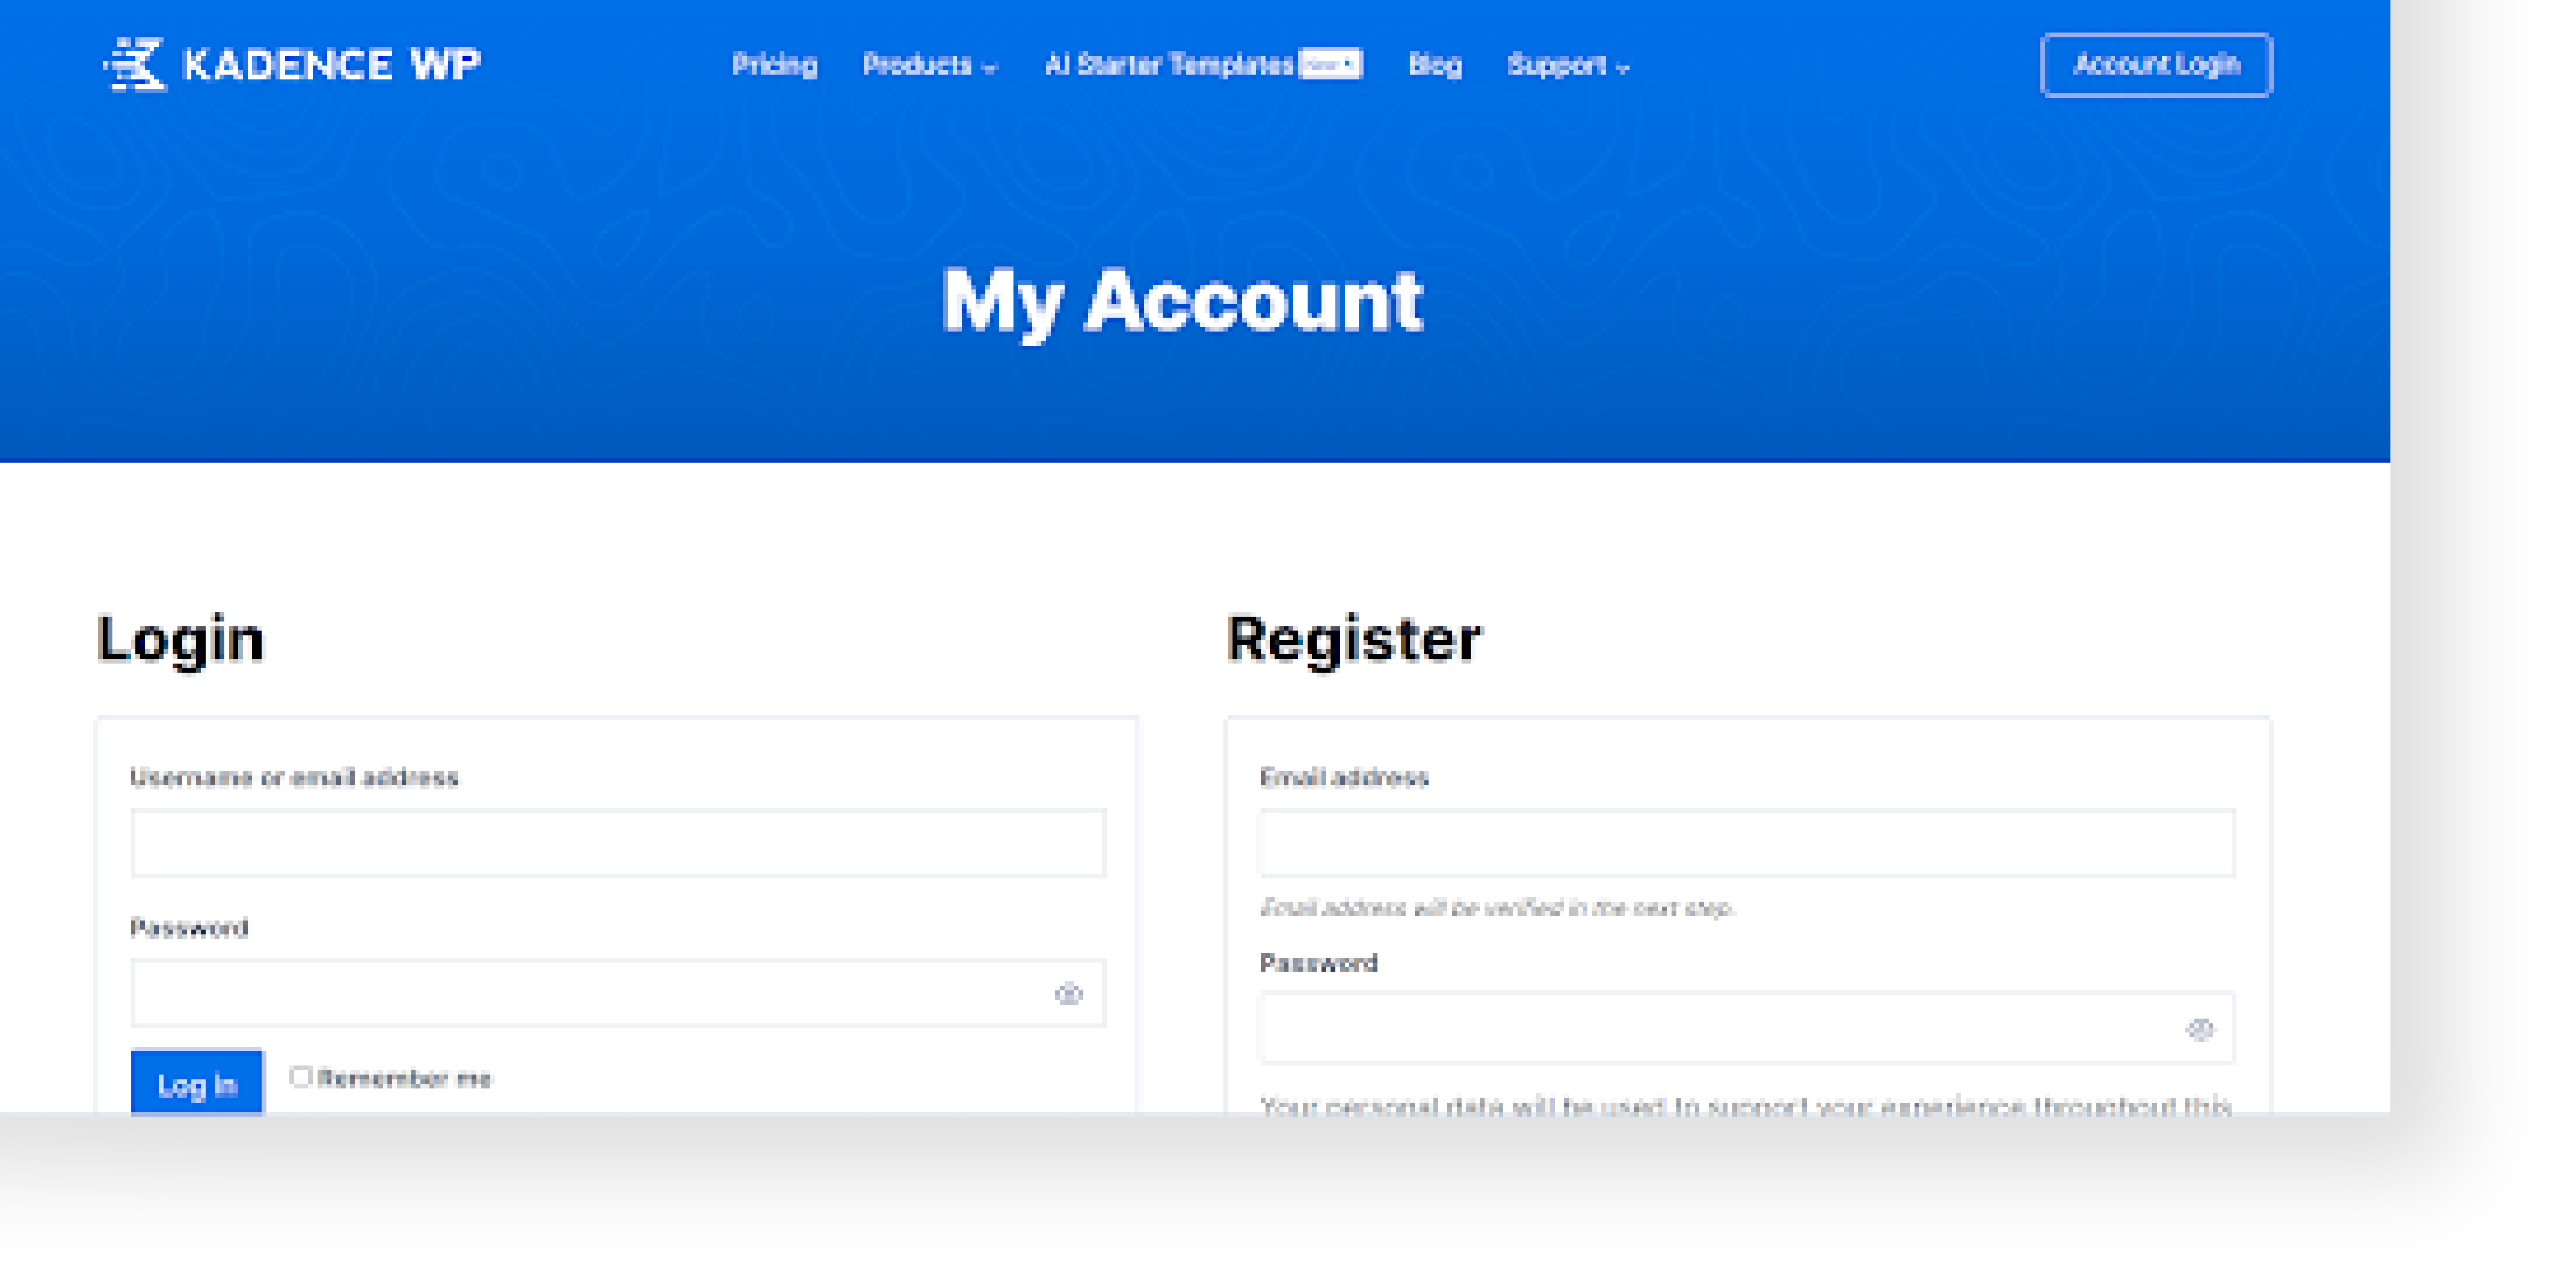
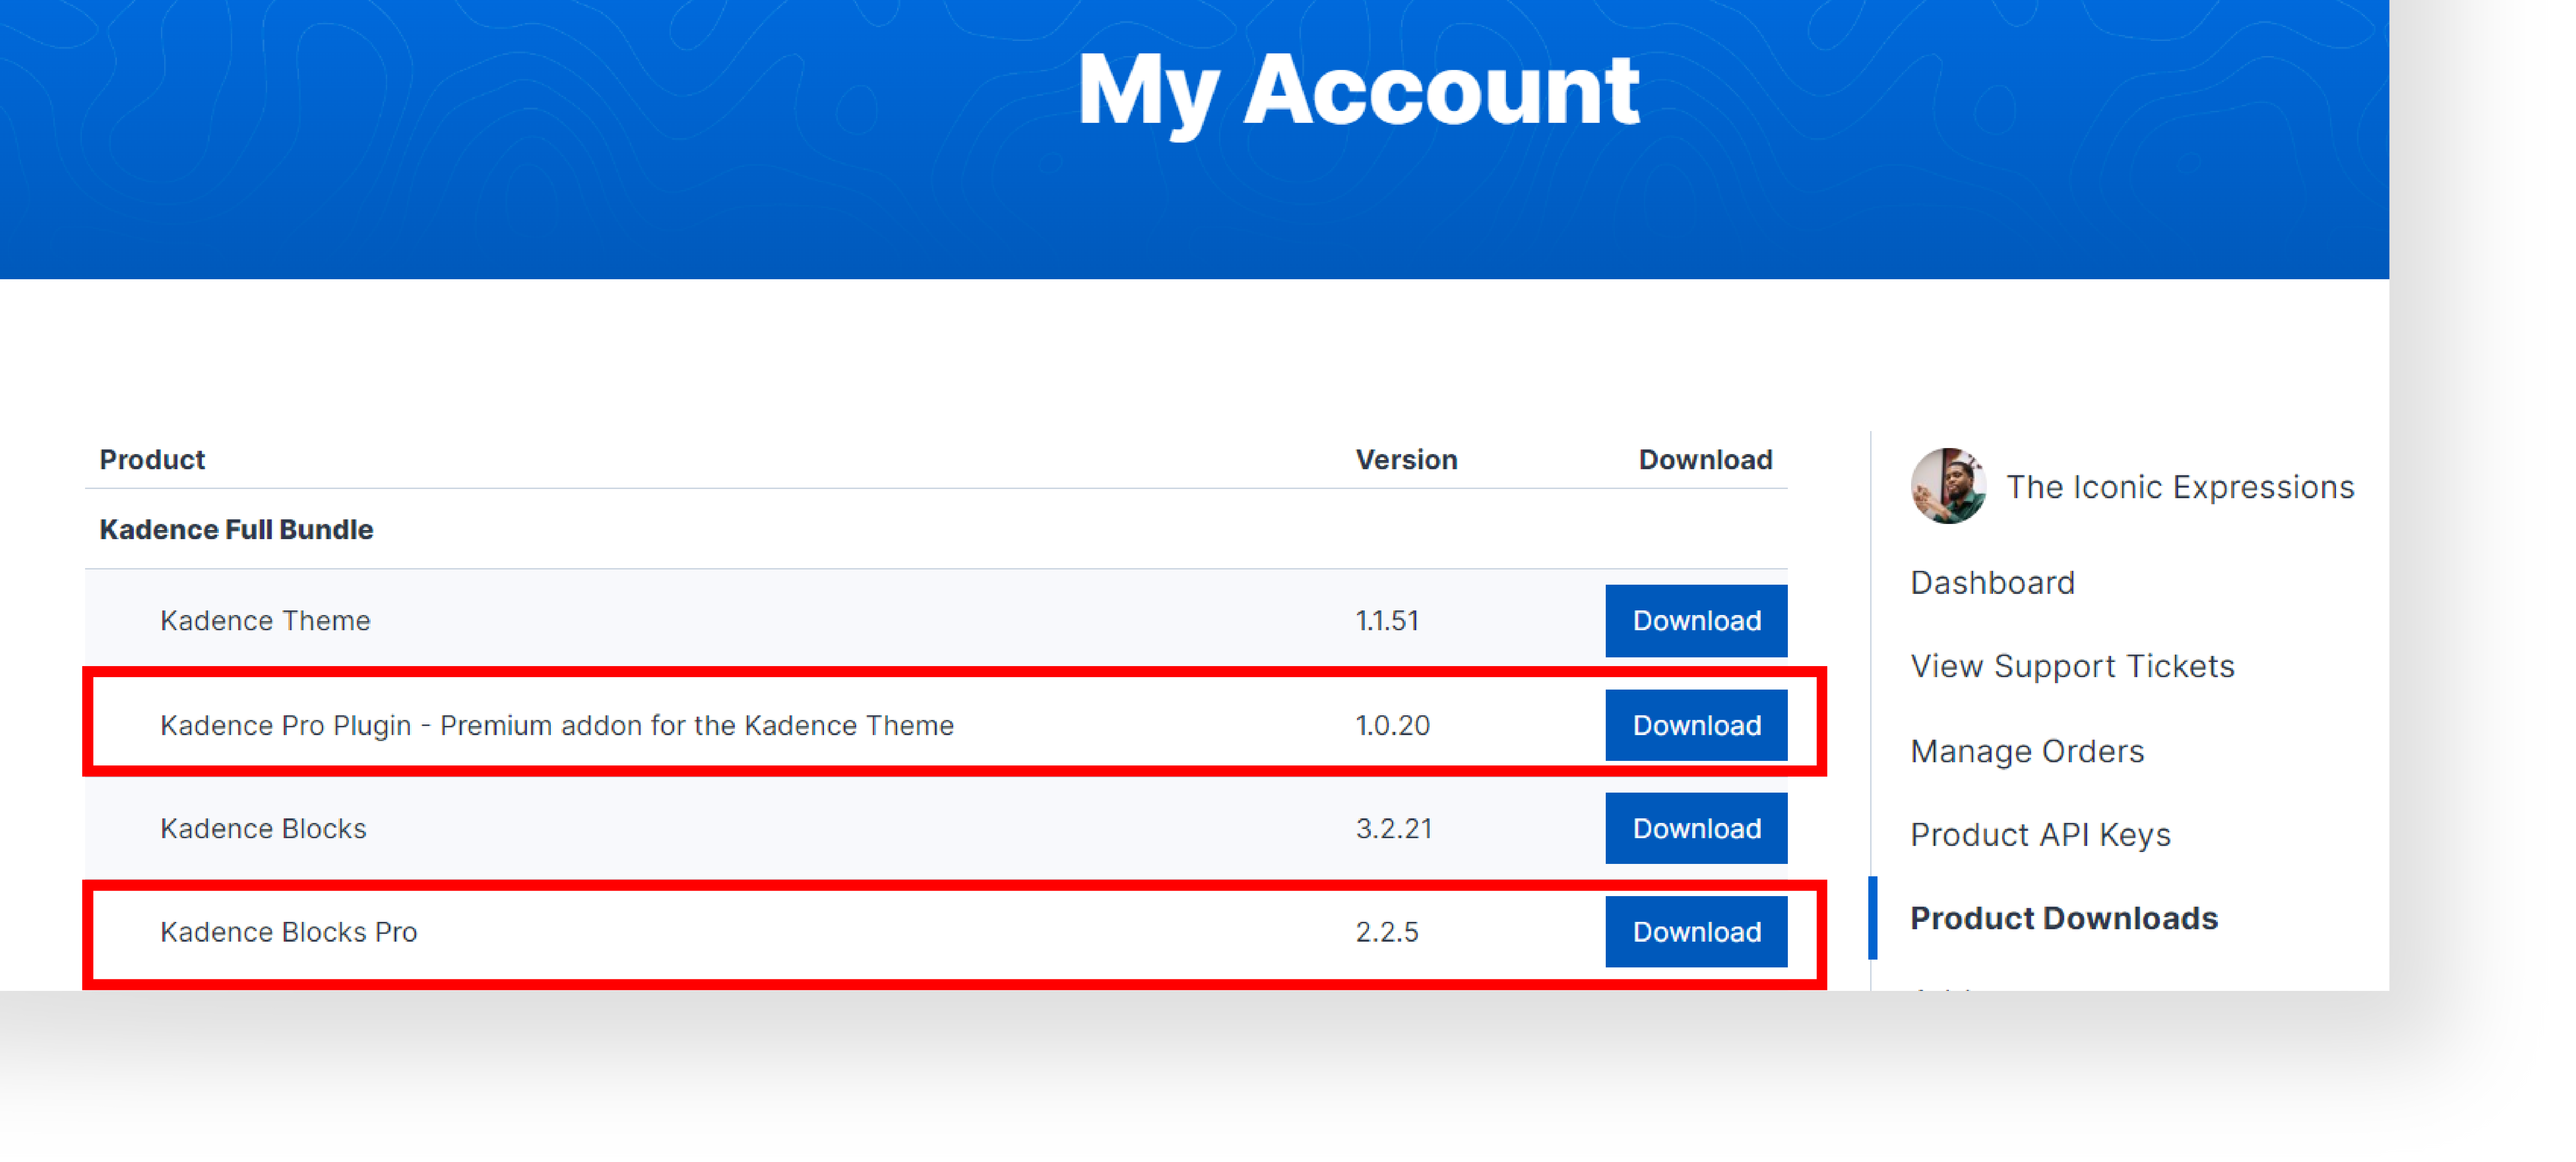
A. Install Kadence Pro and Kadence Blocks Pro plugins, Go to https://www.kadencewp.com/ and login to your account.
B. Go to Product Downloads → Download Kadence Pro Plugin – Premium addon for the Kadence Theme and Kadence Blocks Pro.
C. Go to your WordPress Dashboard.
D. Plugins → Add New.
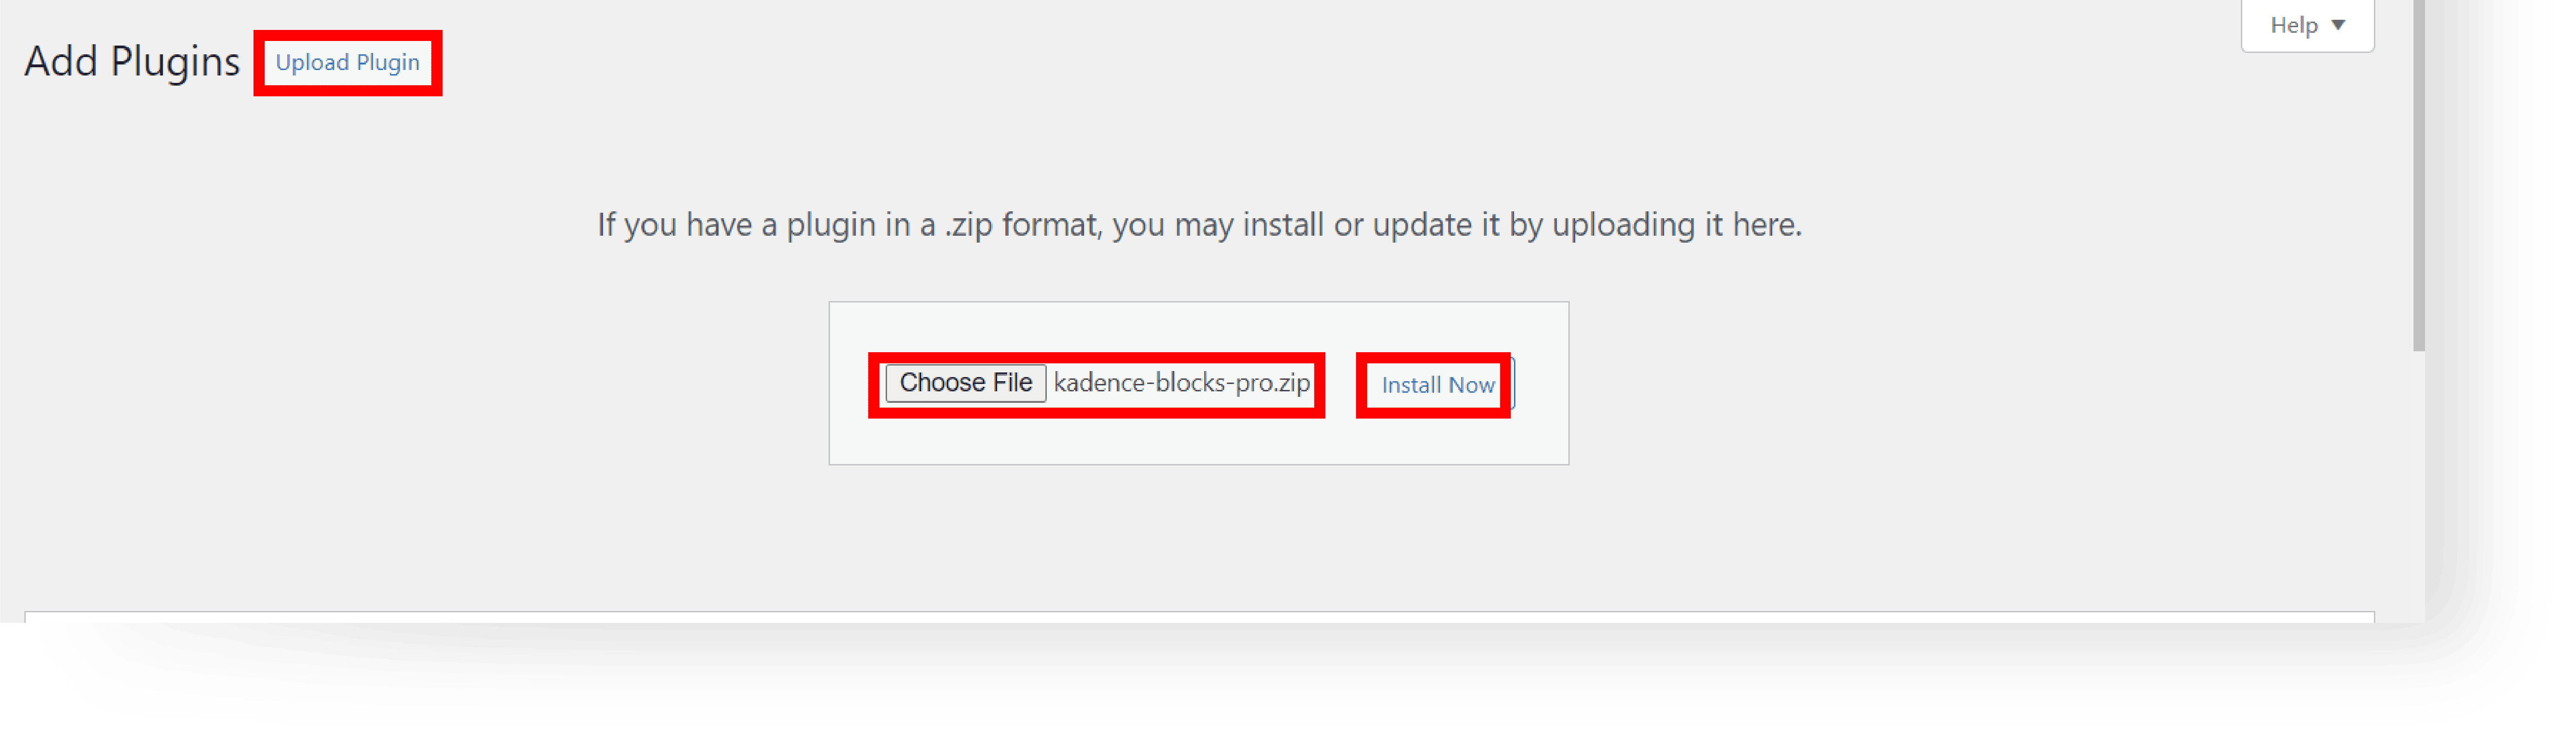
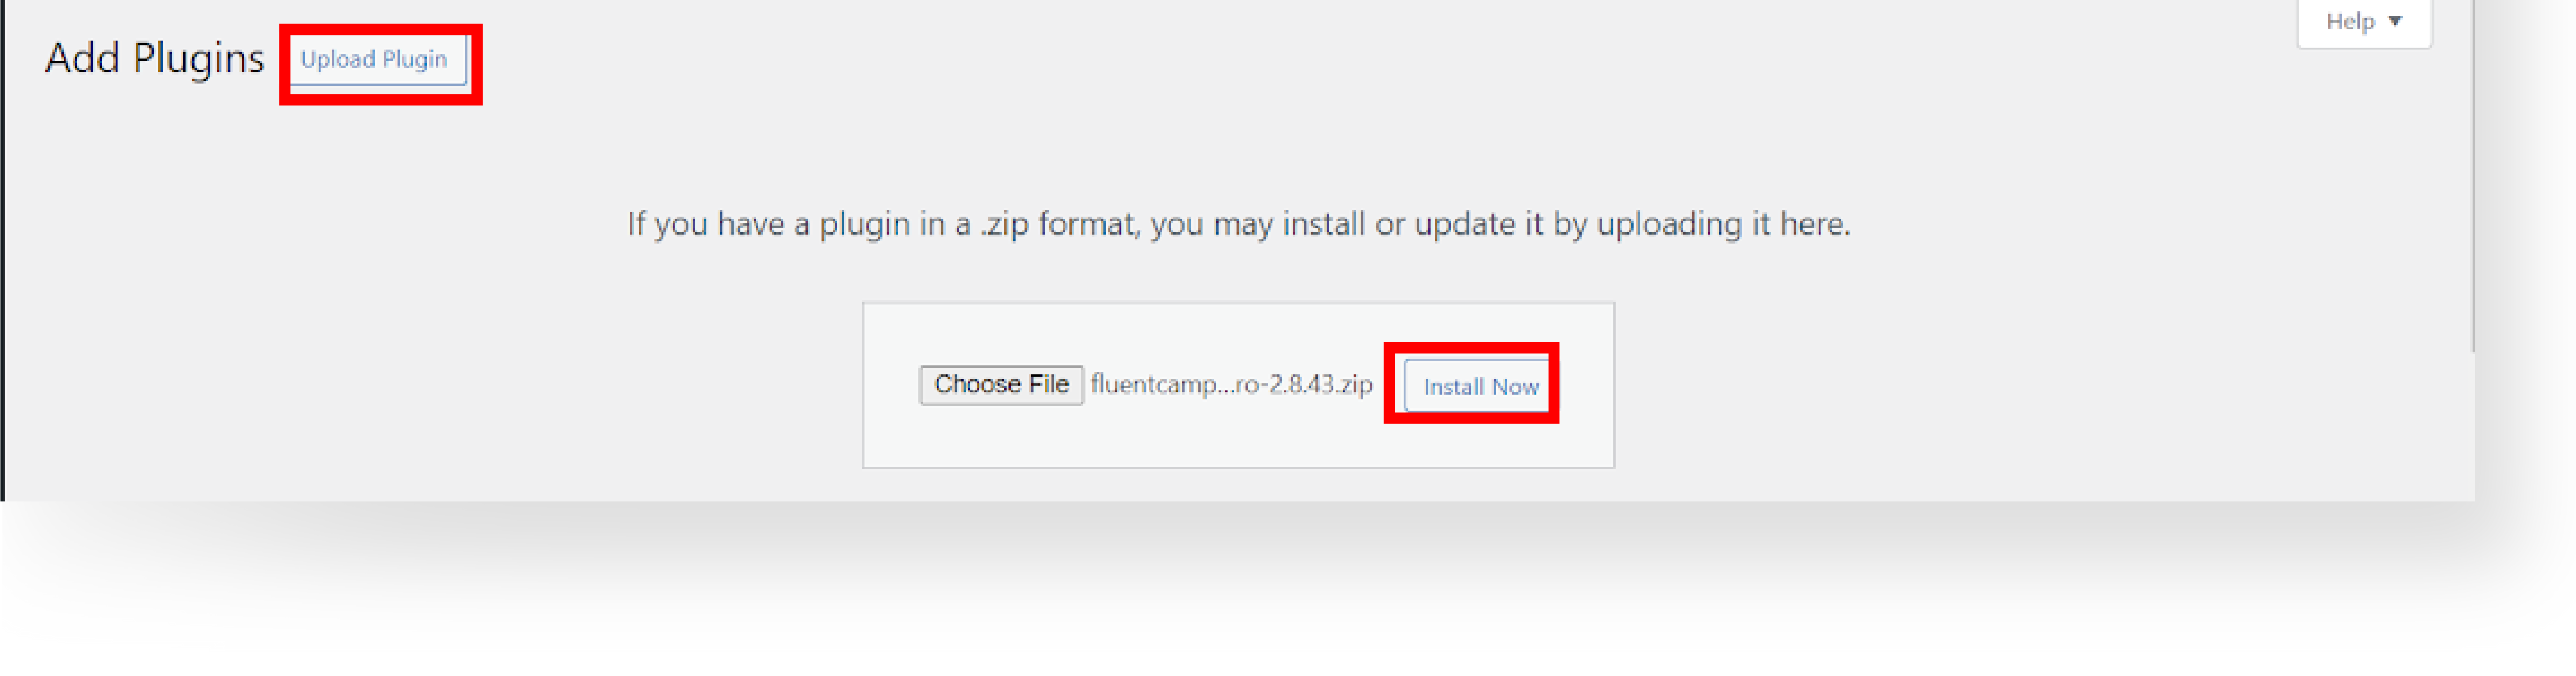
E. Click the Upload Plugin button. Insert Kadence Blocks Pro Plugin, click Install Now, and activate the plugin.
F. After activating the Kadence Blocks Pro Plugin, Click Add New Plugin then Upload Plugin button. Insert Kadence Pro Plugin – Premium addon for the Kadence Theme Plugin, click Install Now, and activate the plugin.
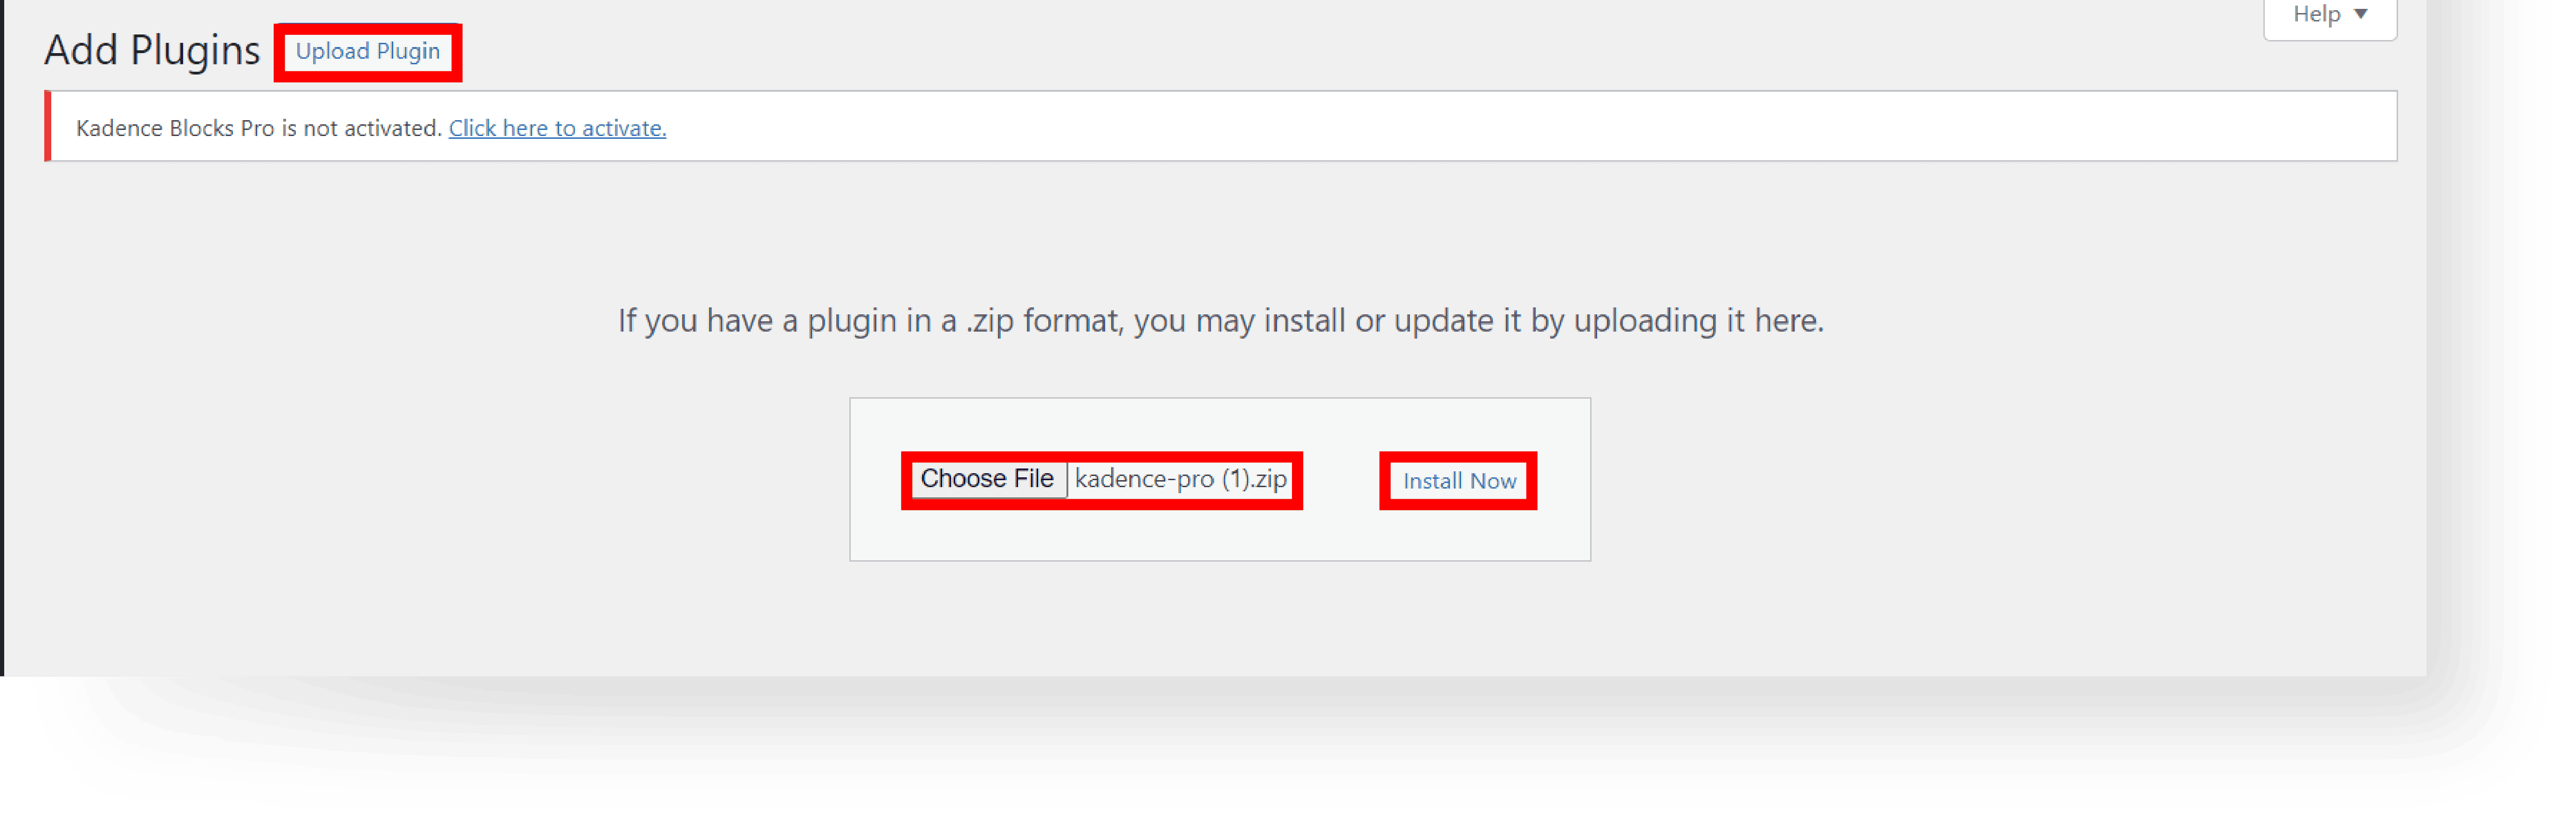
G. After installing the Kadence Pro Plugins, Click the link “Click here to active”
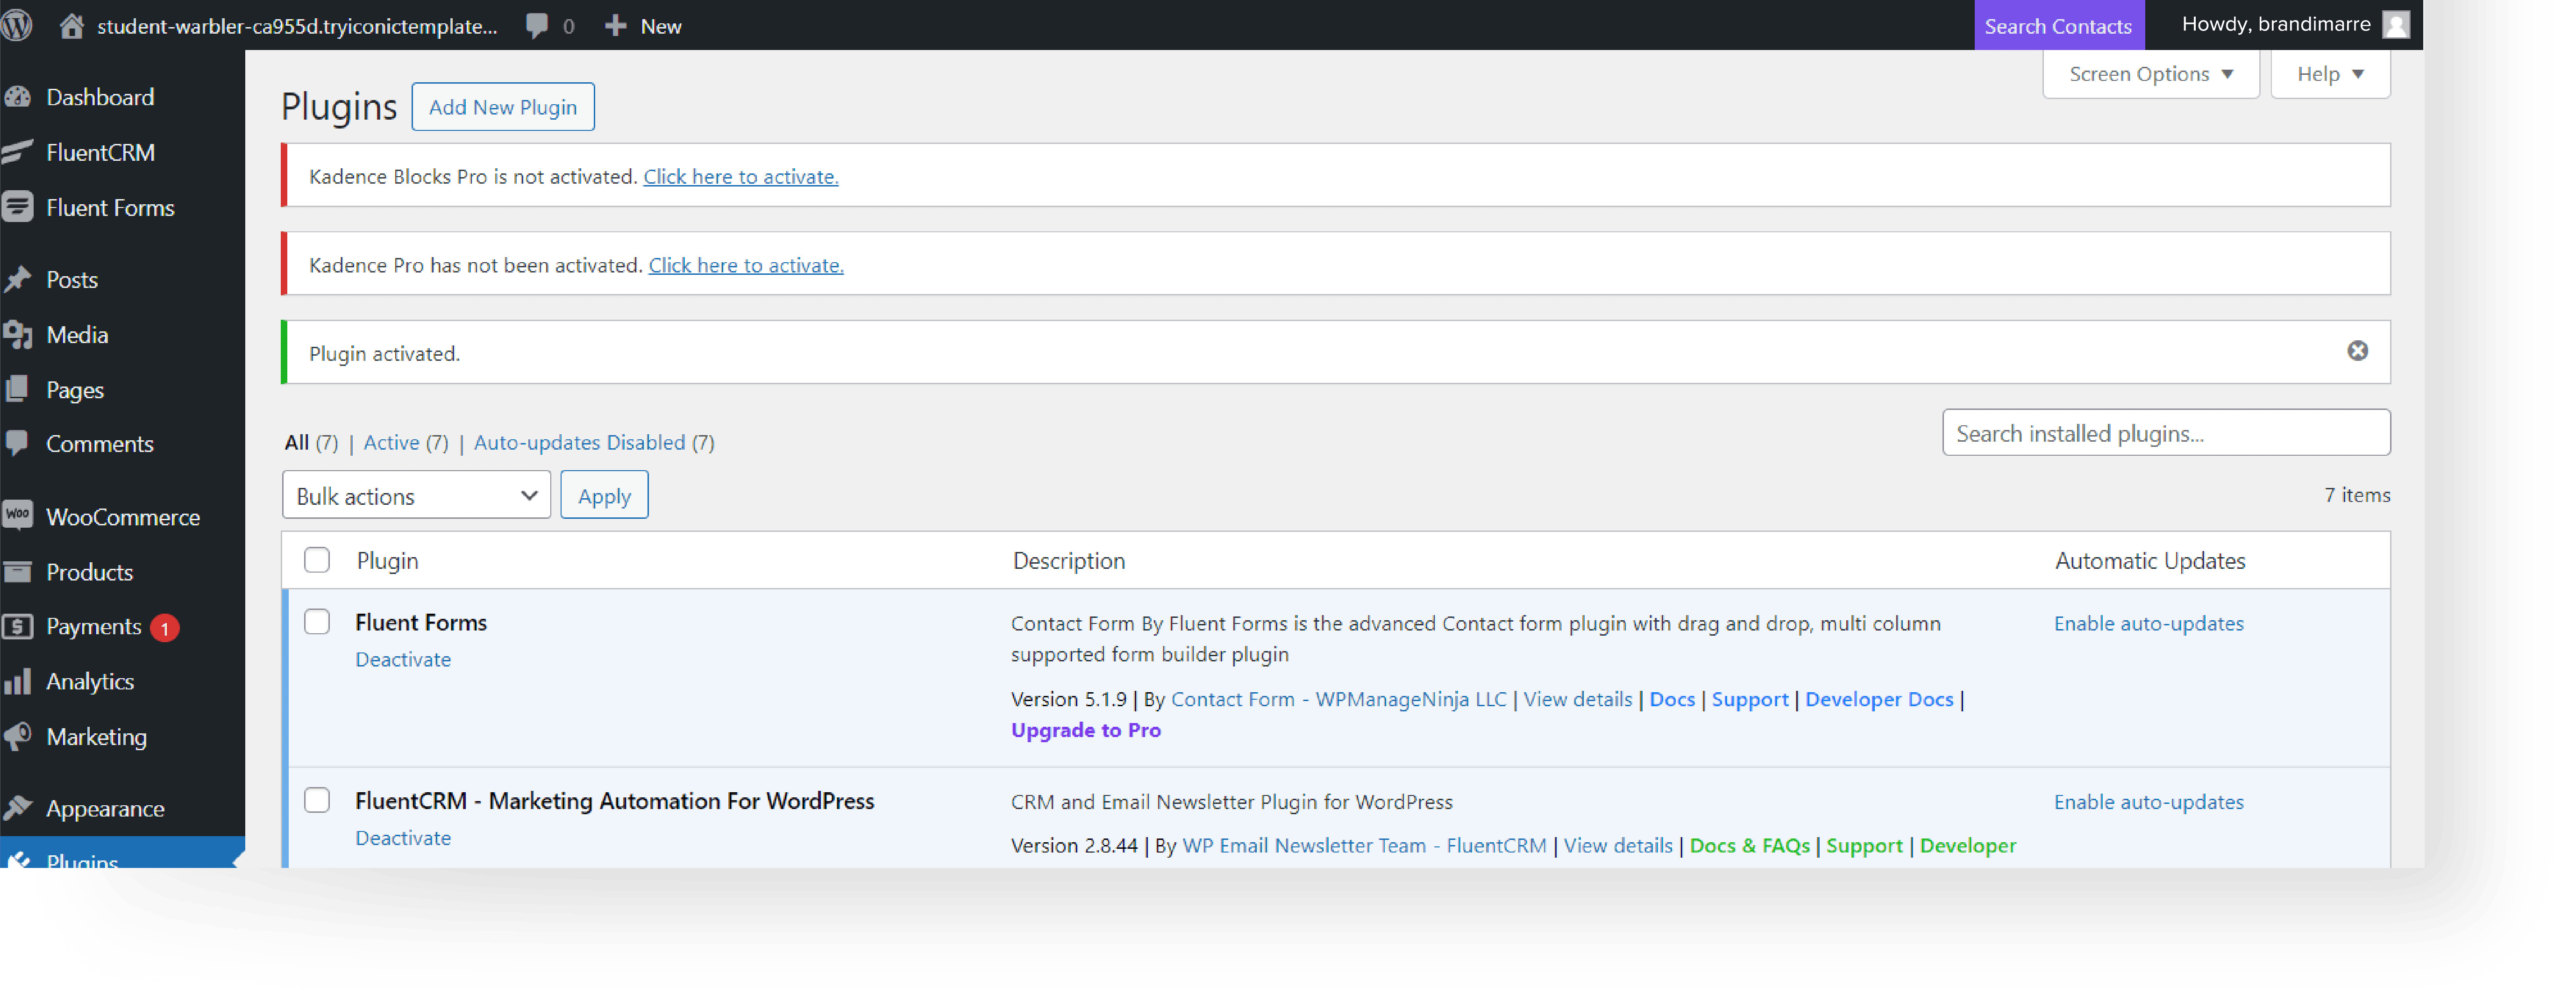
H. Get your product API Key on your Kadence Account, under Product API Keys then copy API KEY.
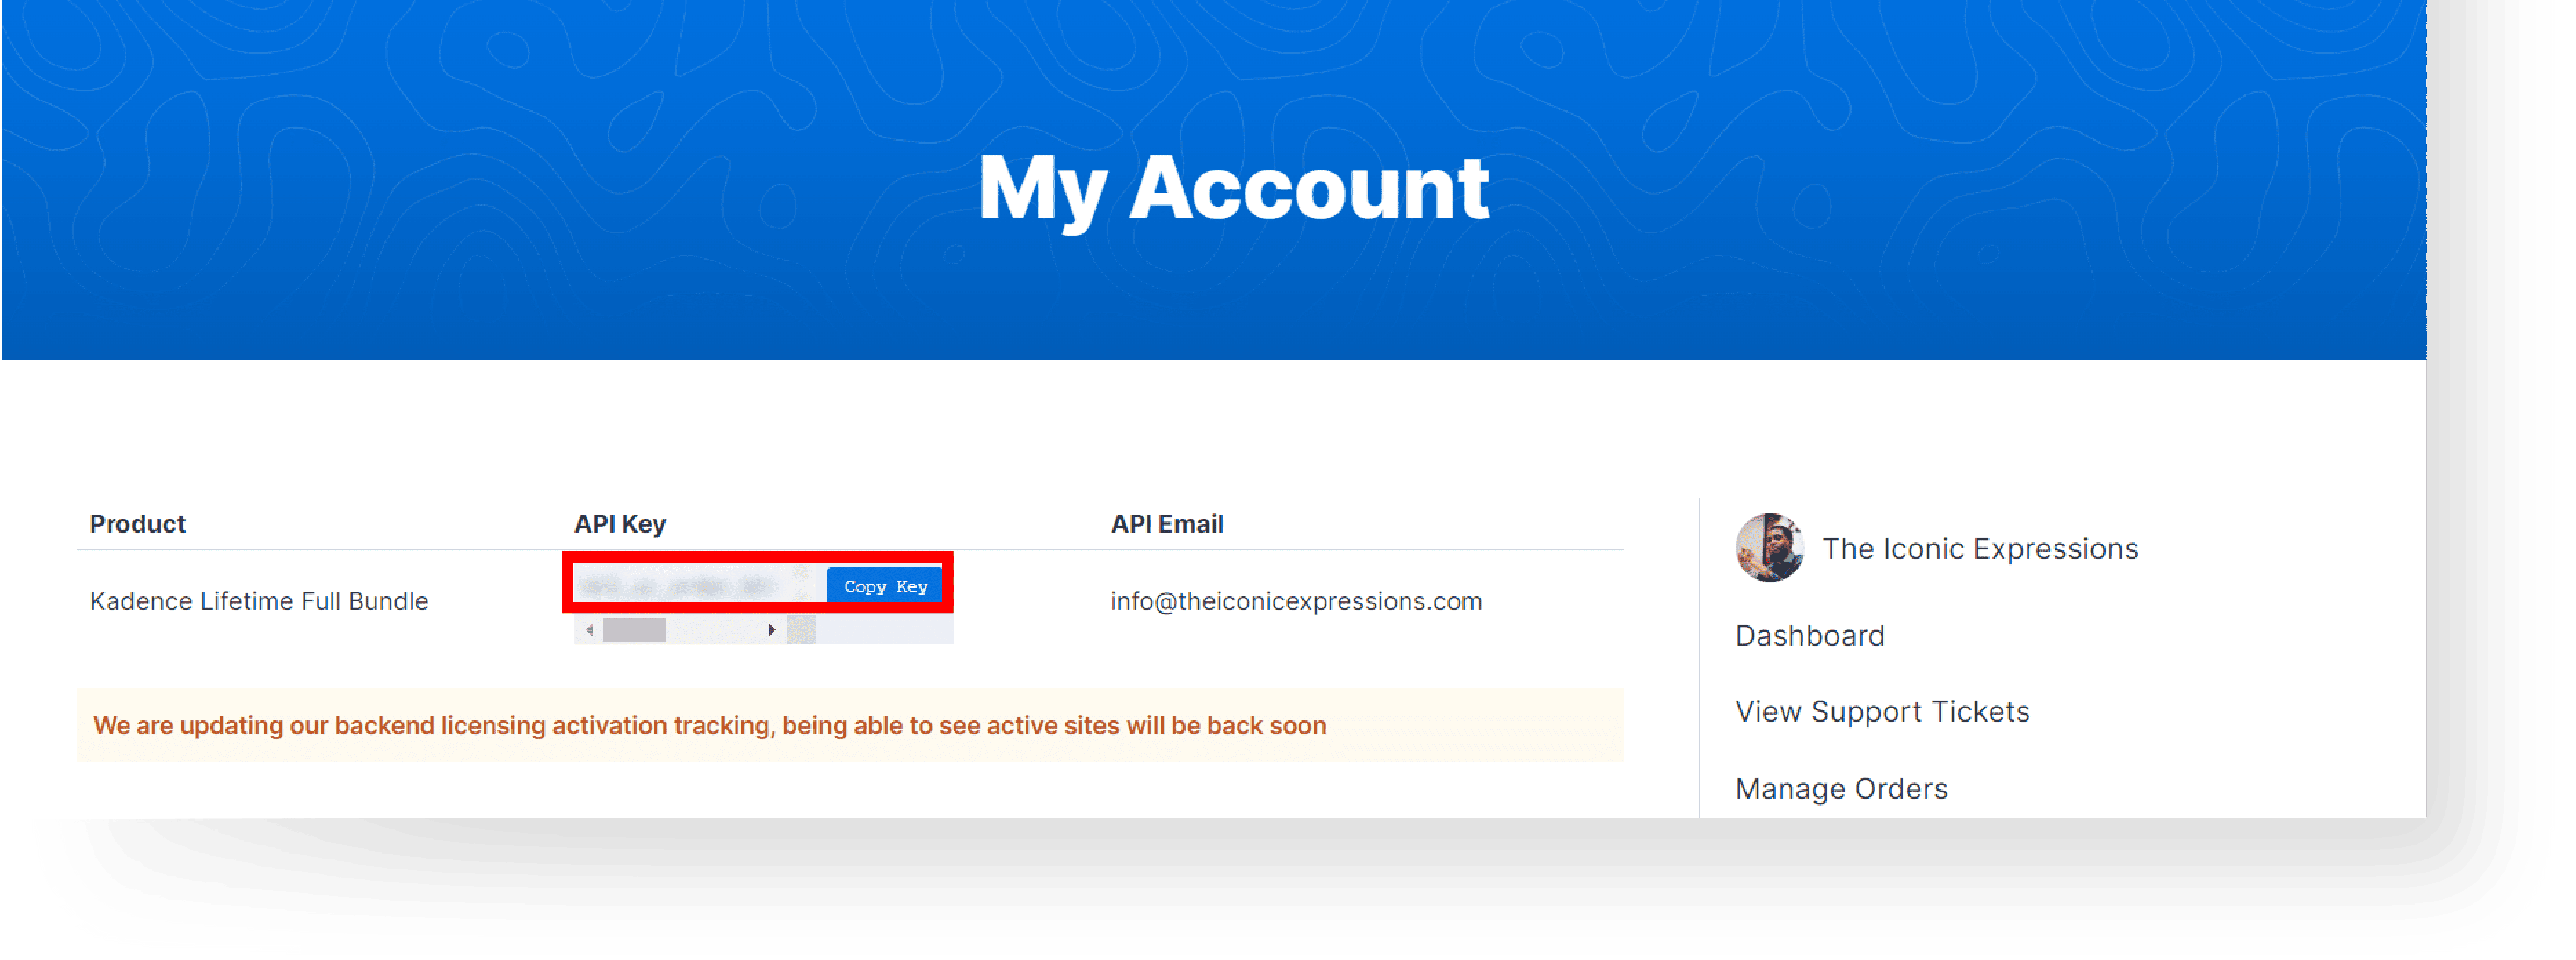
I. Paste the product API Key on Appearance → Kadence.

J. After activating the Kadence Pro plugin, enable these pro add-ons: Header Addons, Conditional Headers, Header/Footer Scripts, Hooked Elements

K. Next add FluentCRM Pro plugin, go to https://wpmanageninja.com/ → Account Dashboard and download the plugin.
L. Go to your WordPress Dashboard.
M. Plugins → Add New.
N. Click the Upload Plugin button. Insert FluentCRM Pro Plugin, click Install Now, and activate the plugin.
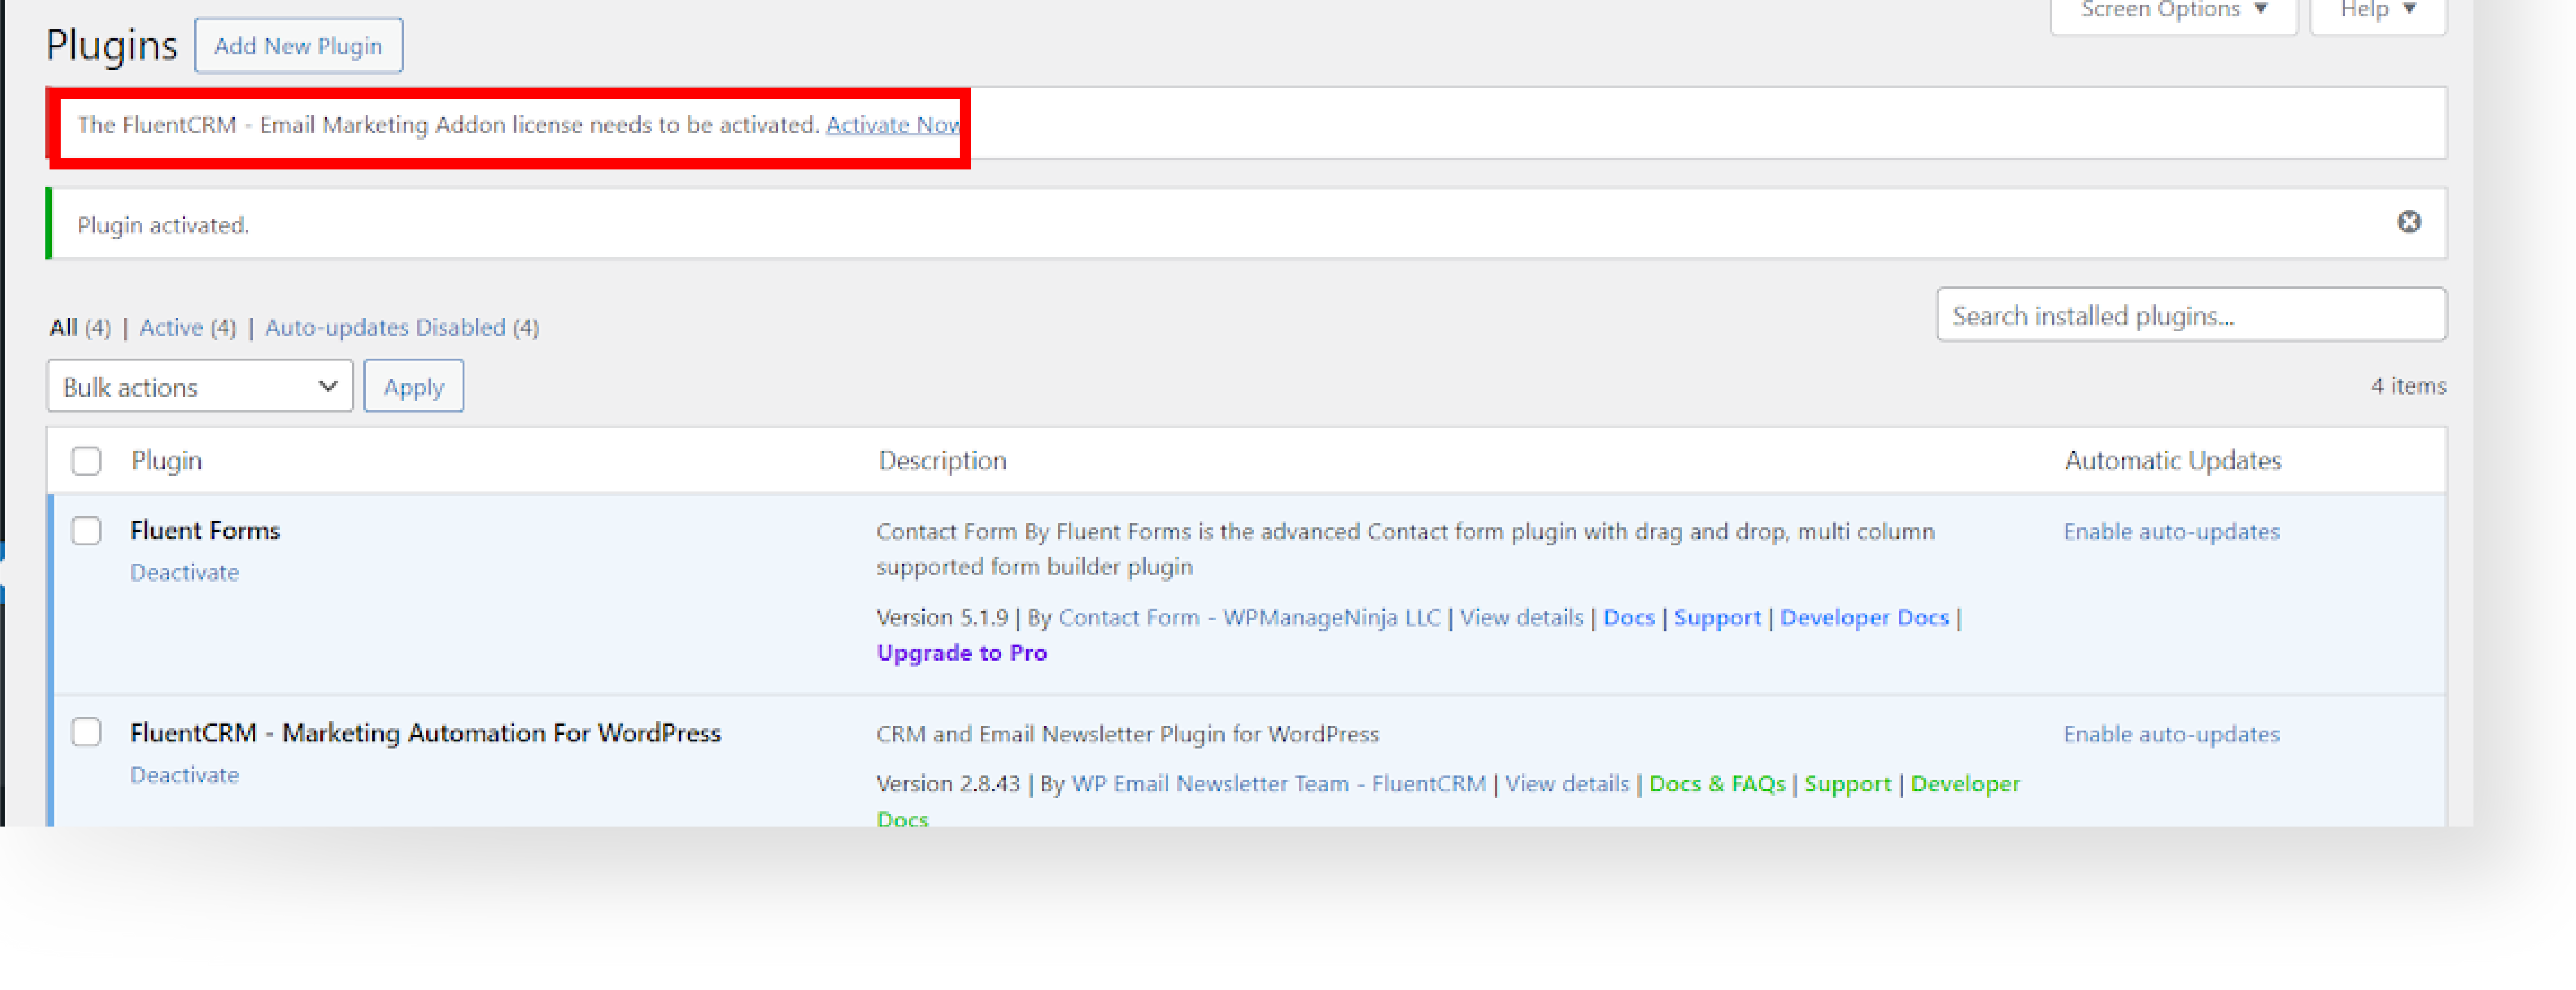
O. Activate The FluentCRM – Email Marketing Addon license, by clicking the Activate Now link.
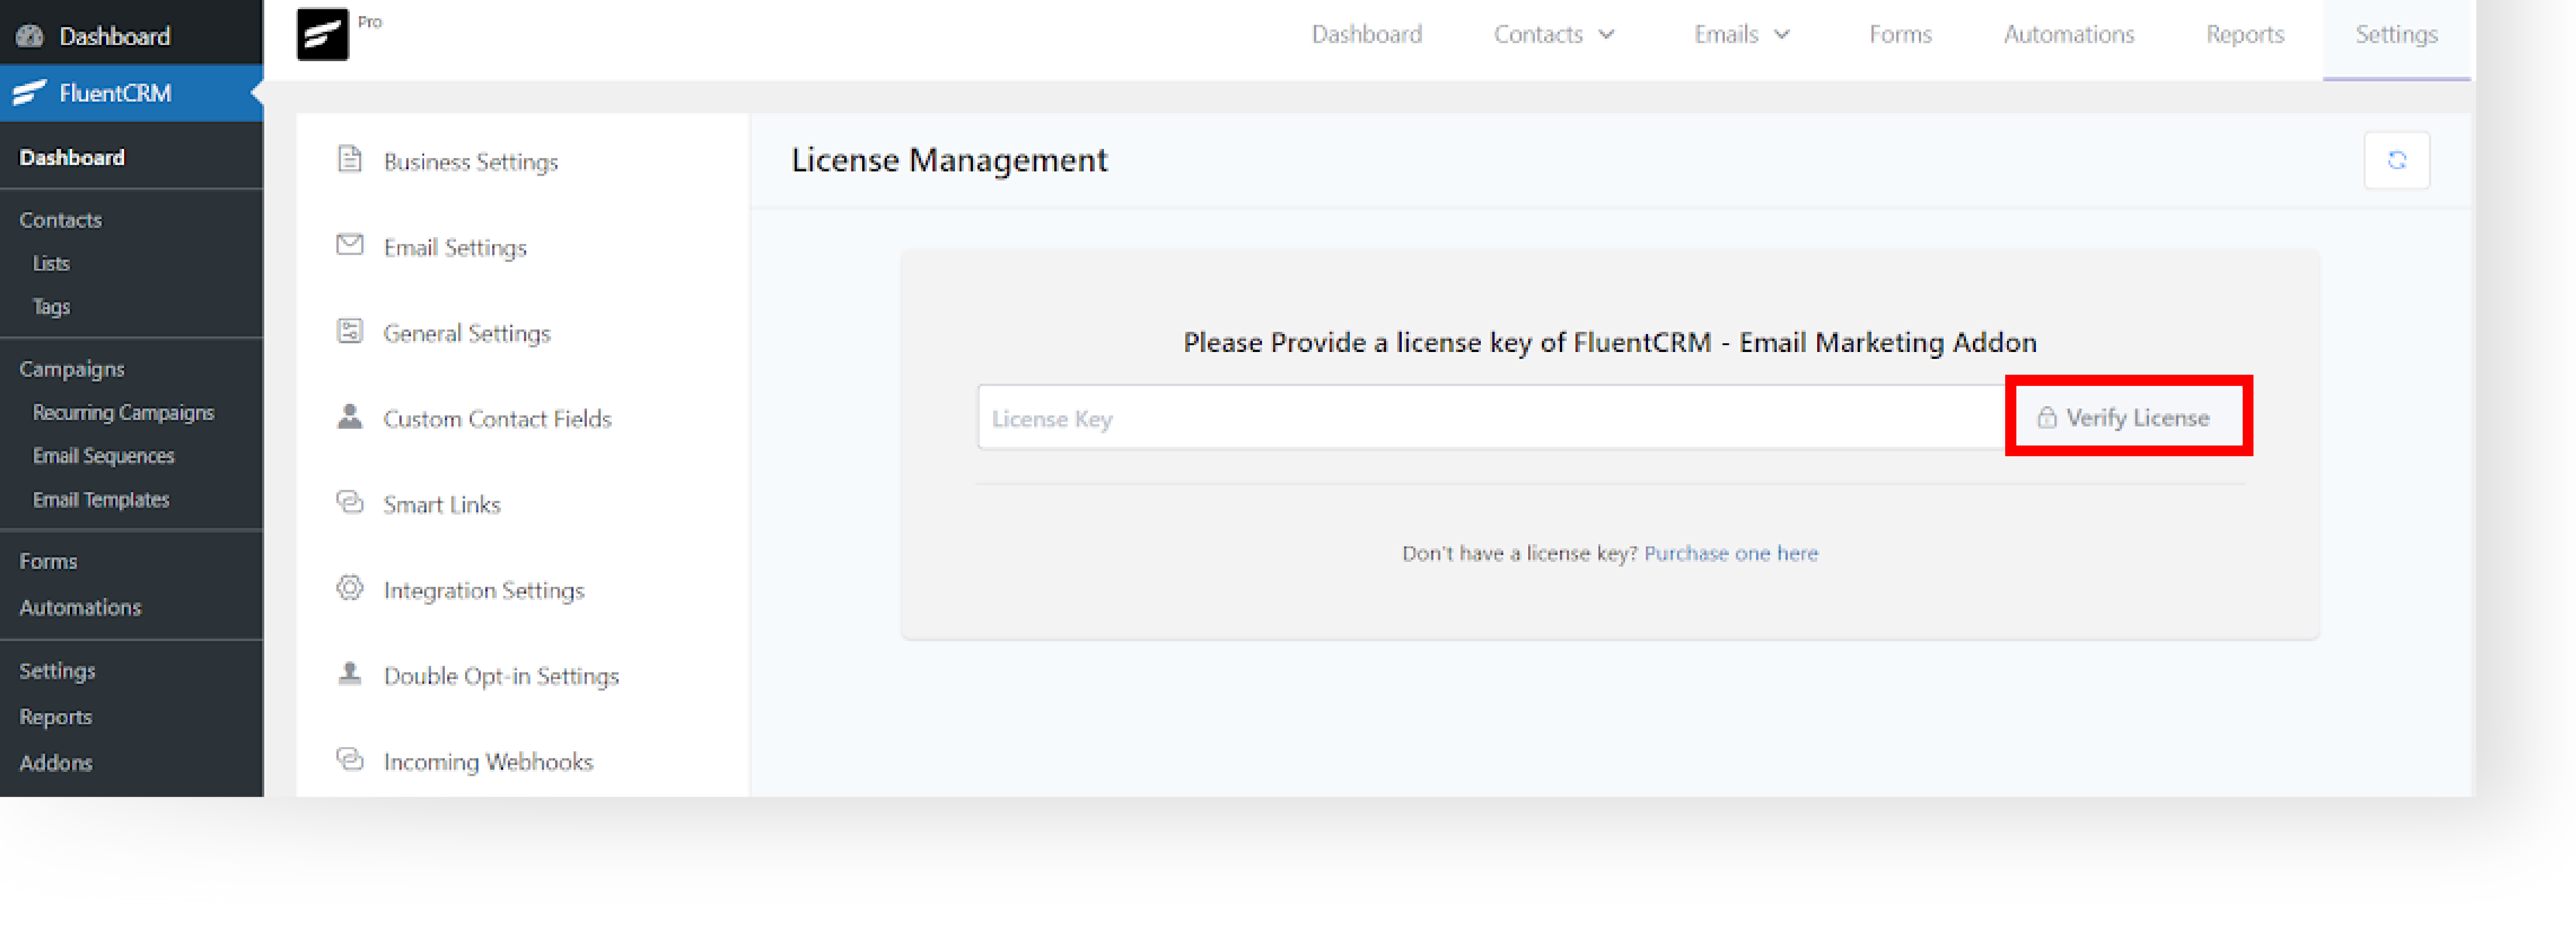
P. Insert the License Key and click the Verify License button.
Step 6: Install Template Theme #
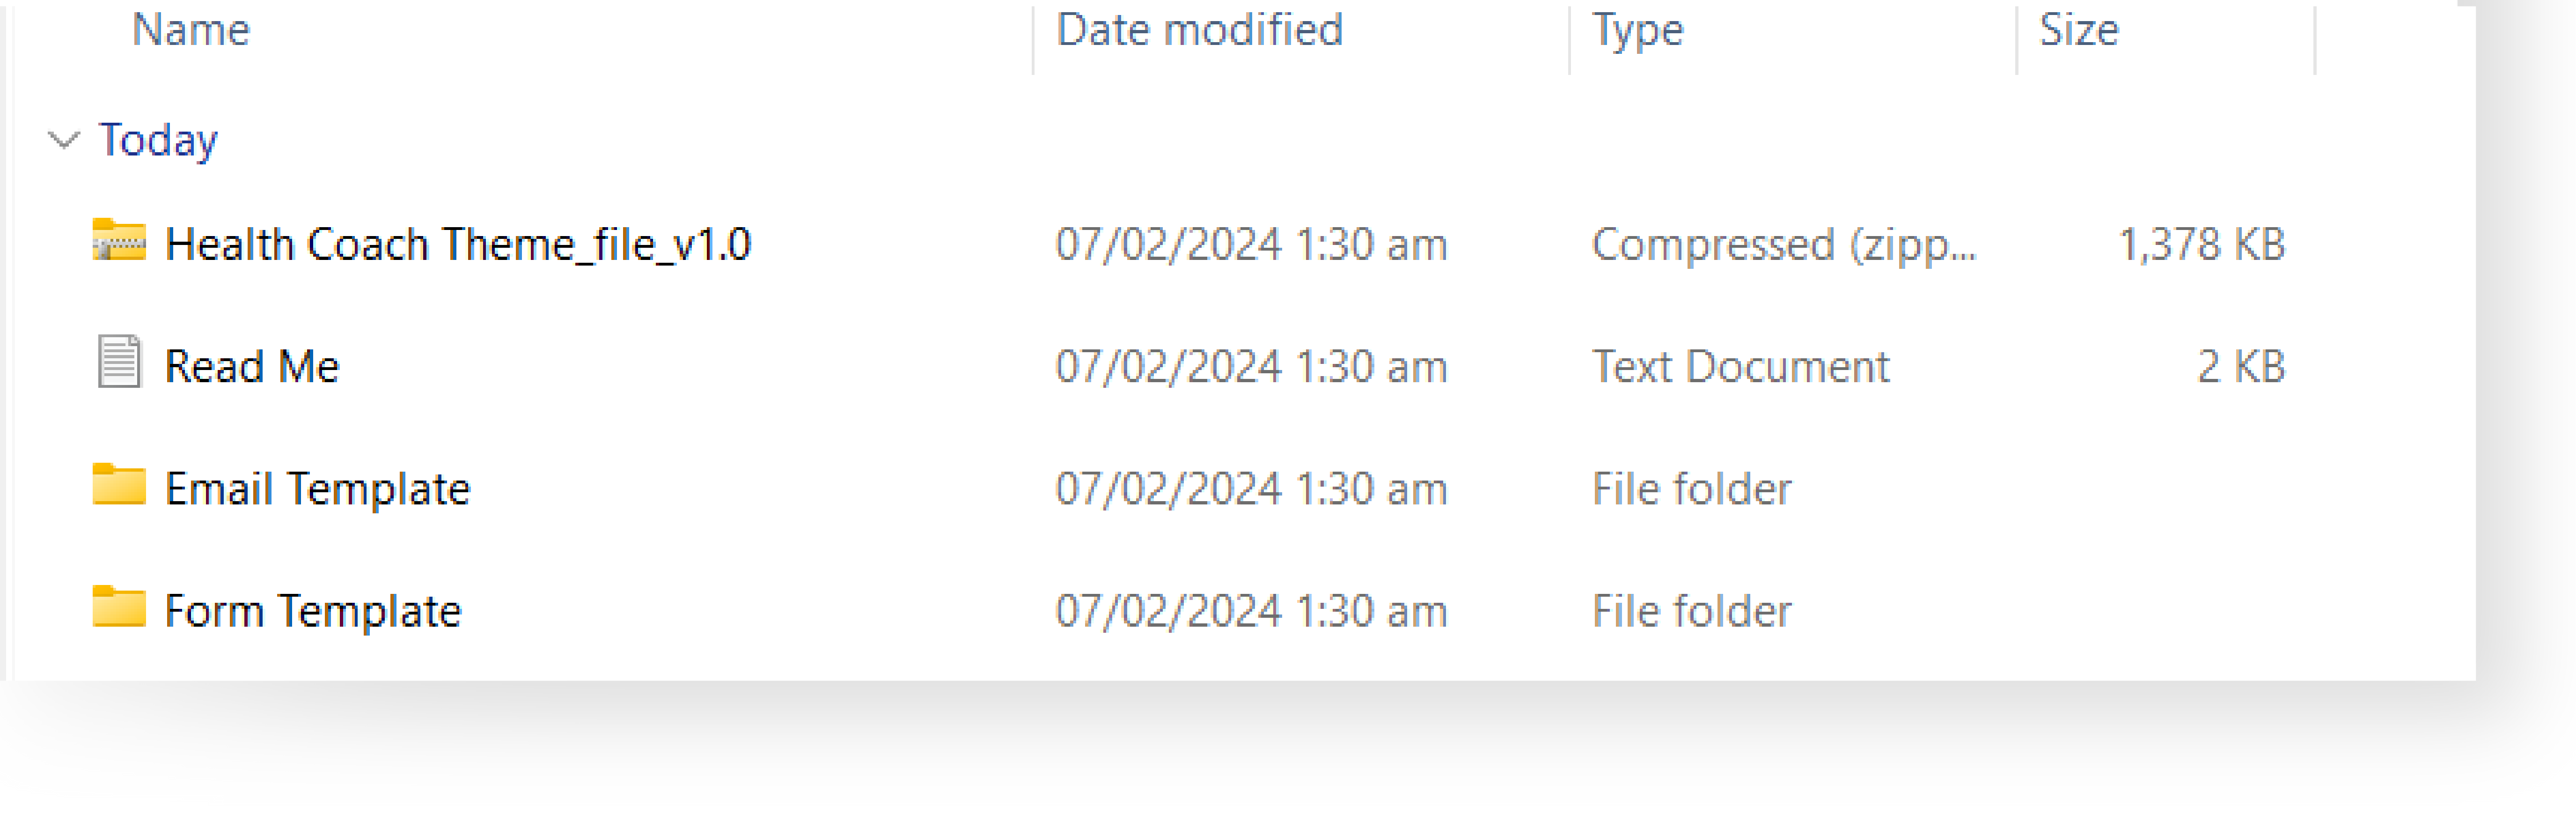
A. Locate the Template Theme Package zip file and extract.
B. Inside the Template Theme Package, it contains the “Theme zip file”, “Email Template Folder”, “Form Template Folder” and “Read Me File”.
C. Go back to your WordPress Dashboard.
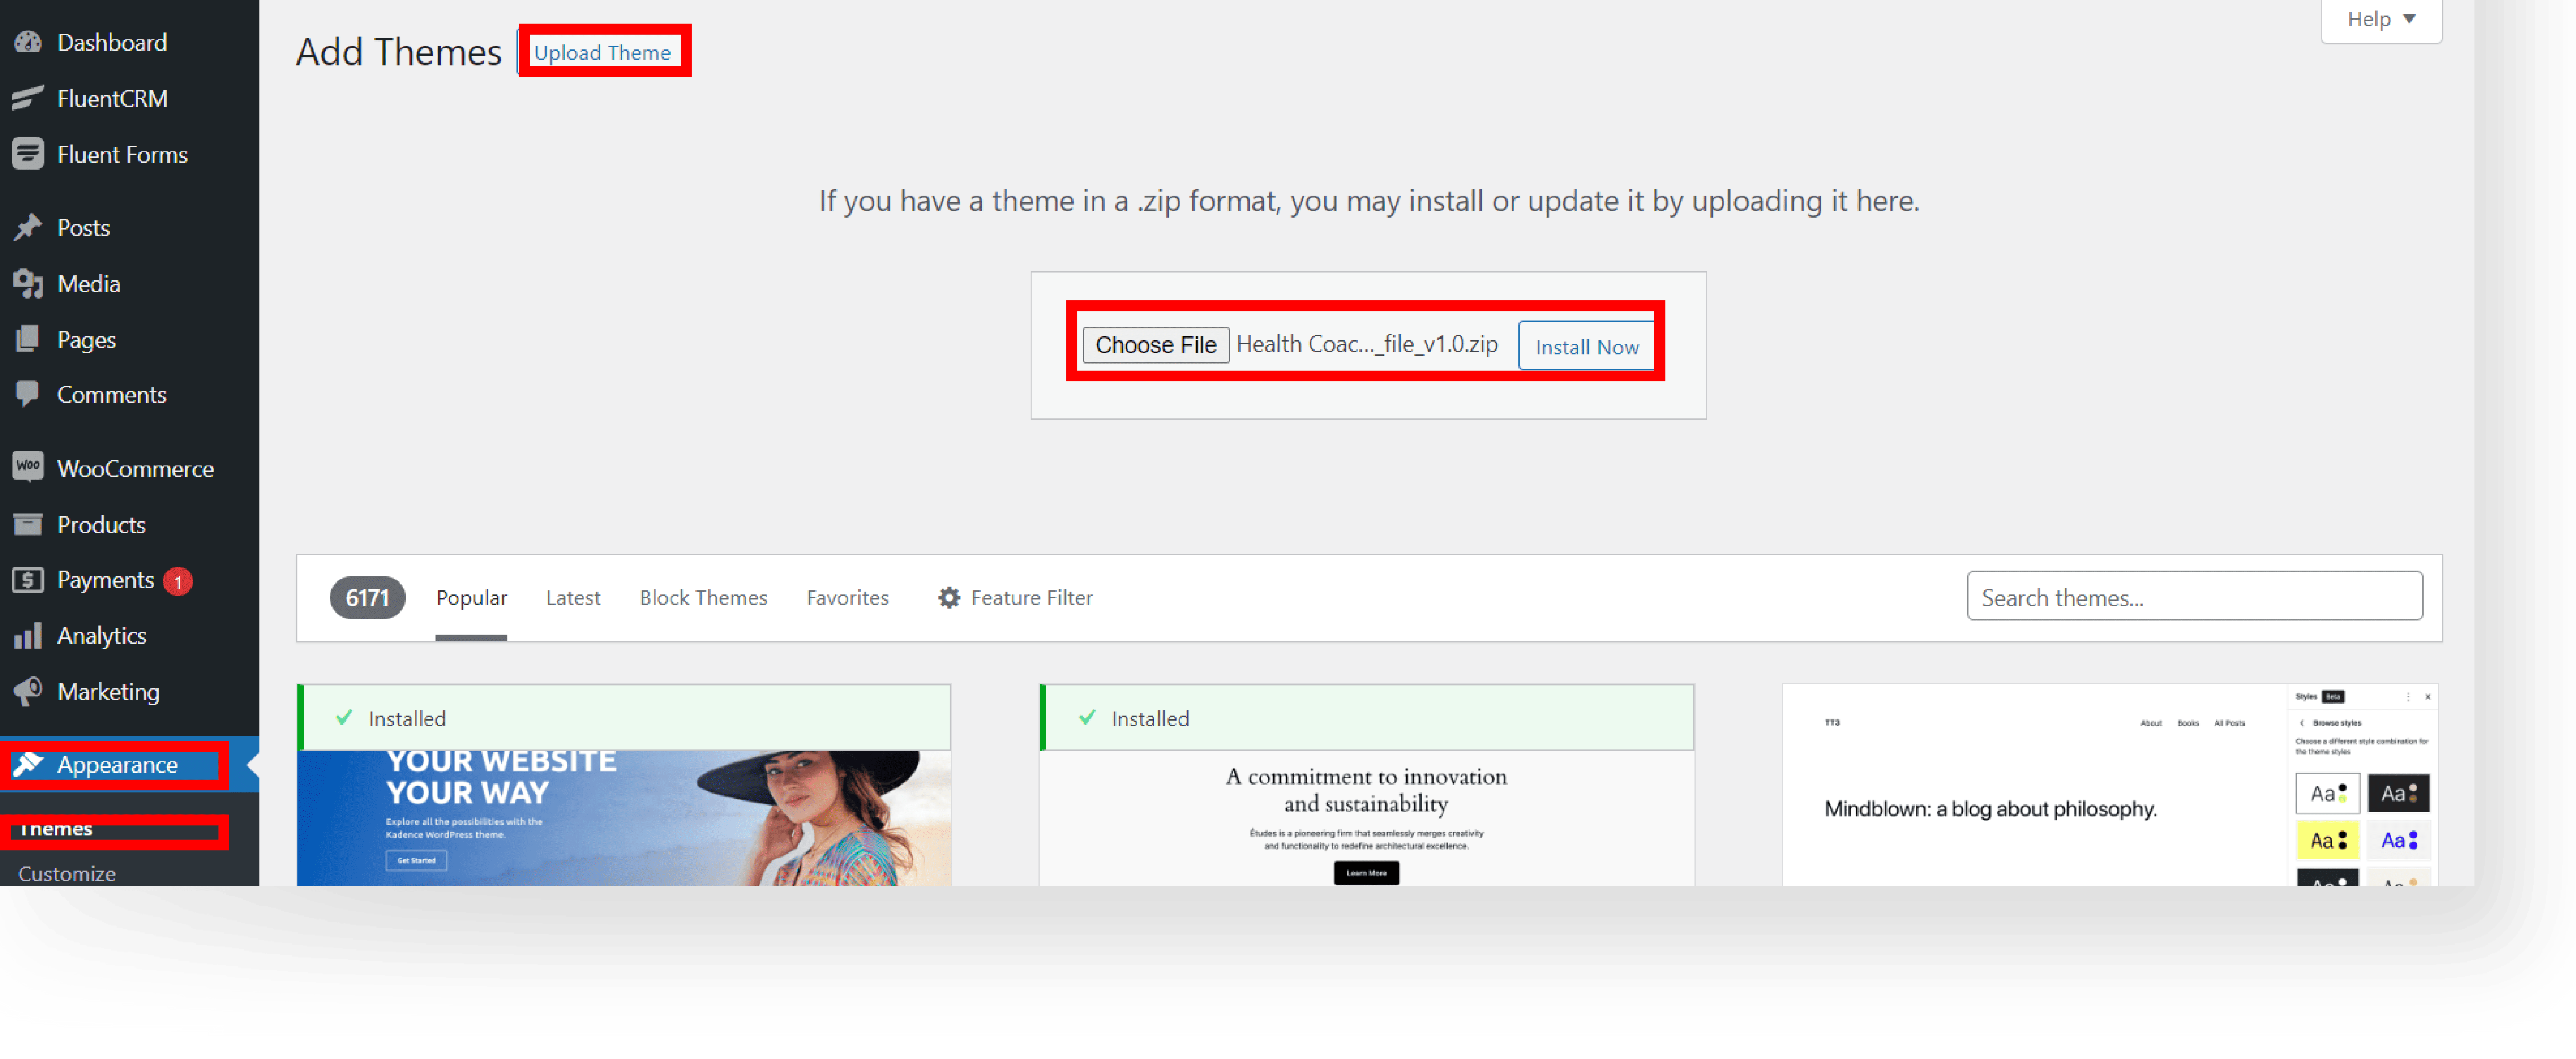
D. Navigate to Appearance → Themes → Add New Theme → click the Upload Theme button → Upload Template Theme zip File → install and activate.
Step 7: Import Demo Content #
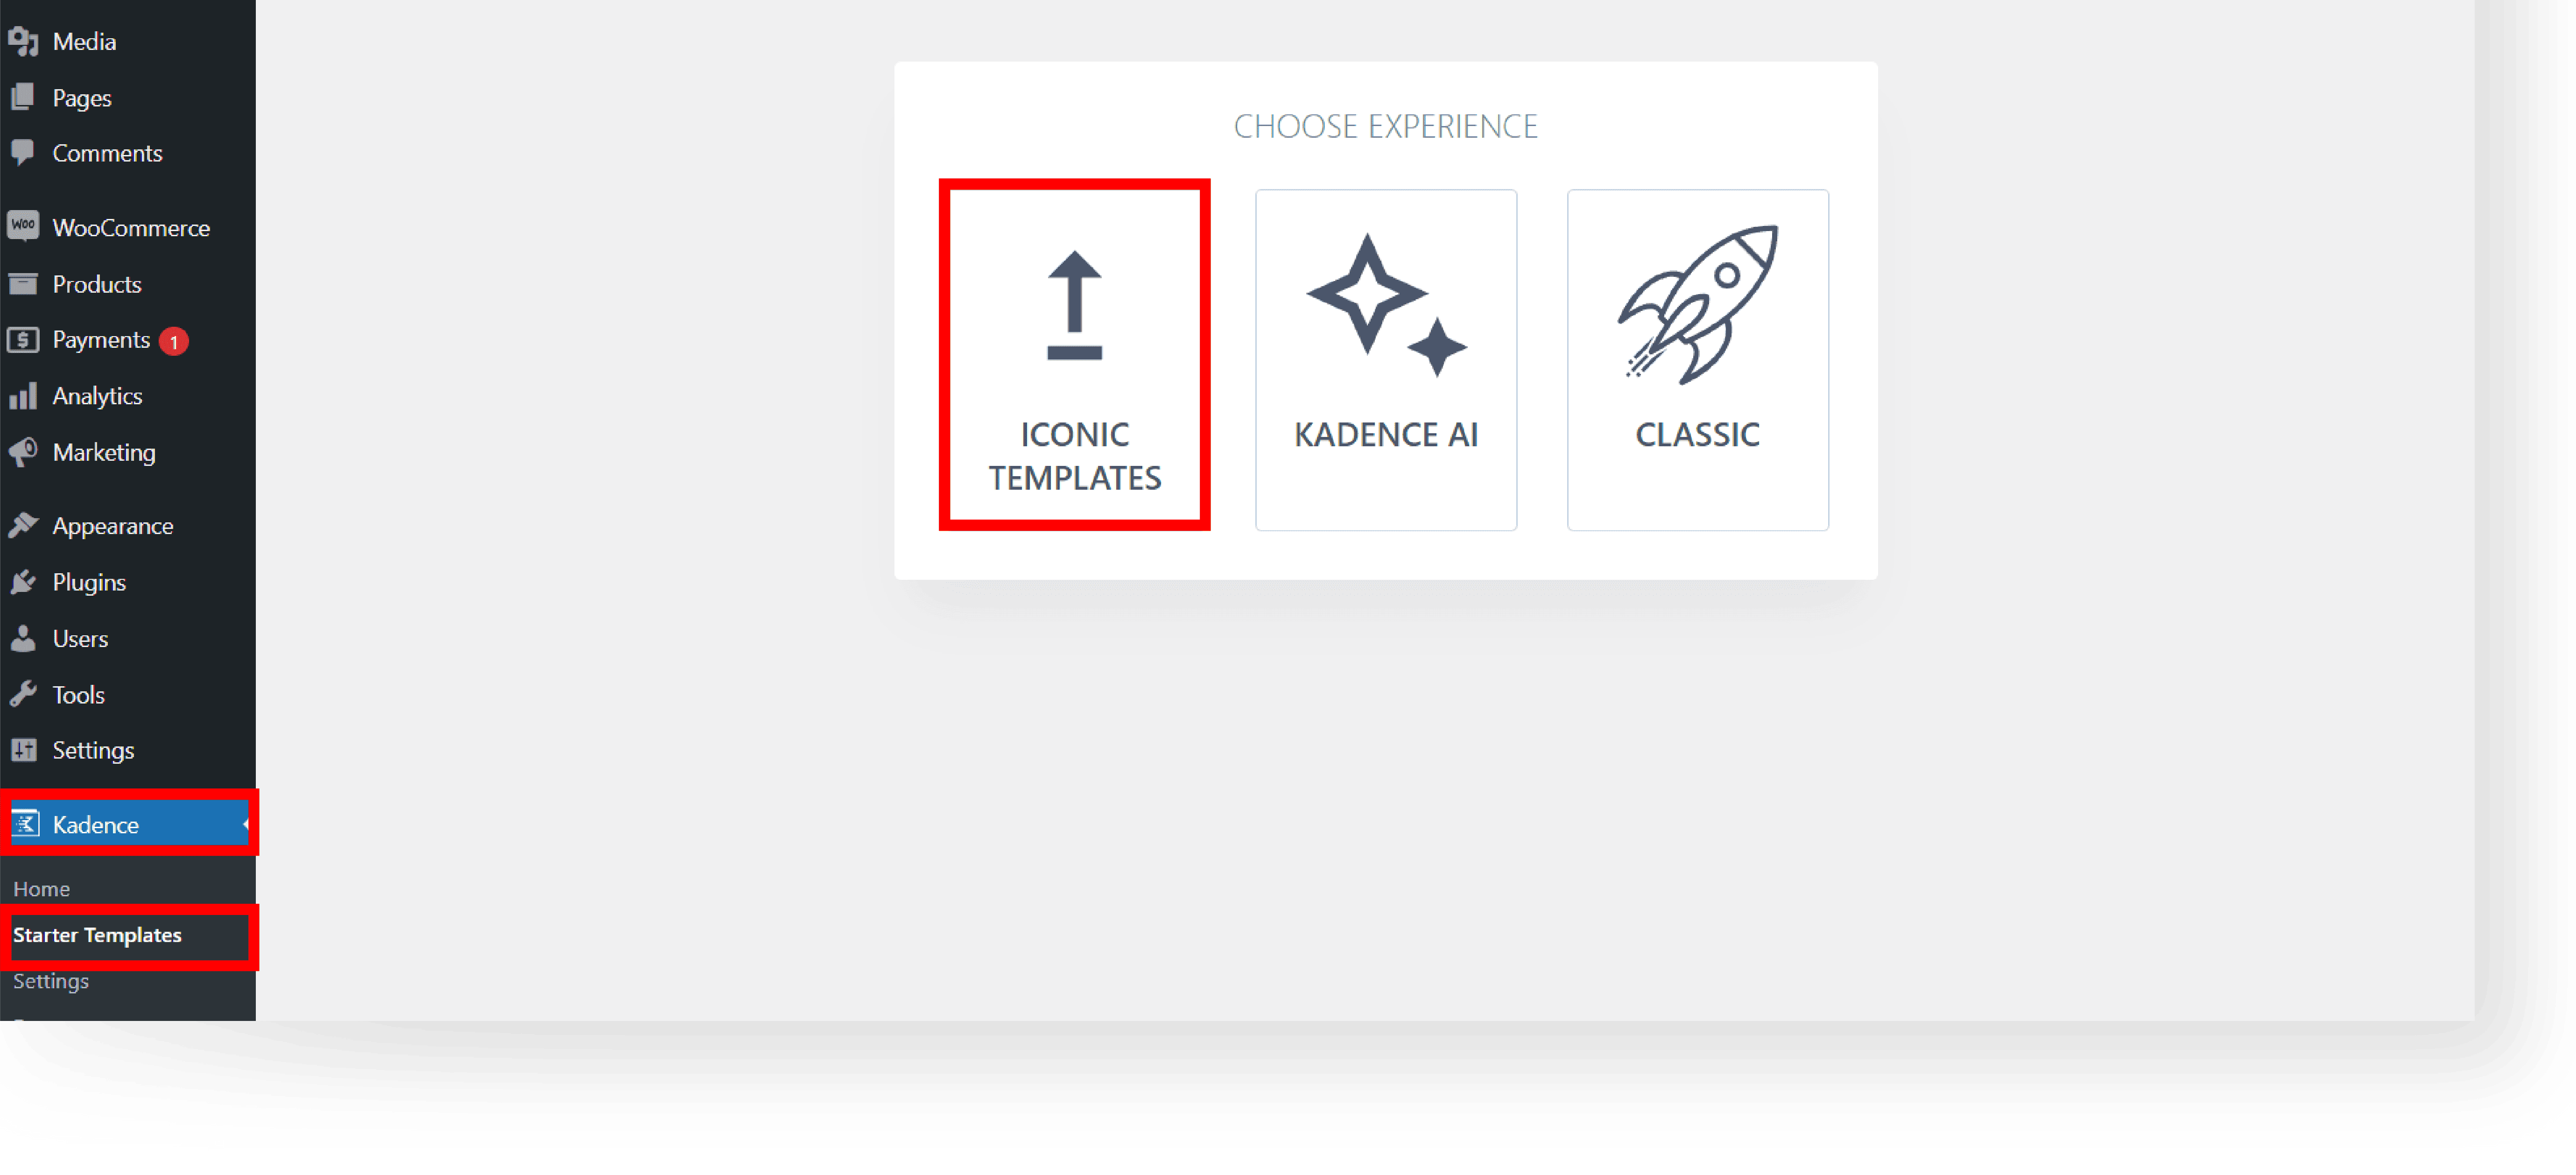
A. To import Theme demo content, go to Kadence → Starter Templates.
B. Choose Iconic Templates.
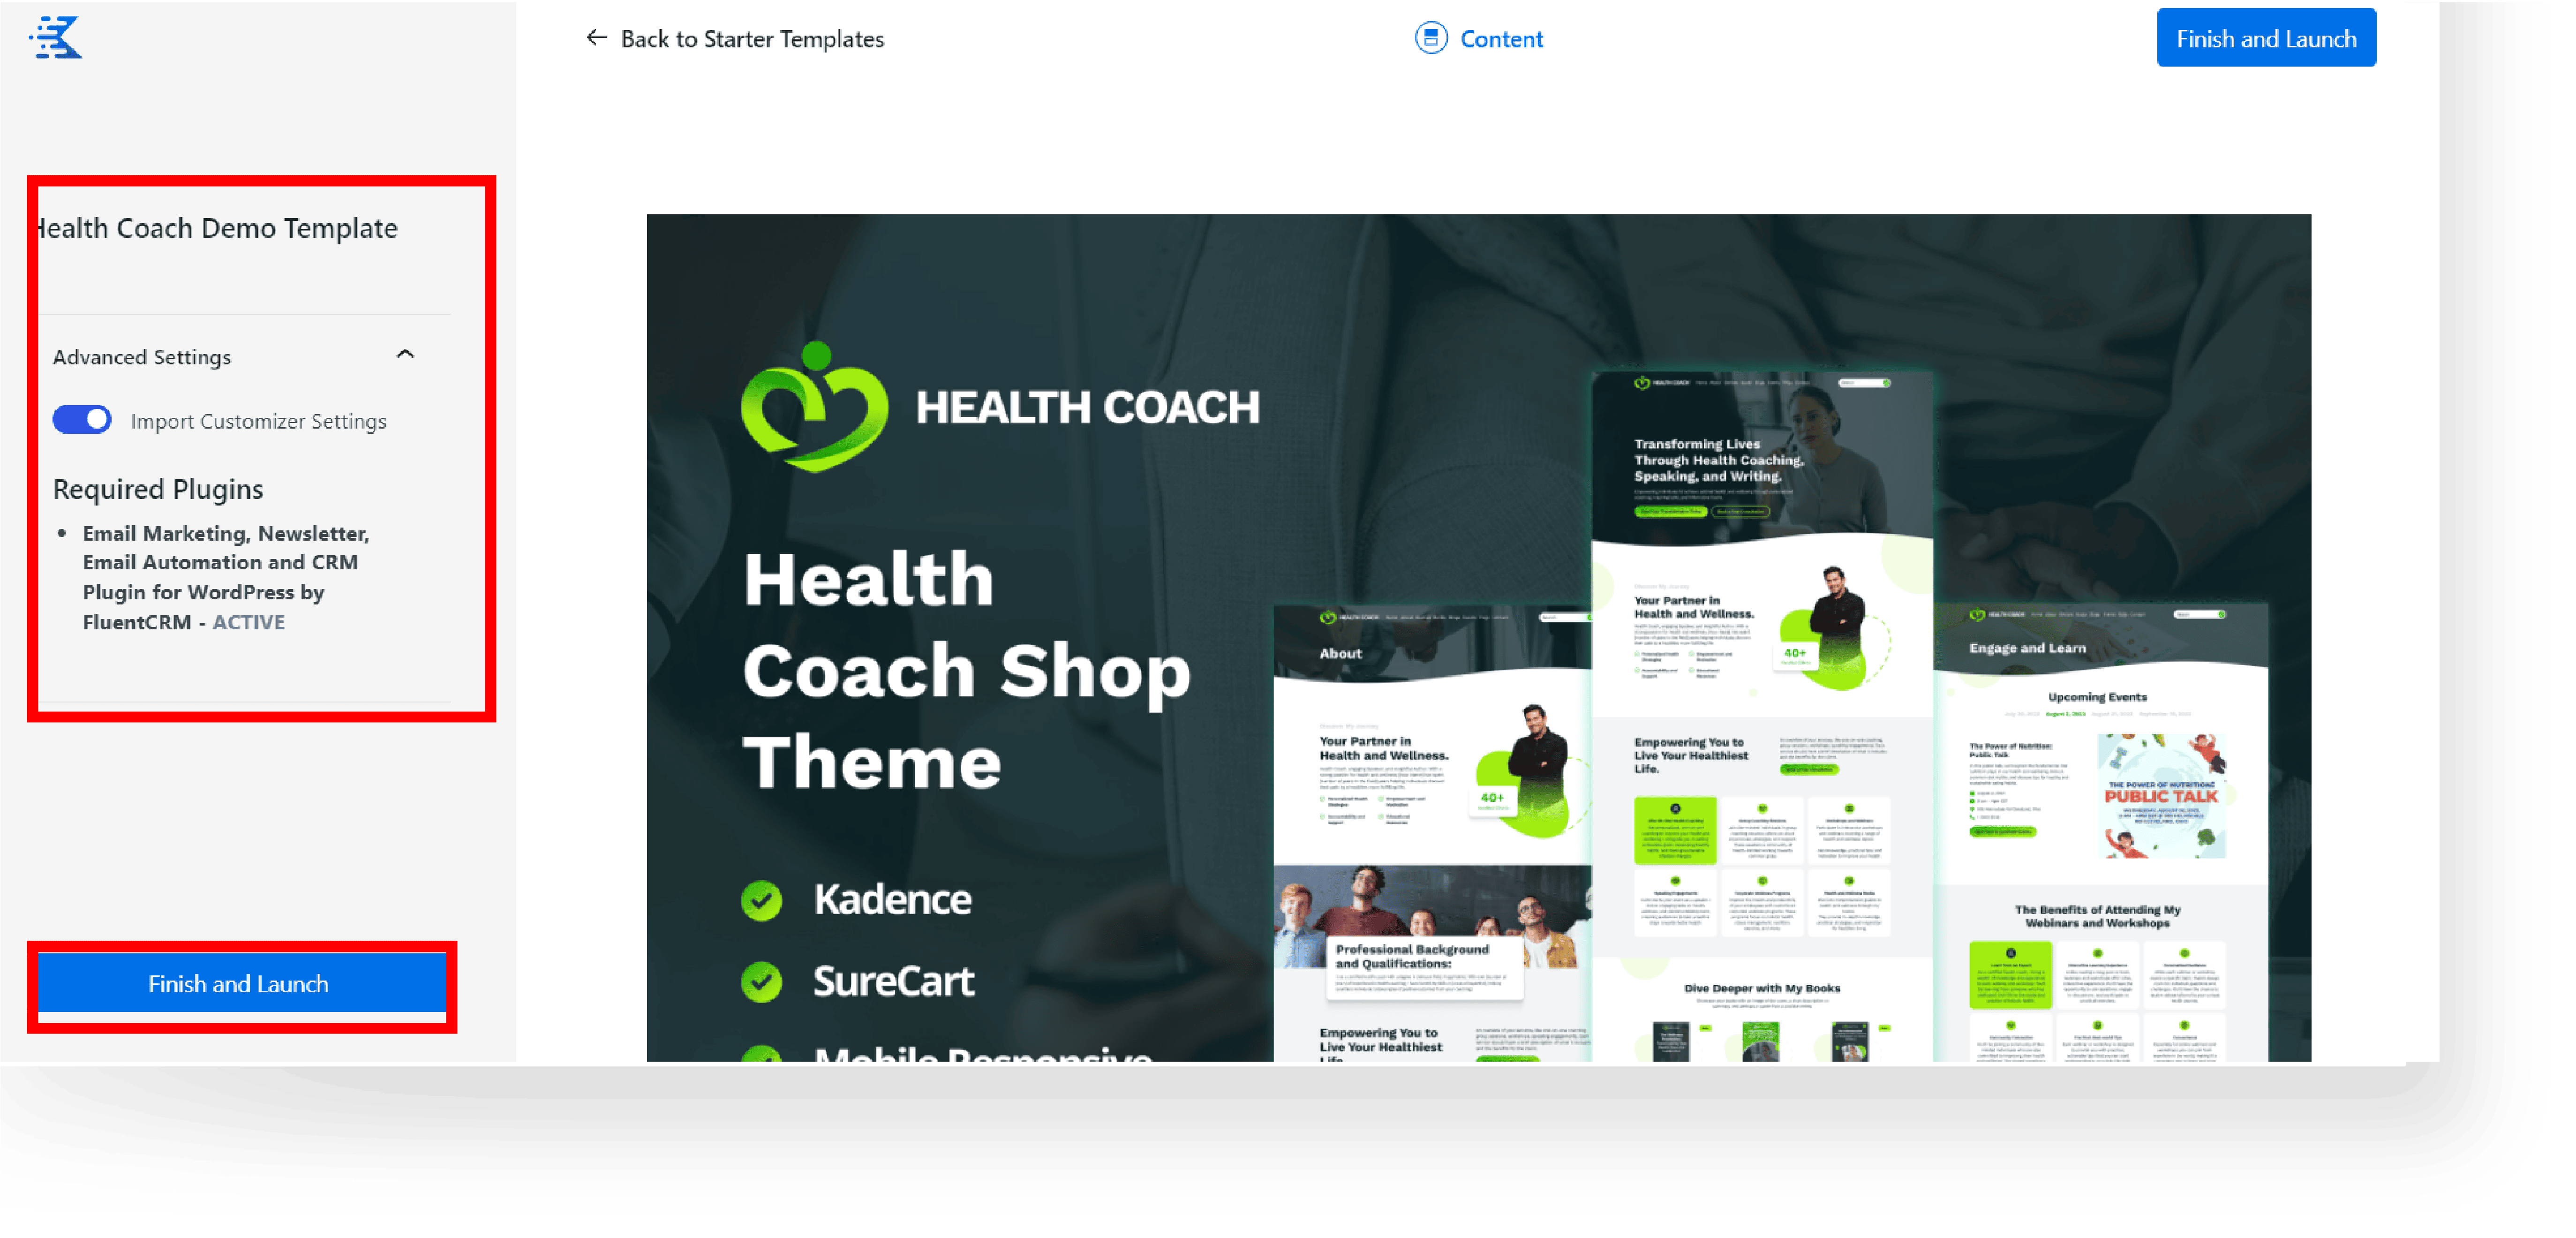
C. Next, choose the Theme Demo Template.

D. Then click the advanced settings dropdown and enable Import Customizer Settings. Click Finish and Launch.
E. Wait for 2-5 minutes depending on your internet connection for Content to import successfully. After the Demo is imported click See My Site button.
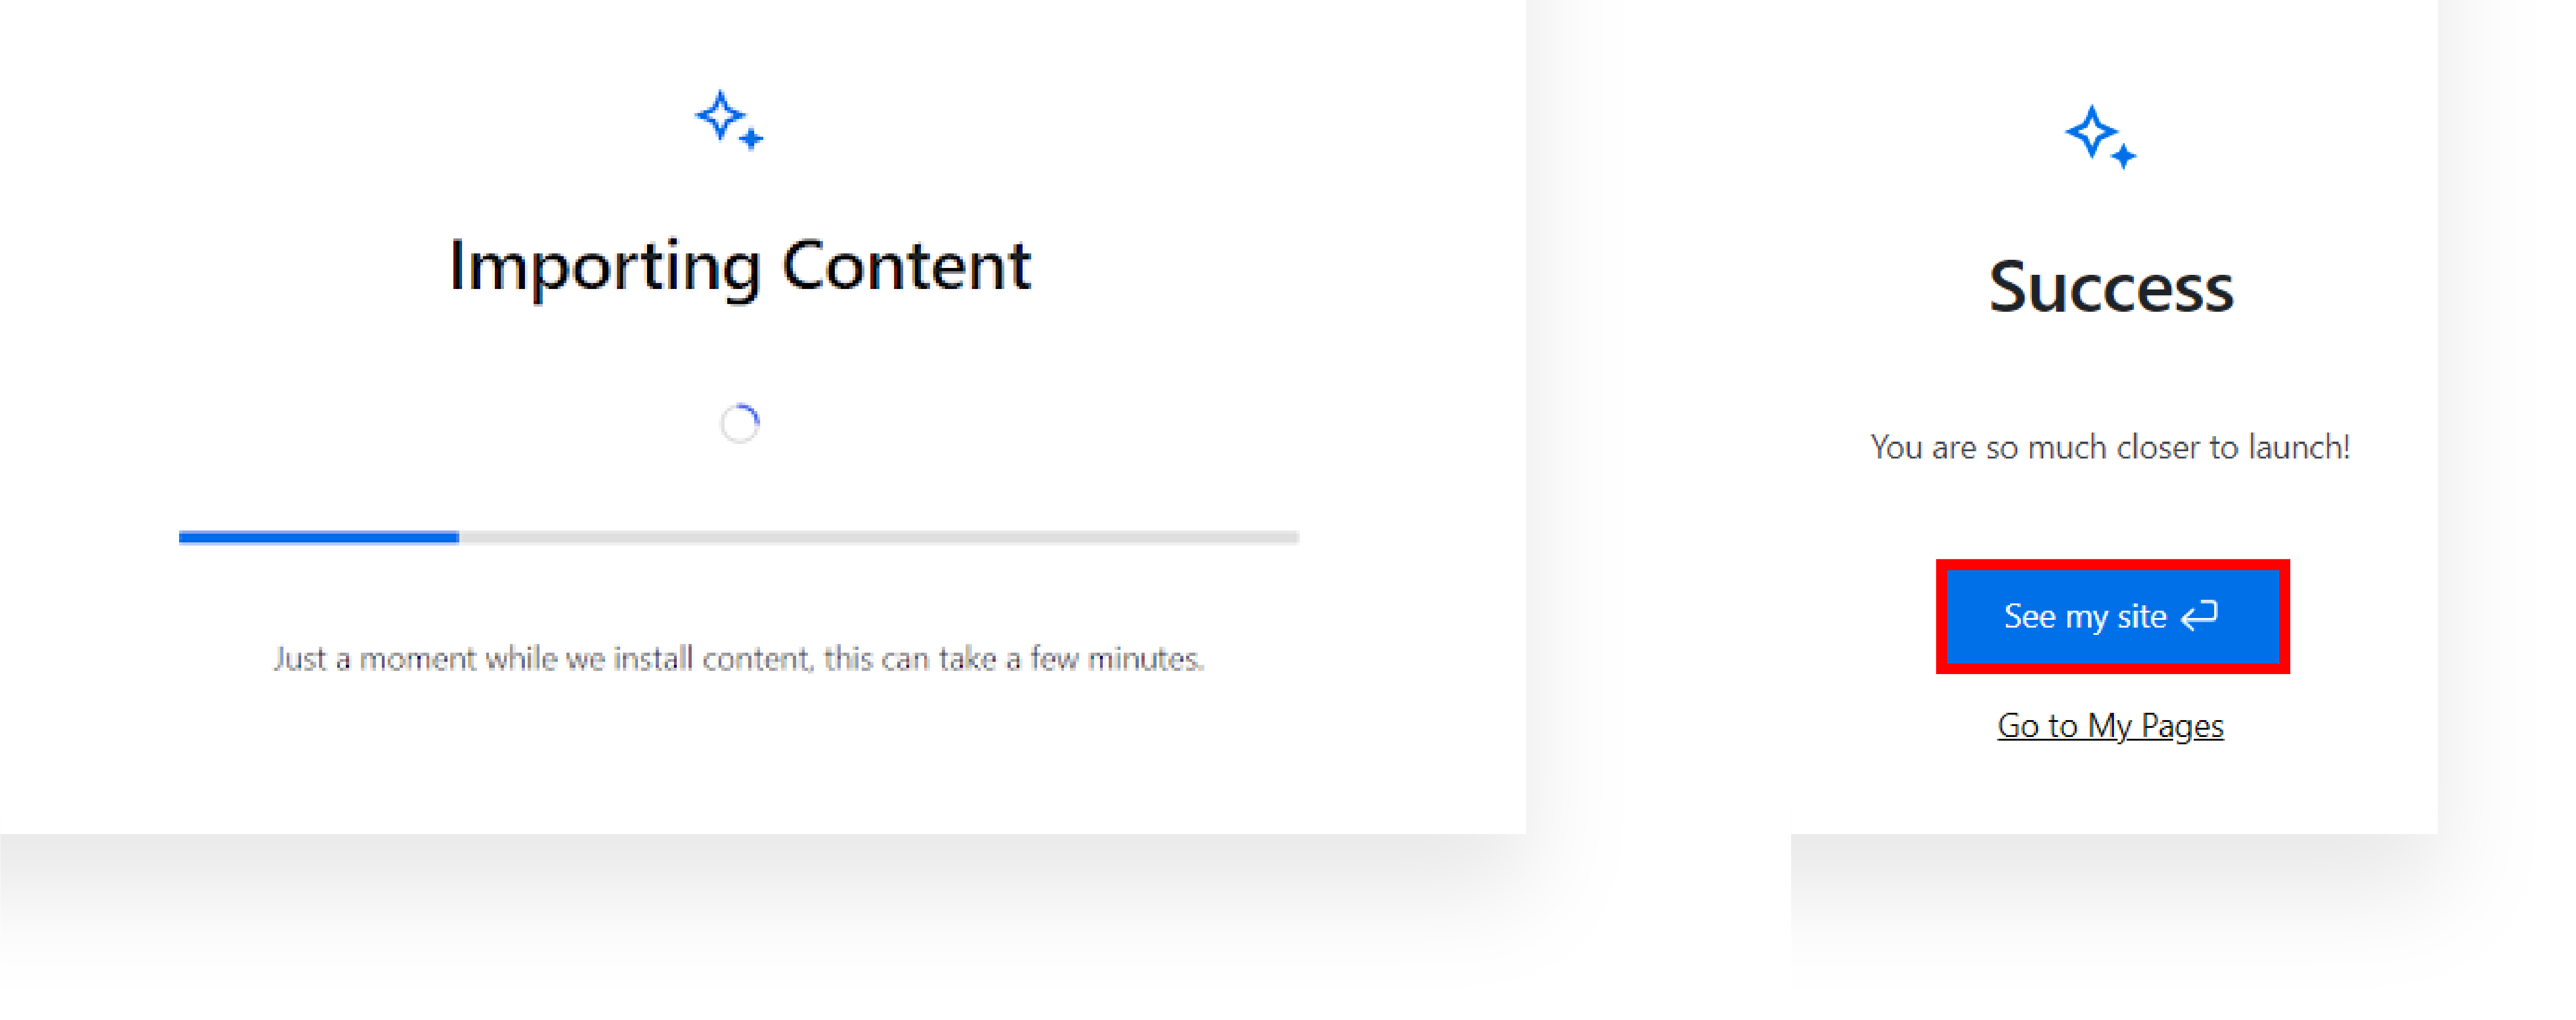
F. After you click the See My Site button, you will redirected to the site with demo content.

Step 8: Import the Forms Template into Fluent Forms #
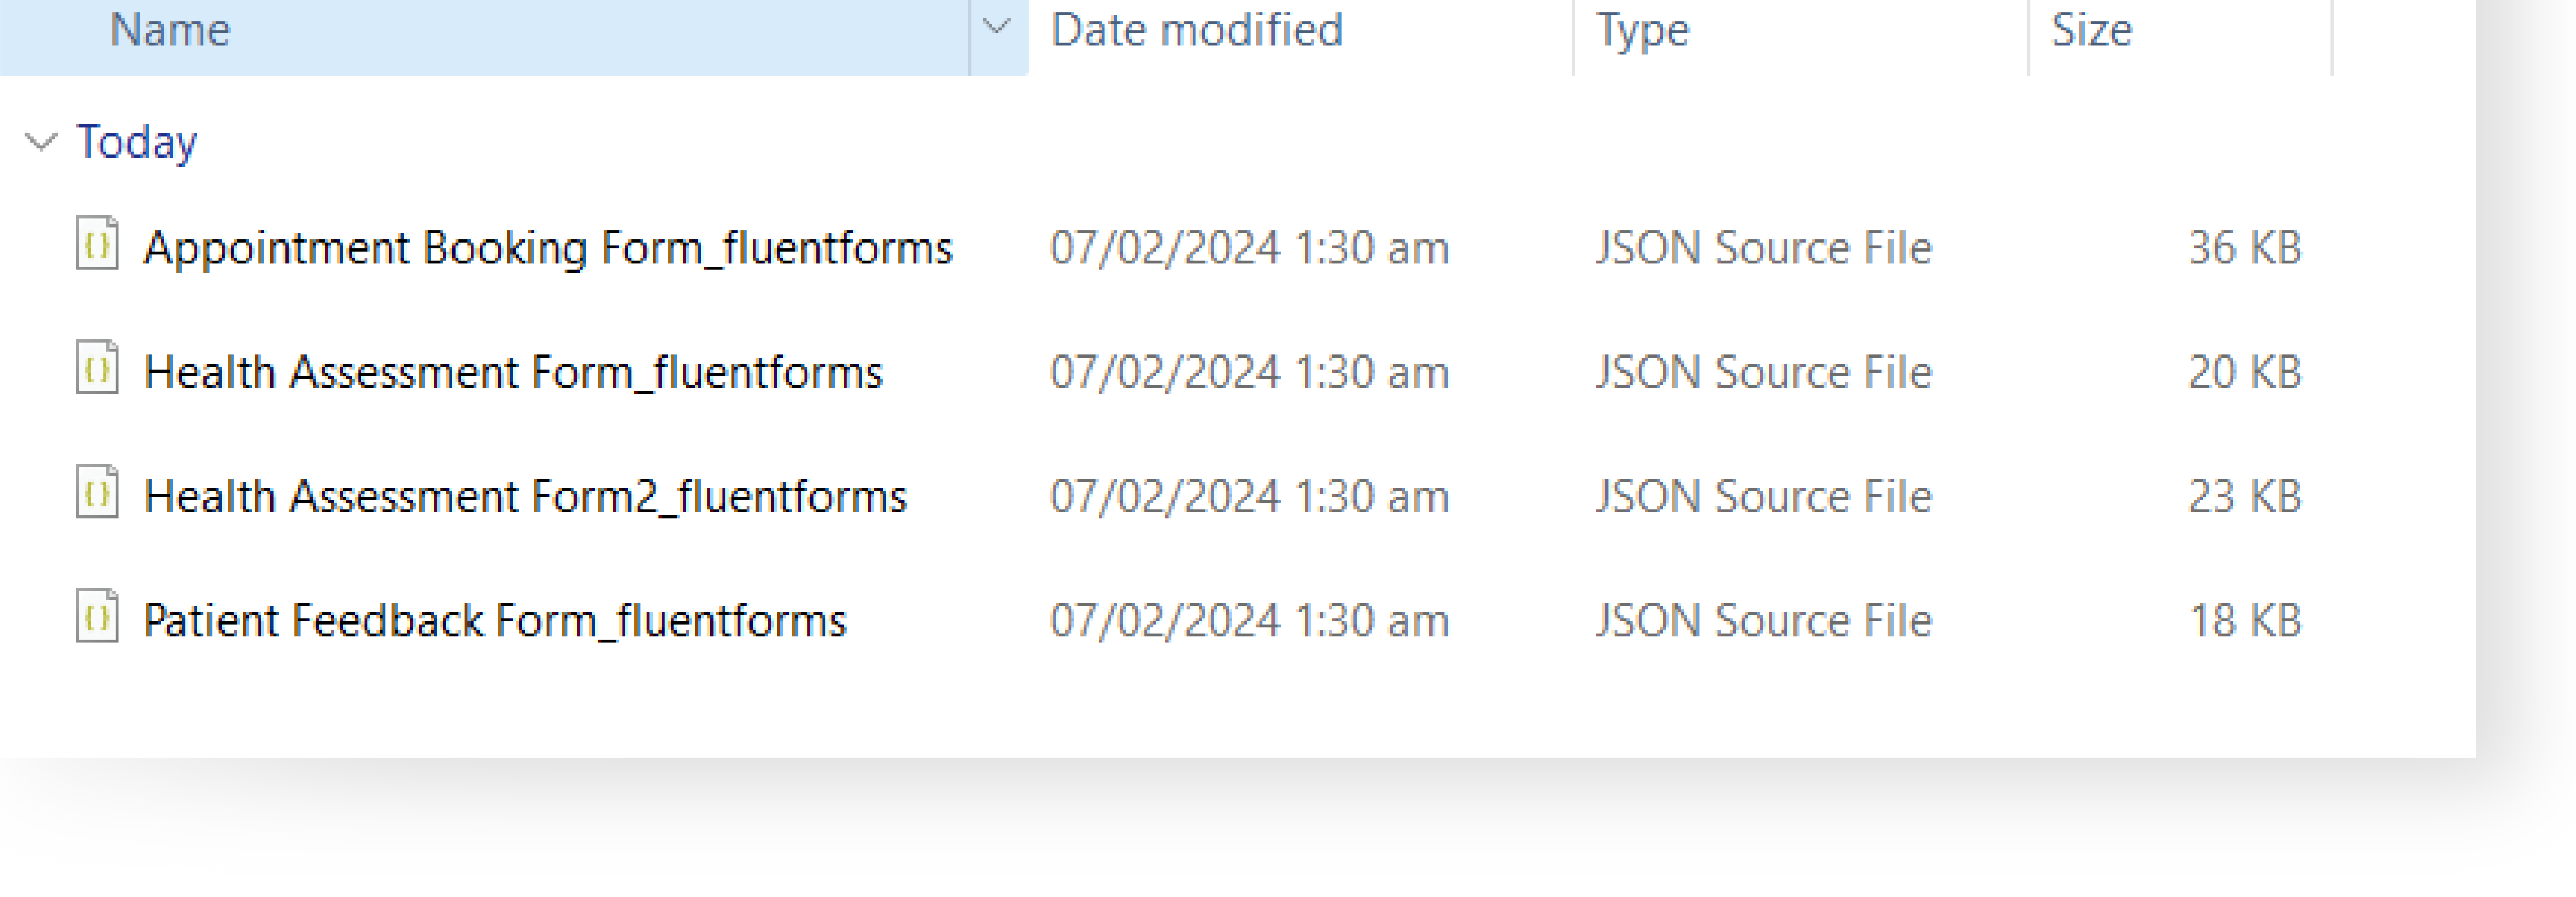
A. Locate the Form Template folder on the Theme package. And click the Fluent Forms Folder.
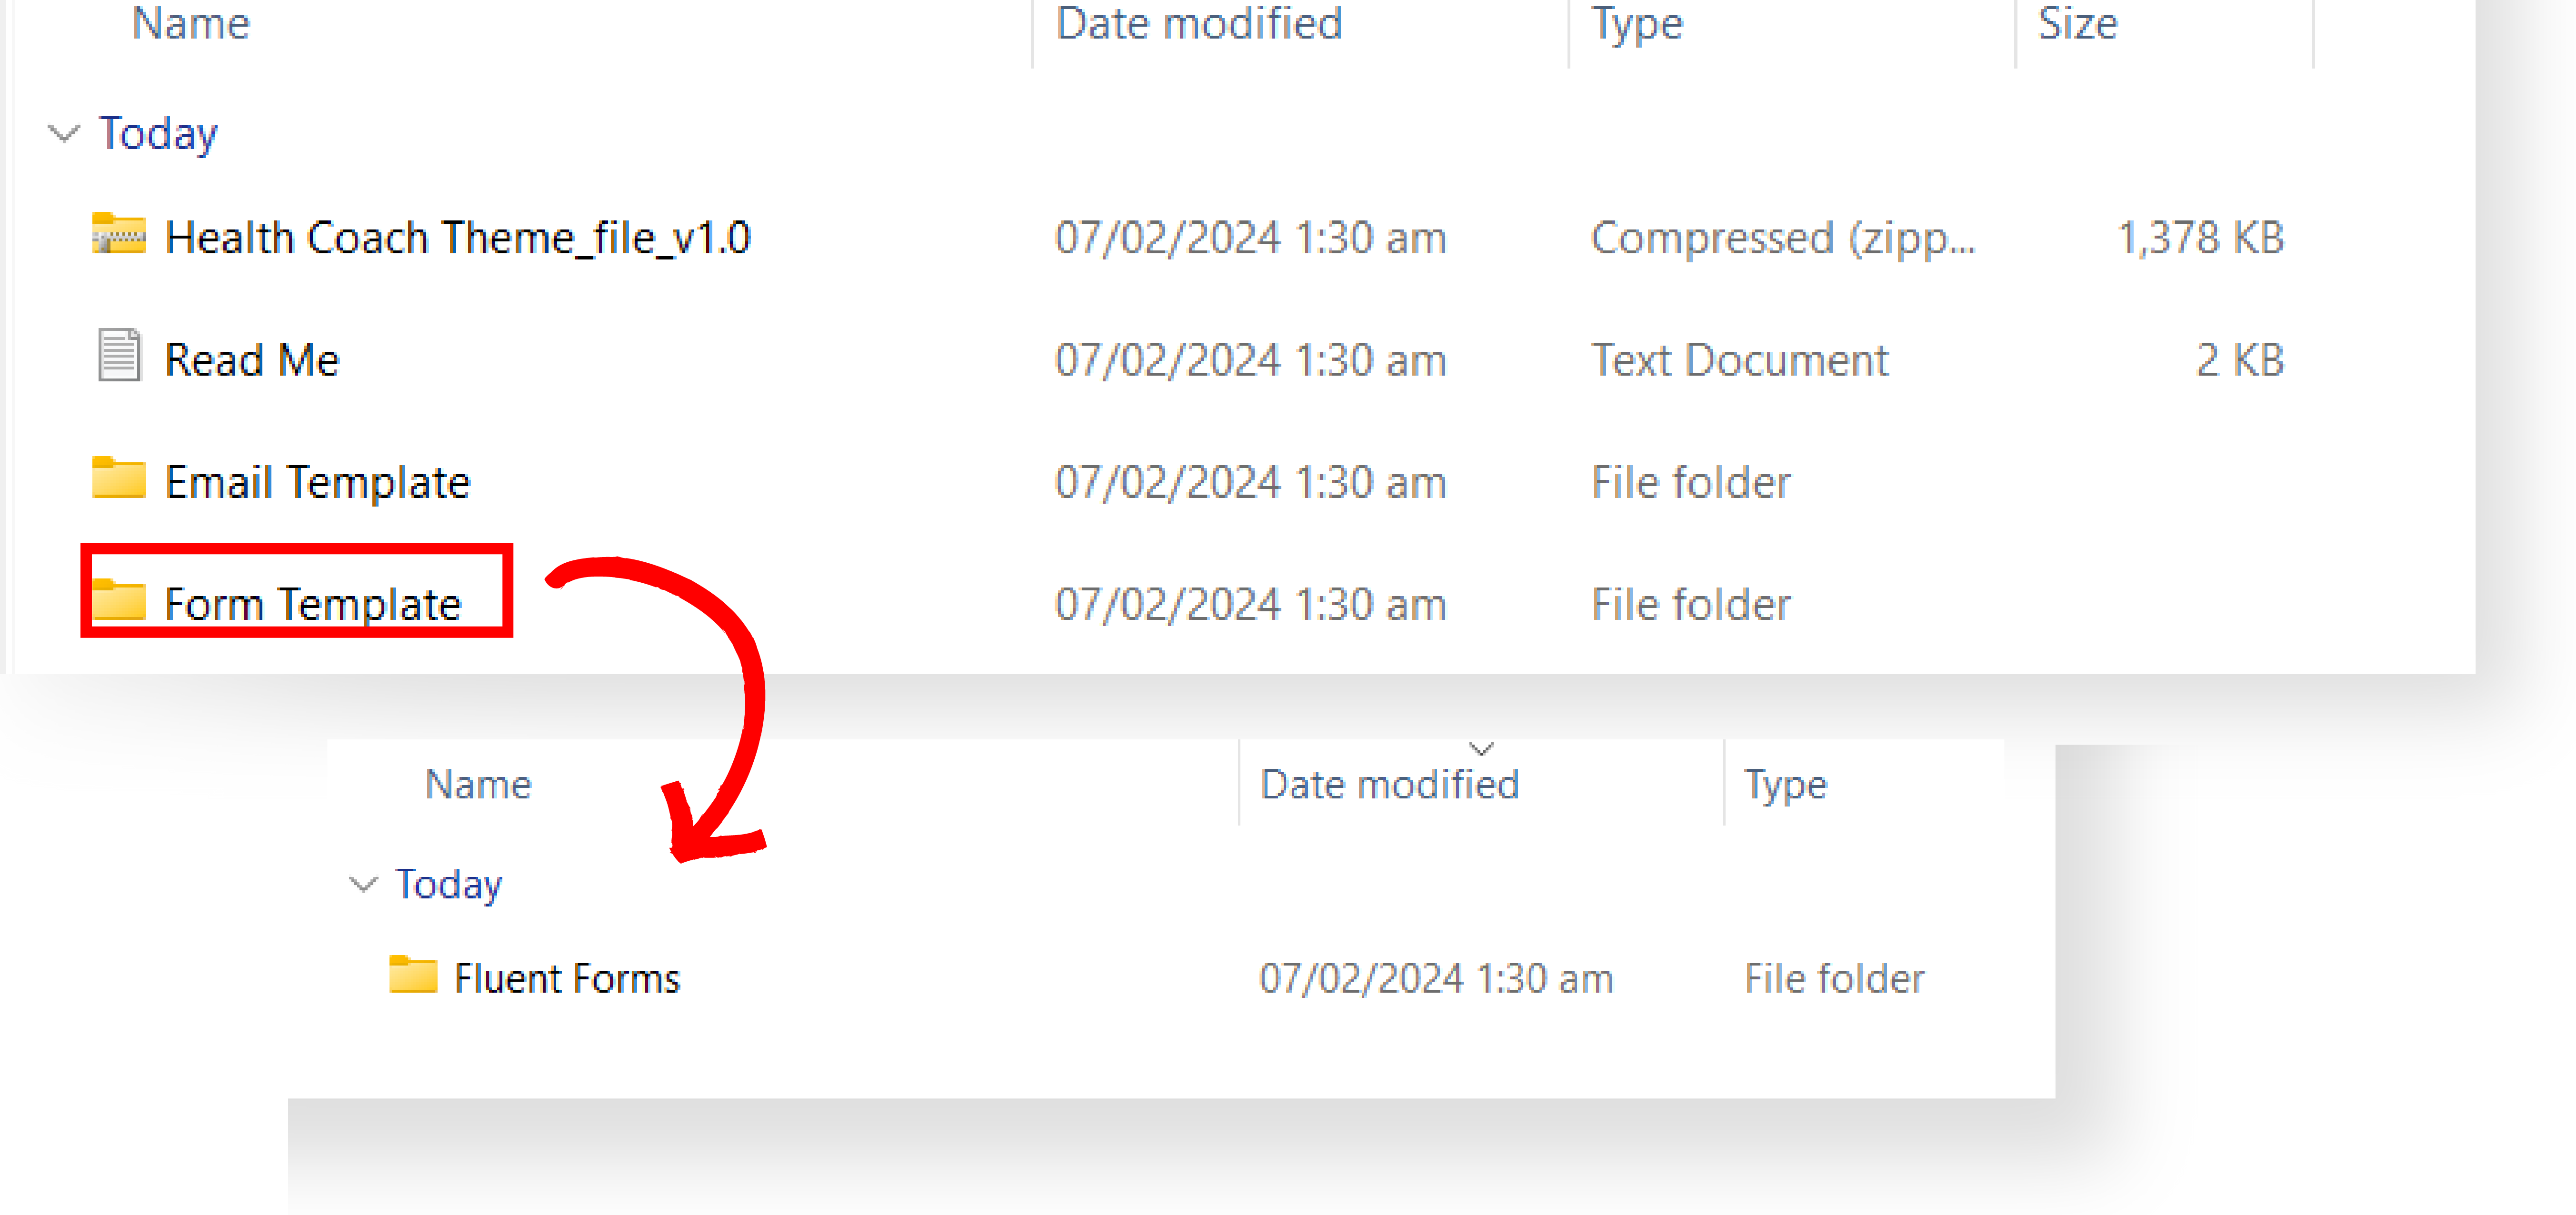
B. Inside the Fluent Forms Folder, you will see the JSON file to be imported.
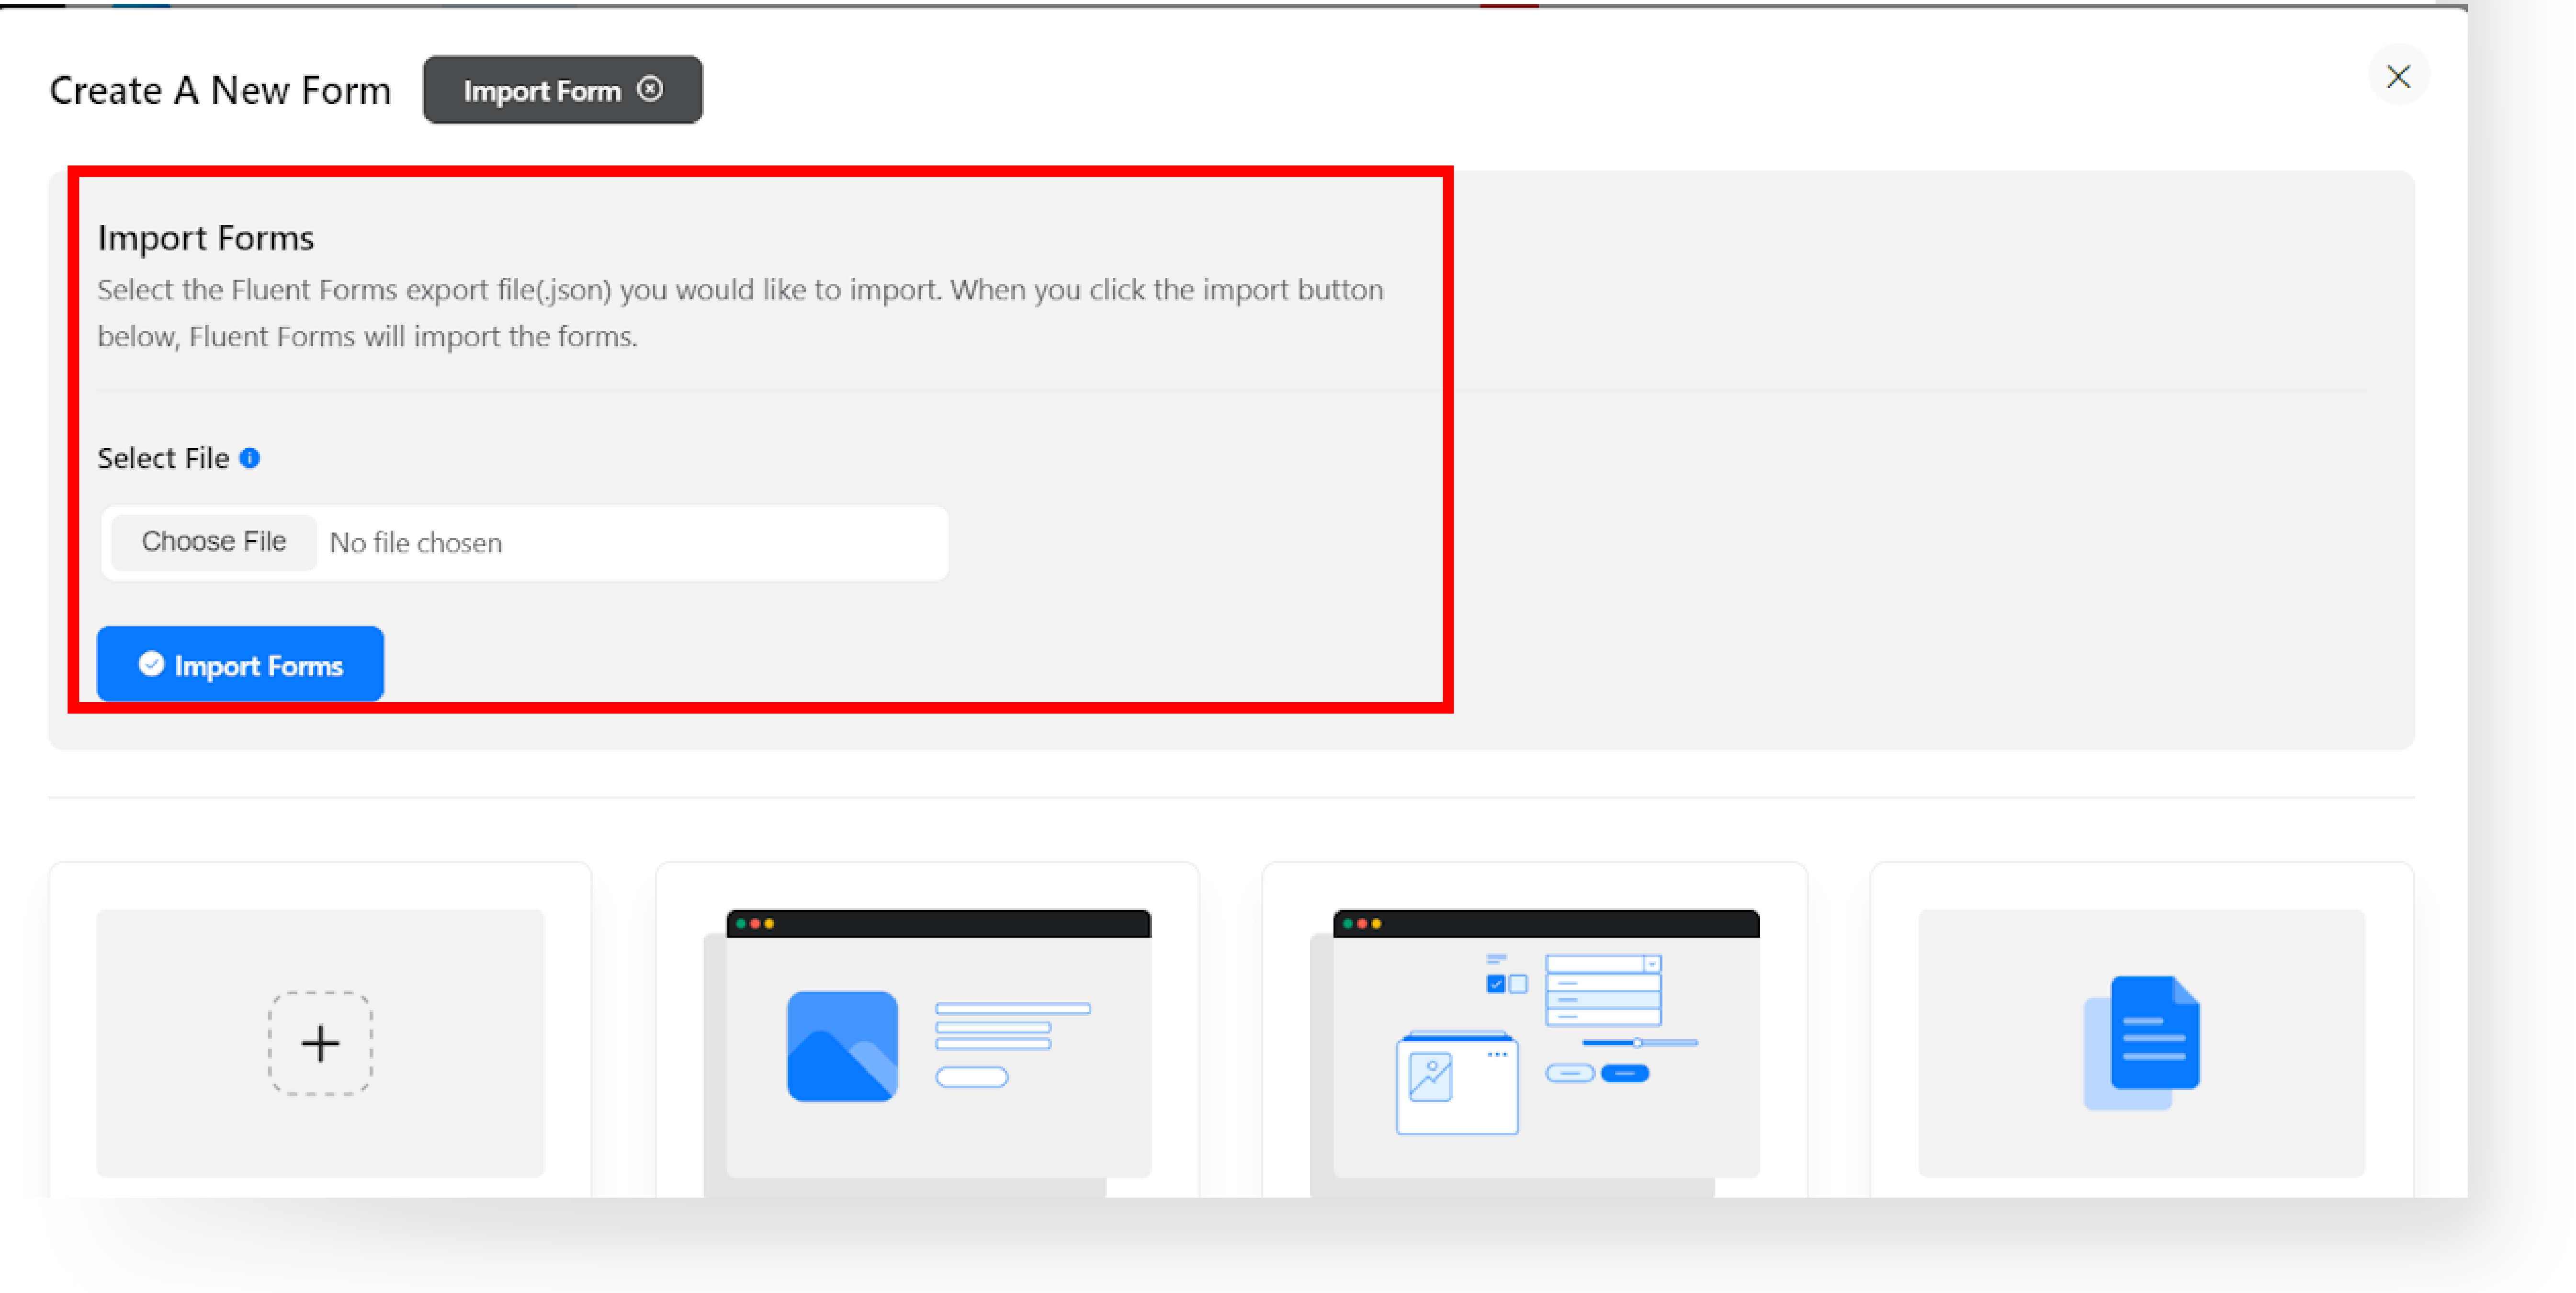
C. Go to WordPress Dashboard → Fluent Forms → Add New Form → Import Form

D. Import the JSON file you downloaded inside the Fluent Forms Folder.
Step 9: Import the Email Template into FluentCRM Pro #
A. Locate the Email Template folder on the Theme package. And click the FluentCRM Folder.
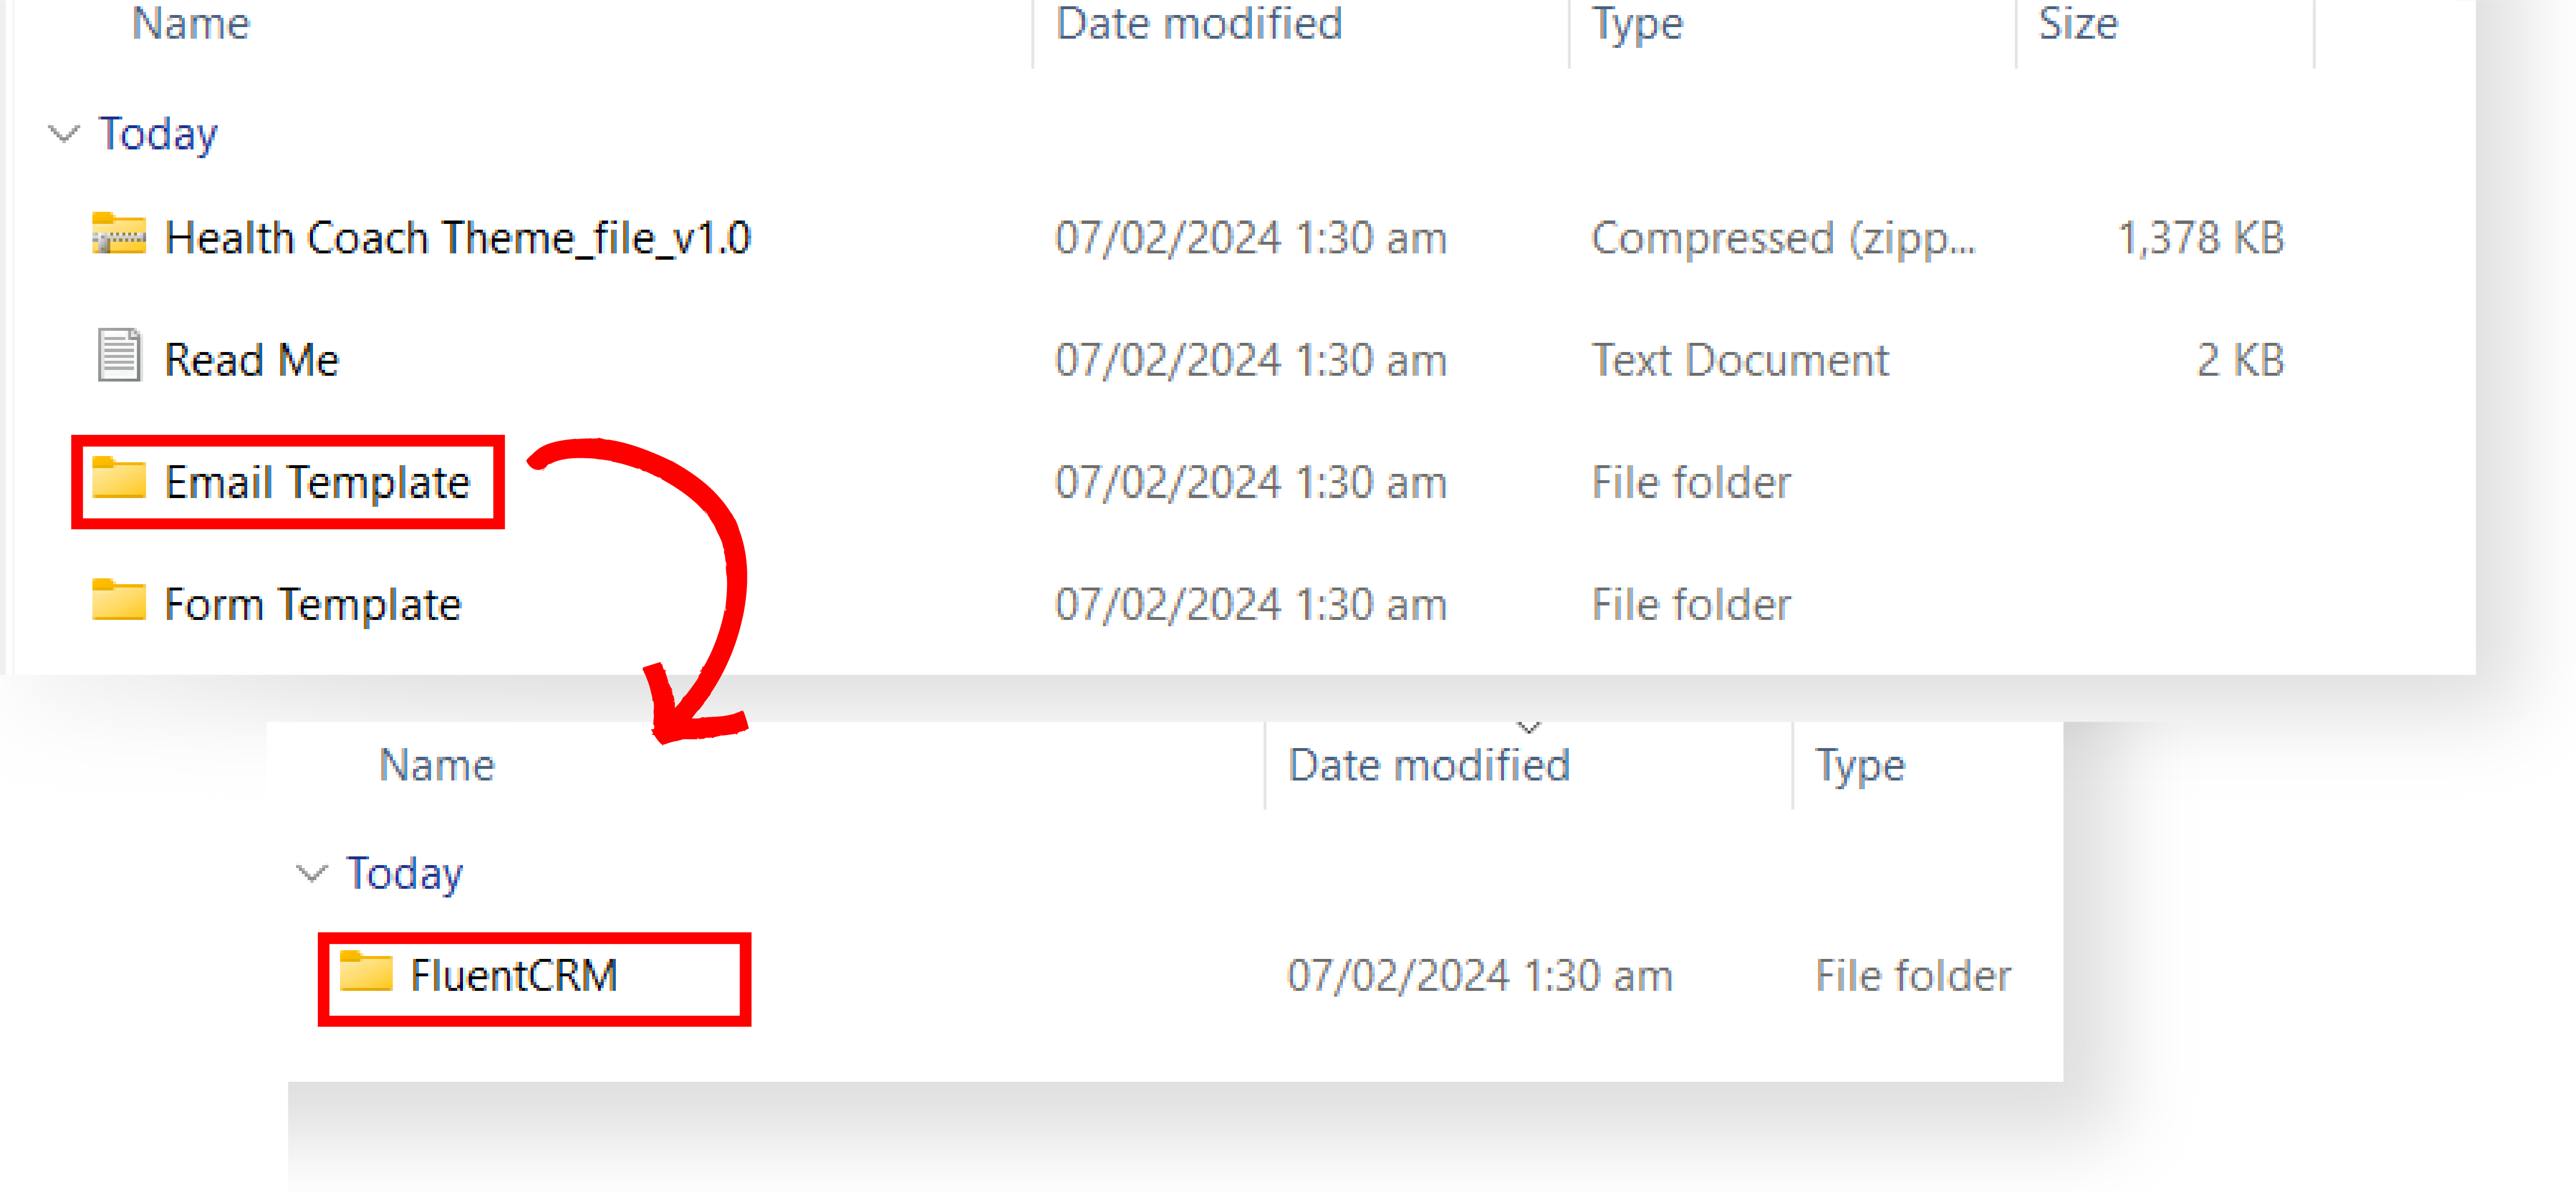
B. Inside the FluentCRM Folder, you will see the JSON file to be imported.

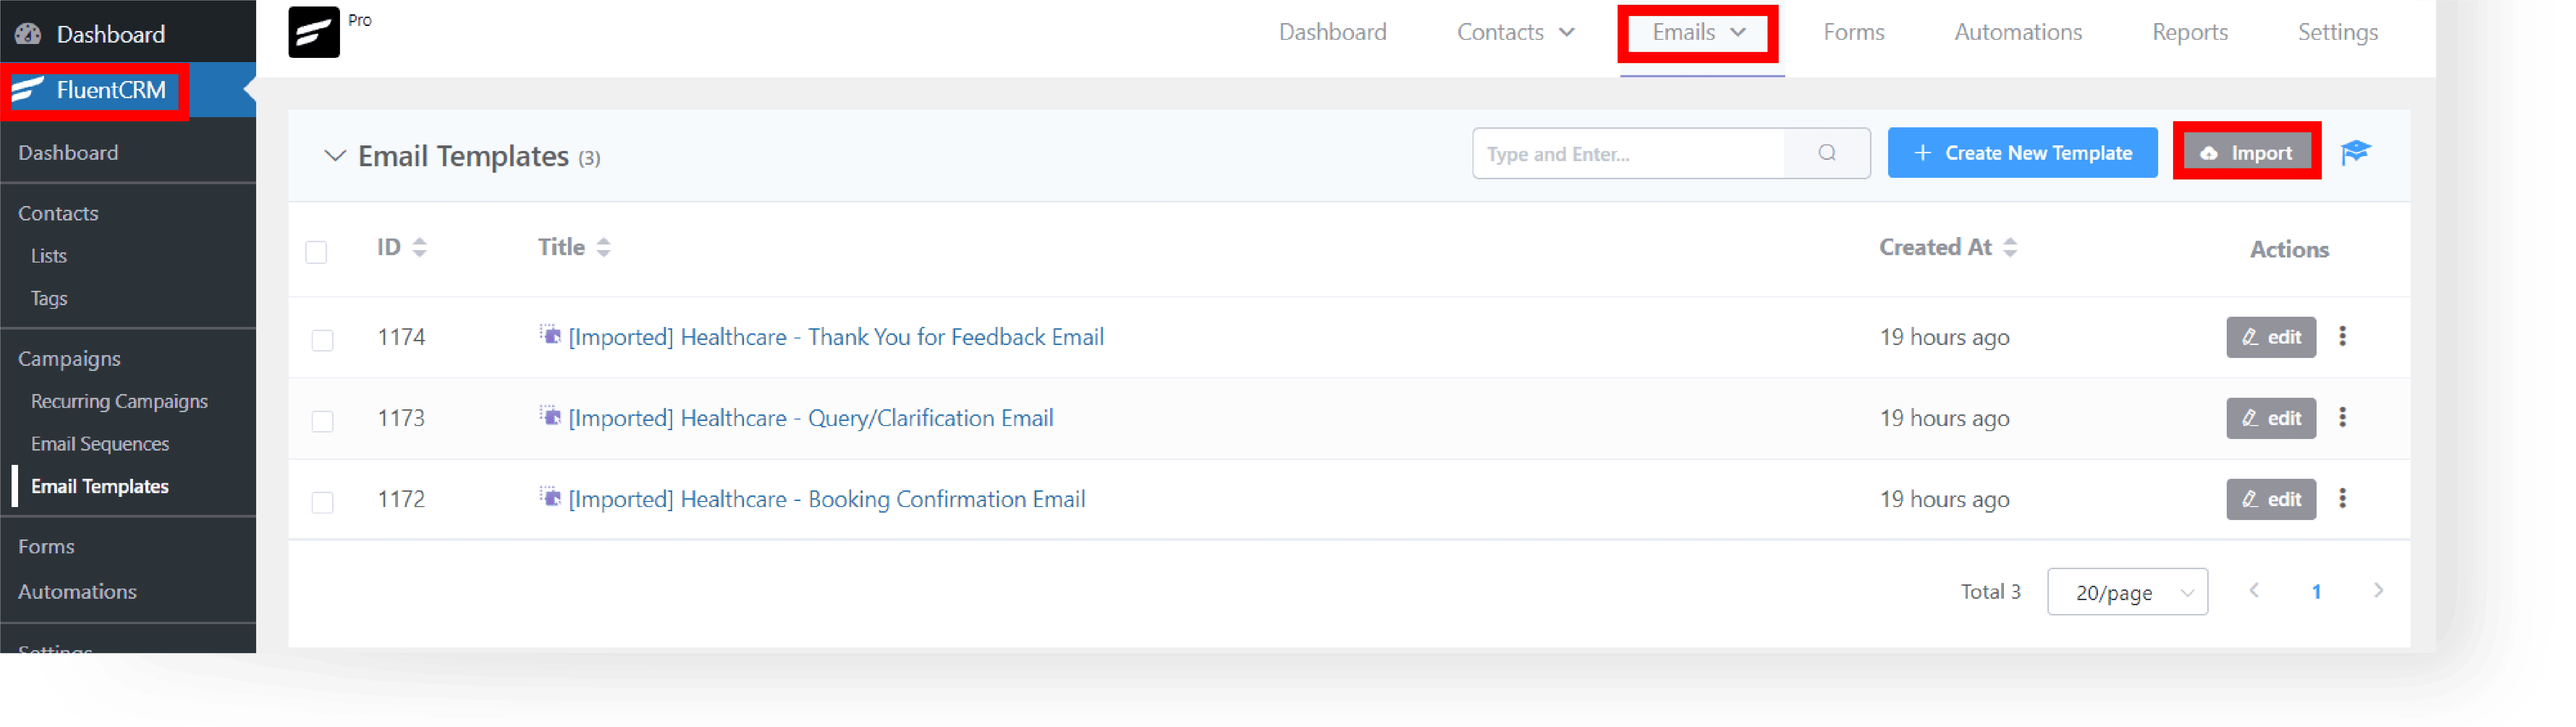
C. Go to your WordPress Dashboard. Open FluentCRM and navigate to the email templates section.
D. Click ‘Import’ and select the JSON file you downloaded from the FluentCRM Folder.
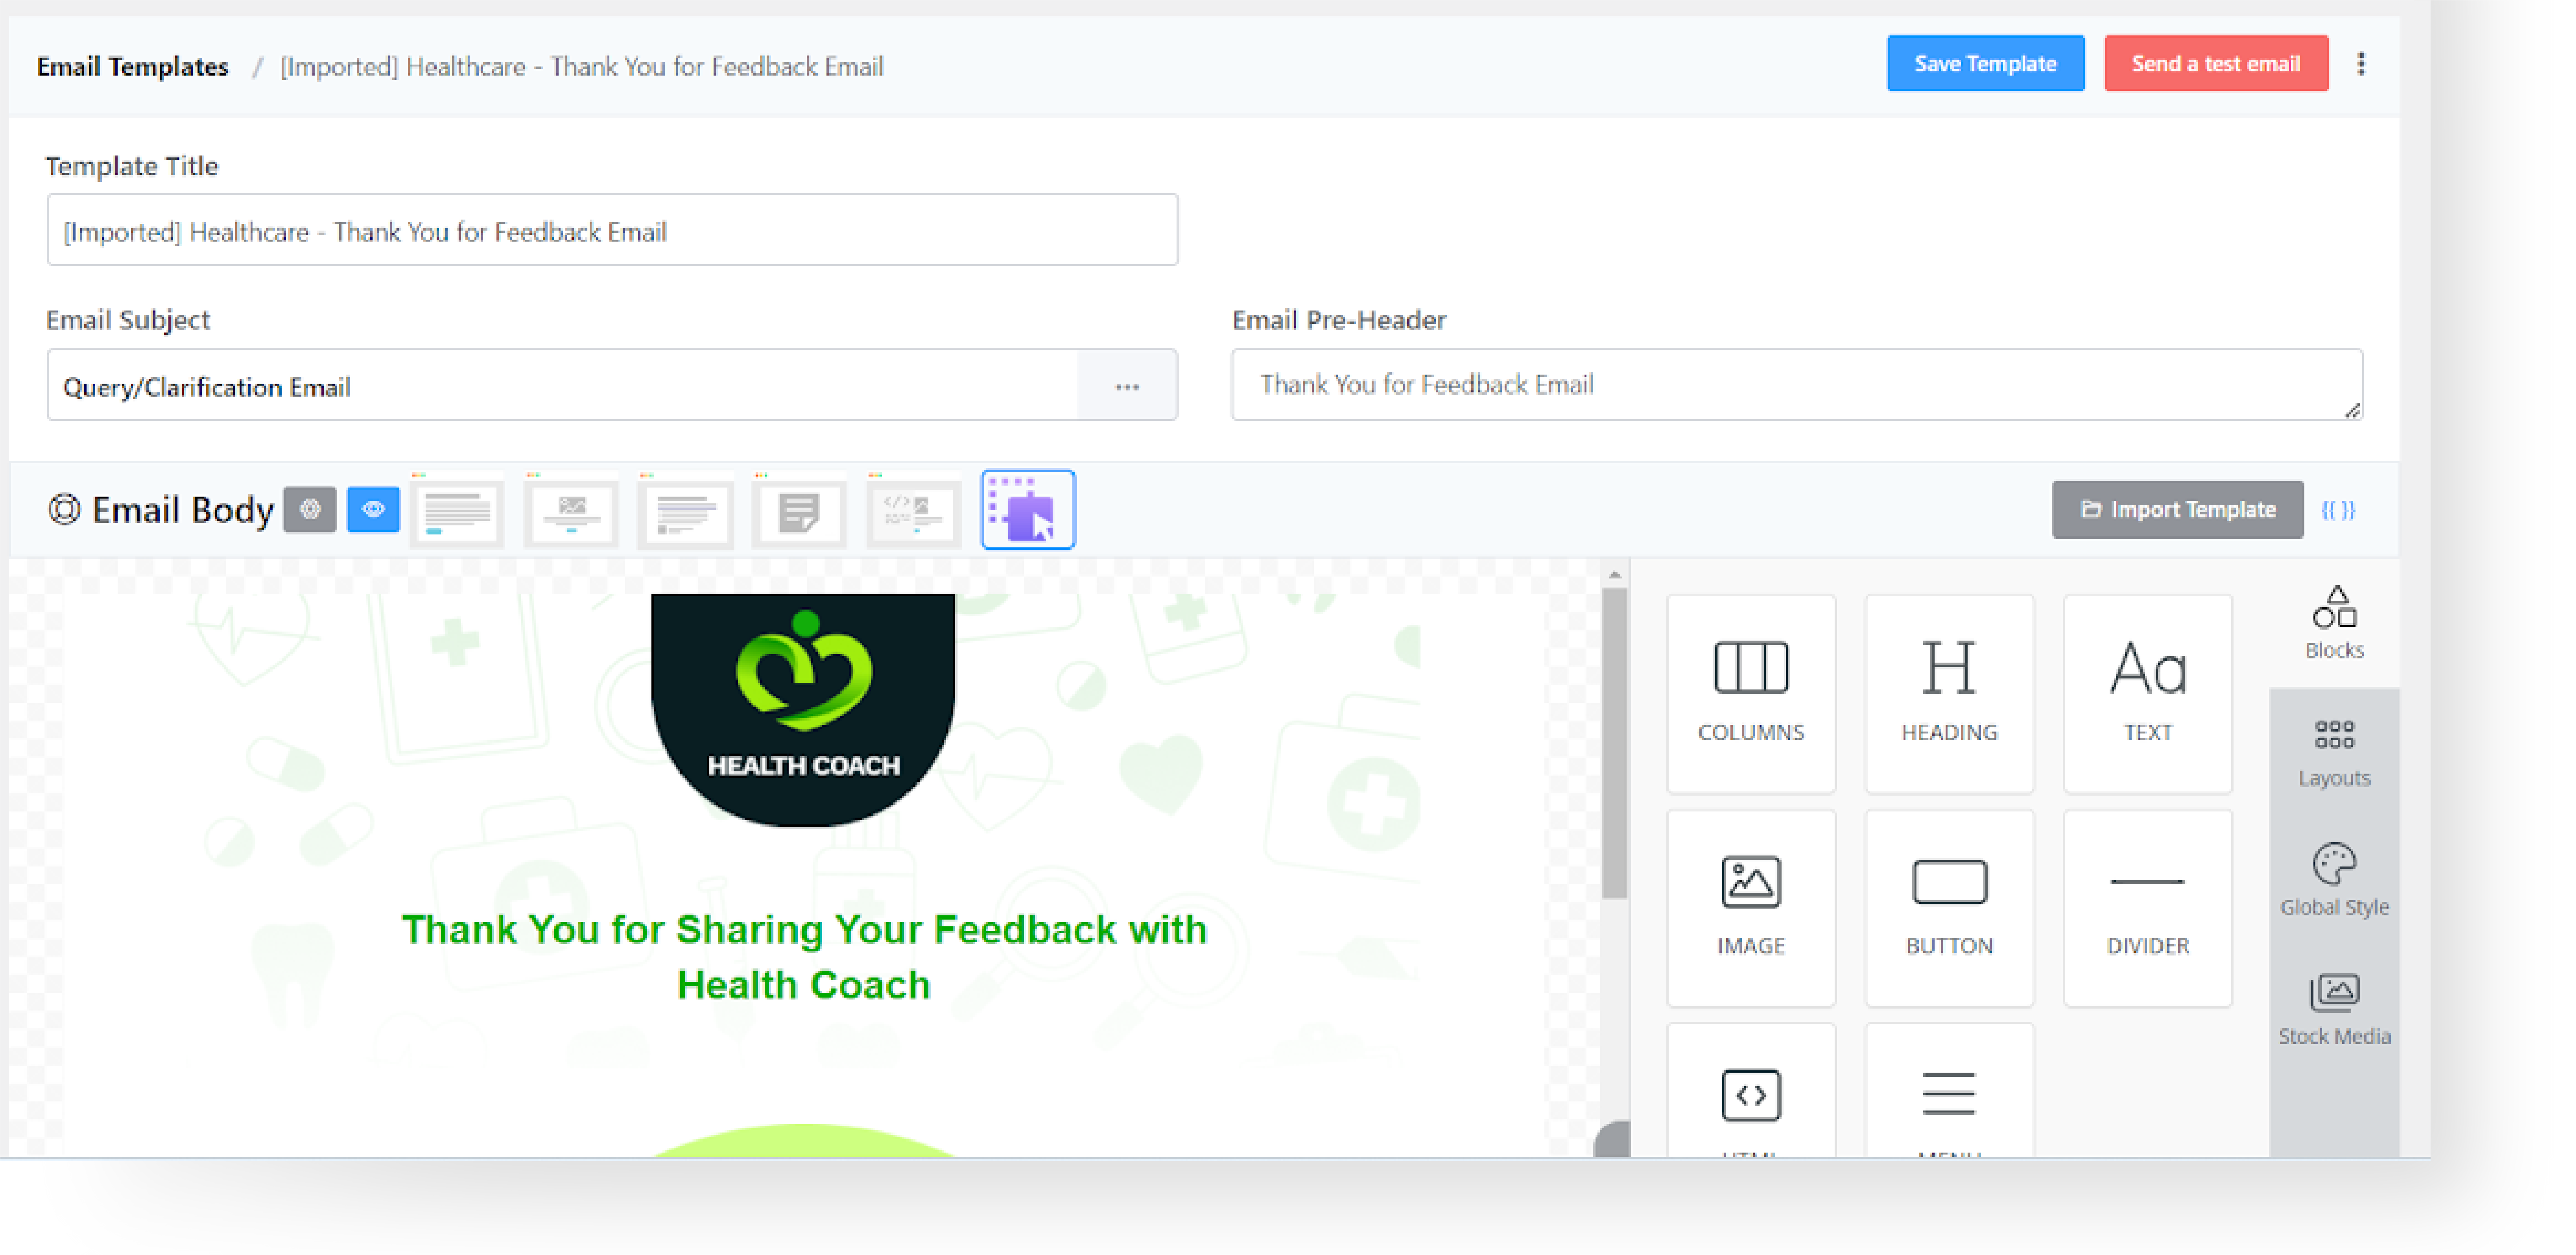
E. After the successful import of the email templates, you will be directed to the email template editor.

F. Go to your WordPress Dashboard. Open FluentCRM and navigate to the email templates section.
G. Click ‘Import’ and select the JSON file you downloaded from the FluentCRM Folder.

H. After the successful import of the email templates, you will be directed to the email template editor. click the “Save Template” button on your email.
Step 10: View Your Site #
A. After importing demo content, form templates, and email templates. Hover at the top toolbar, and click Visit Site.
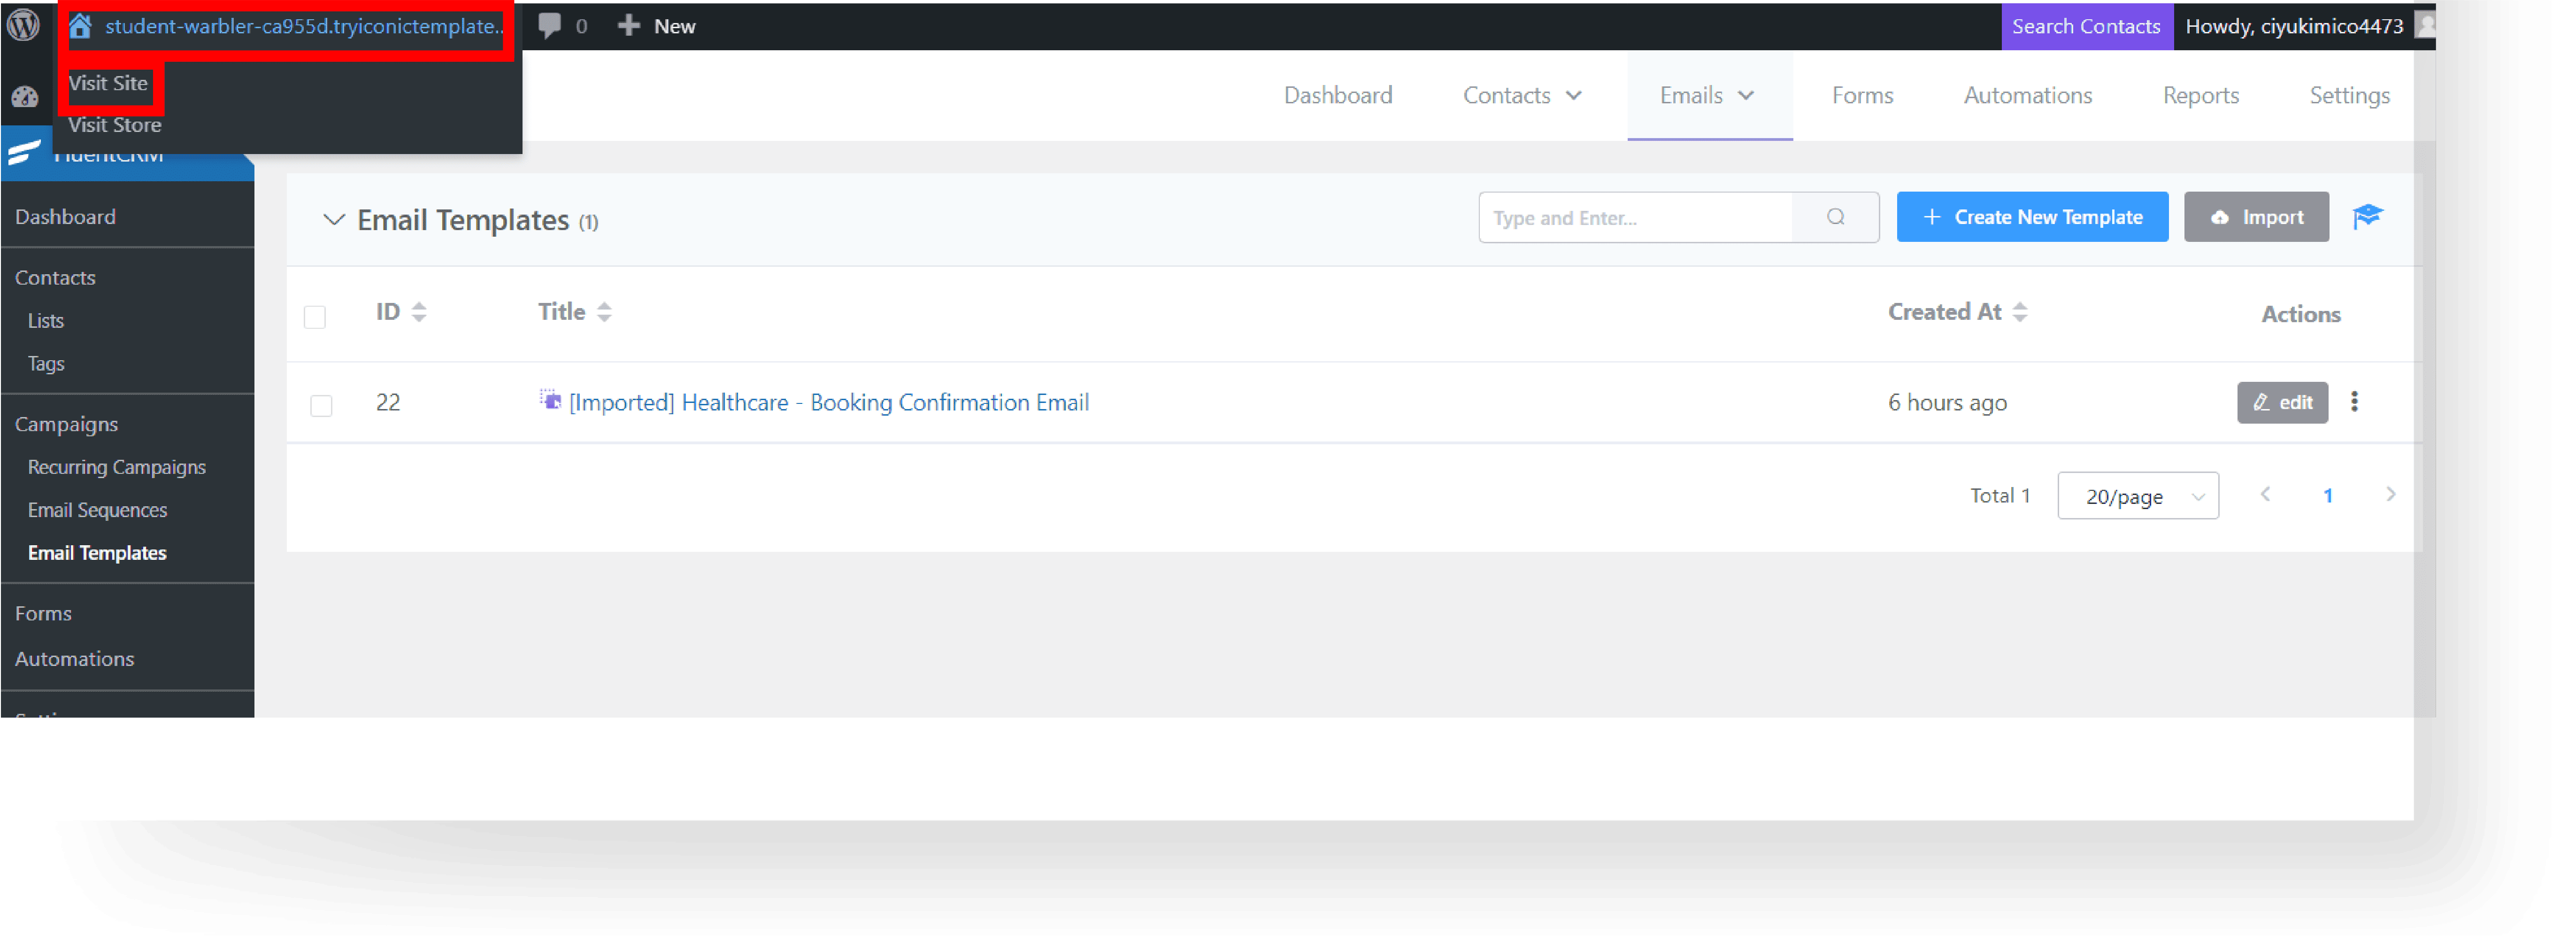
B. Congratulations! You’ve finished the setup process and you’re good to go.