Step 1: Install WordPress #
A. If you haven’t set up a WordPress website. You can do this through most web hosting providers.
Step 2: Get Your Uni-Emails #
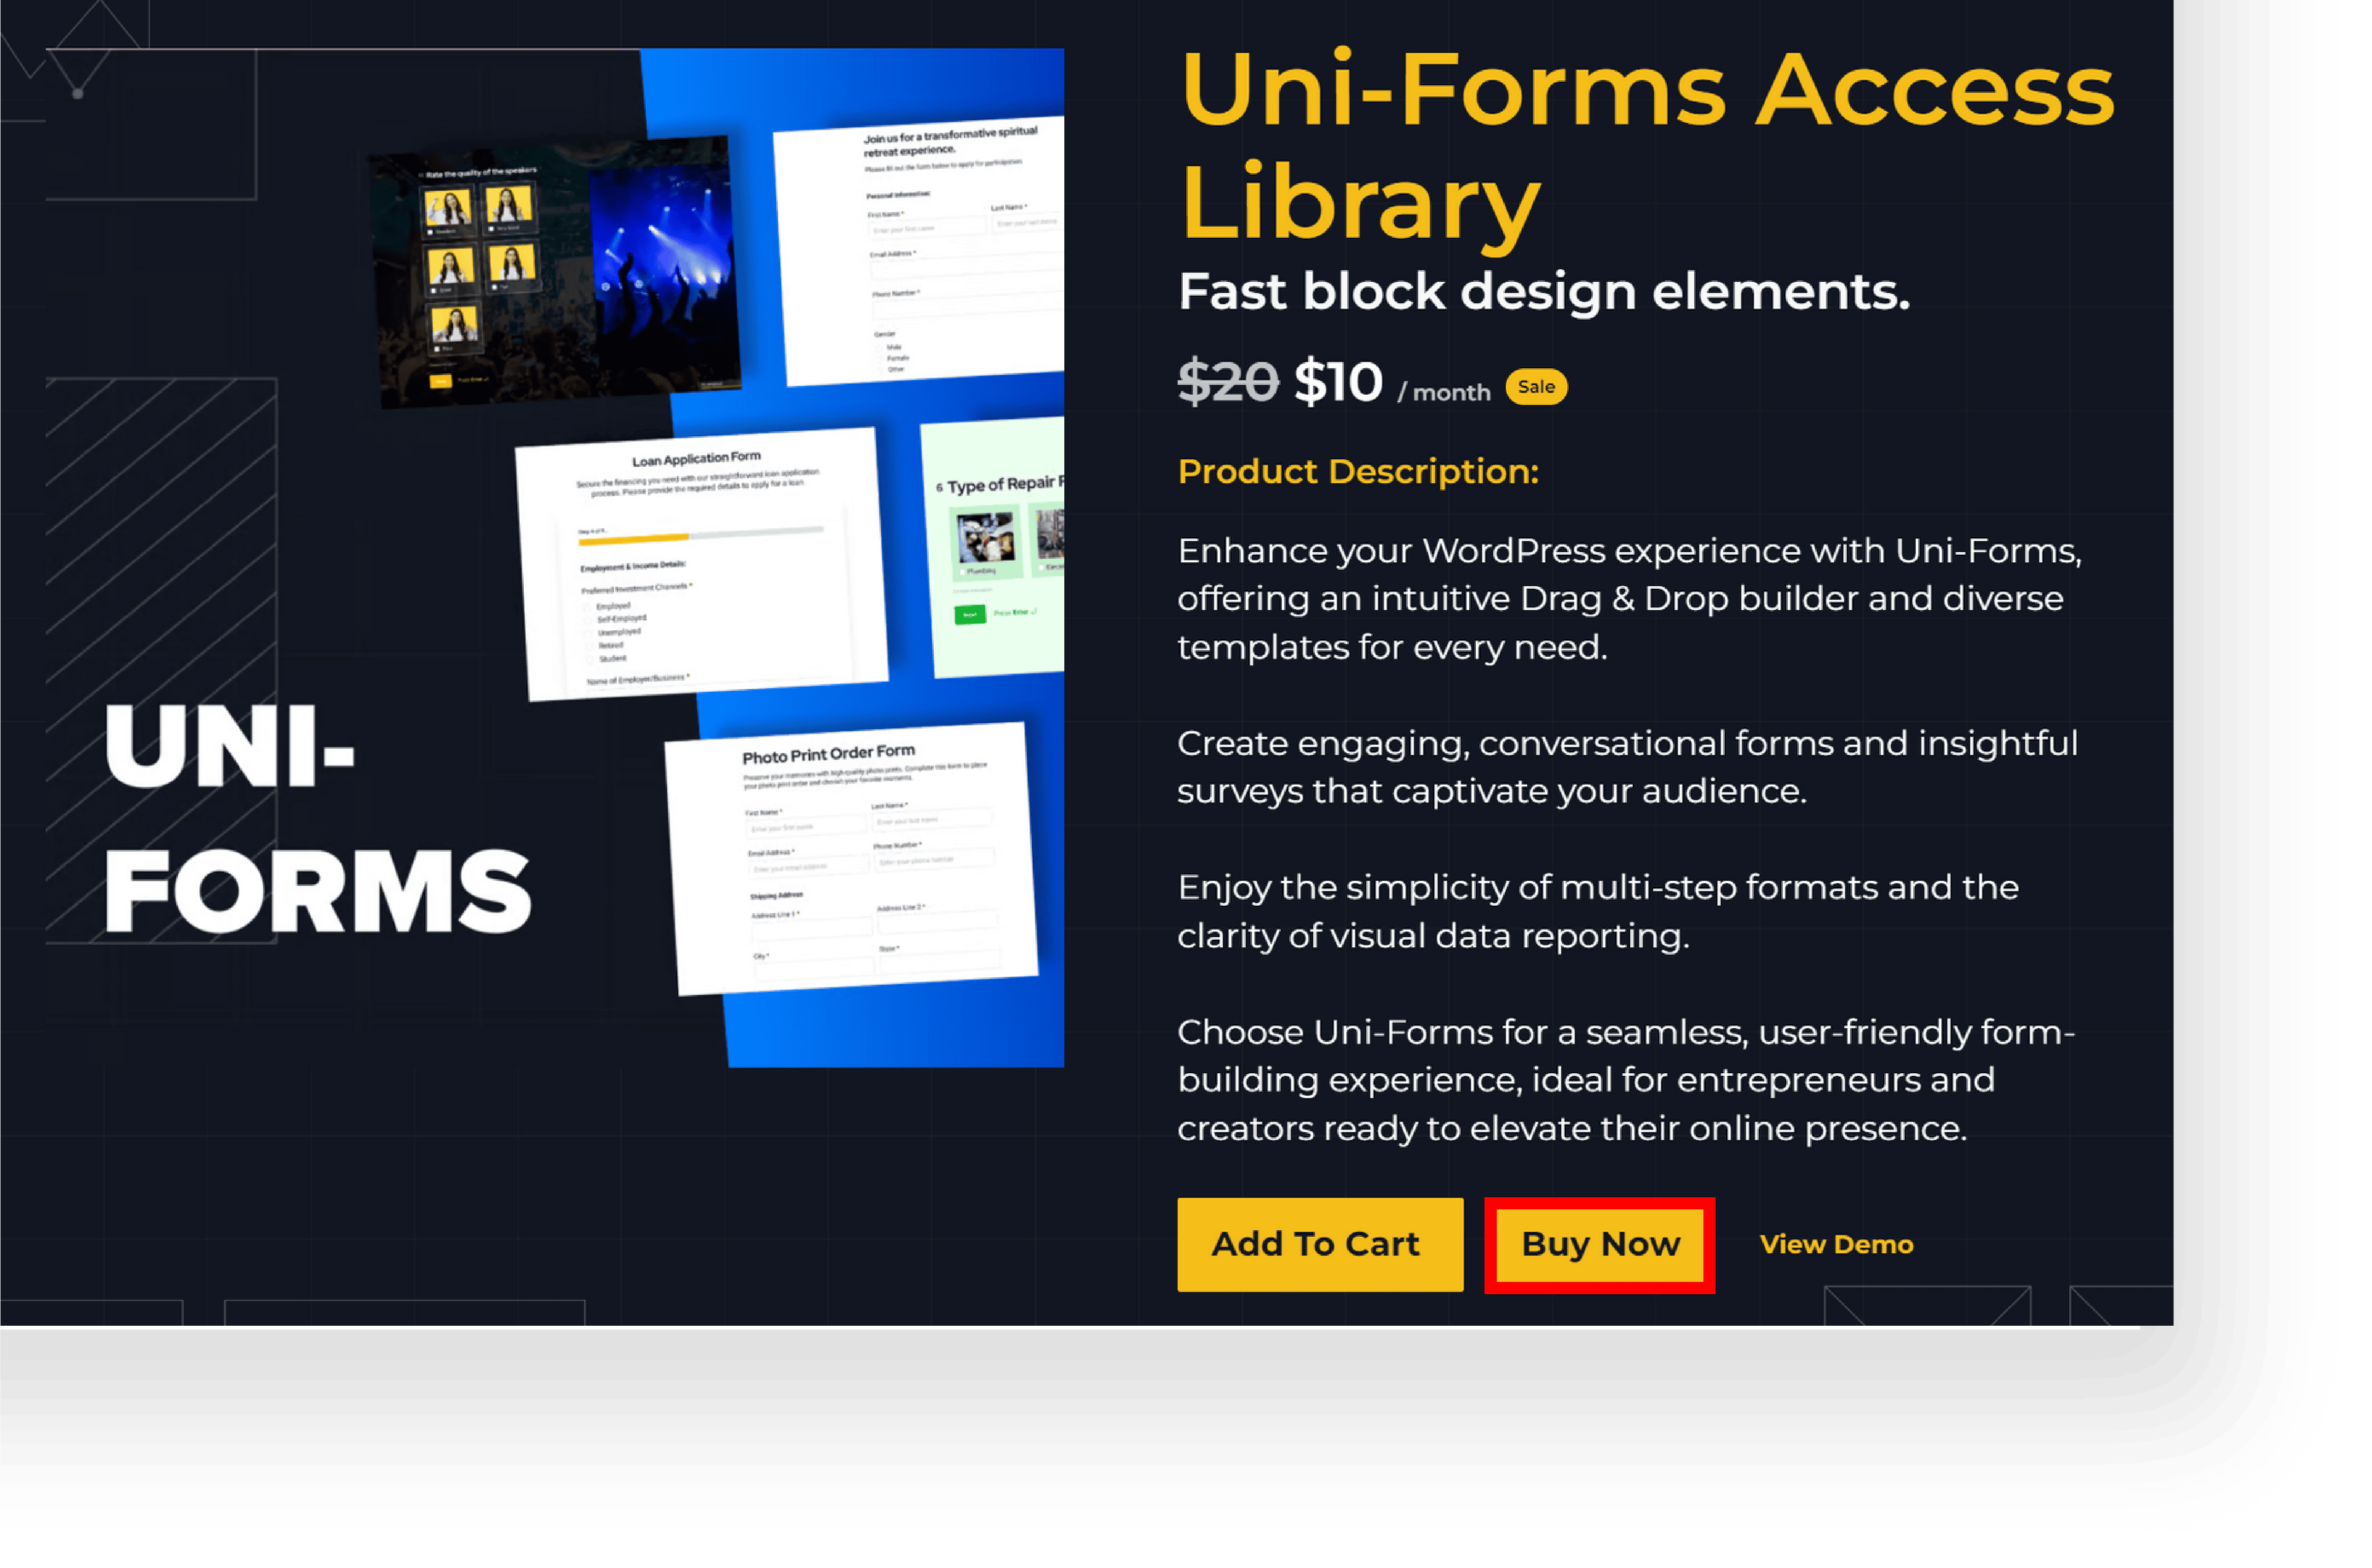
A. Visit the Iconic Templates website (https://iconictemplates.com) and purchase the Uni-Emails.
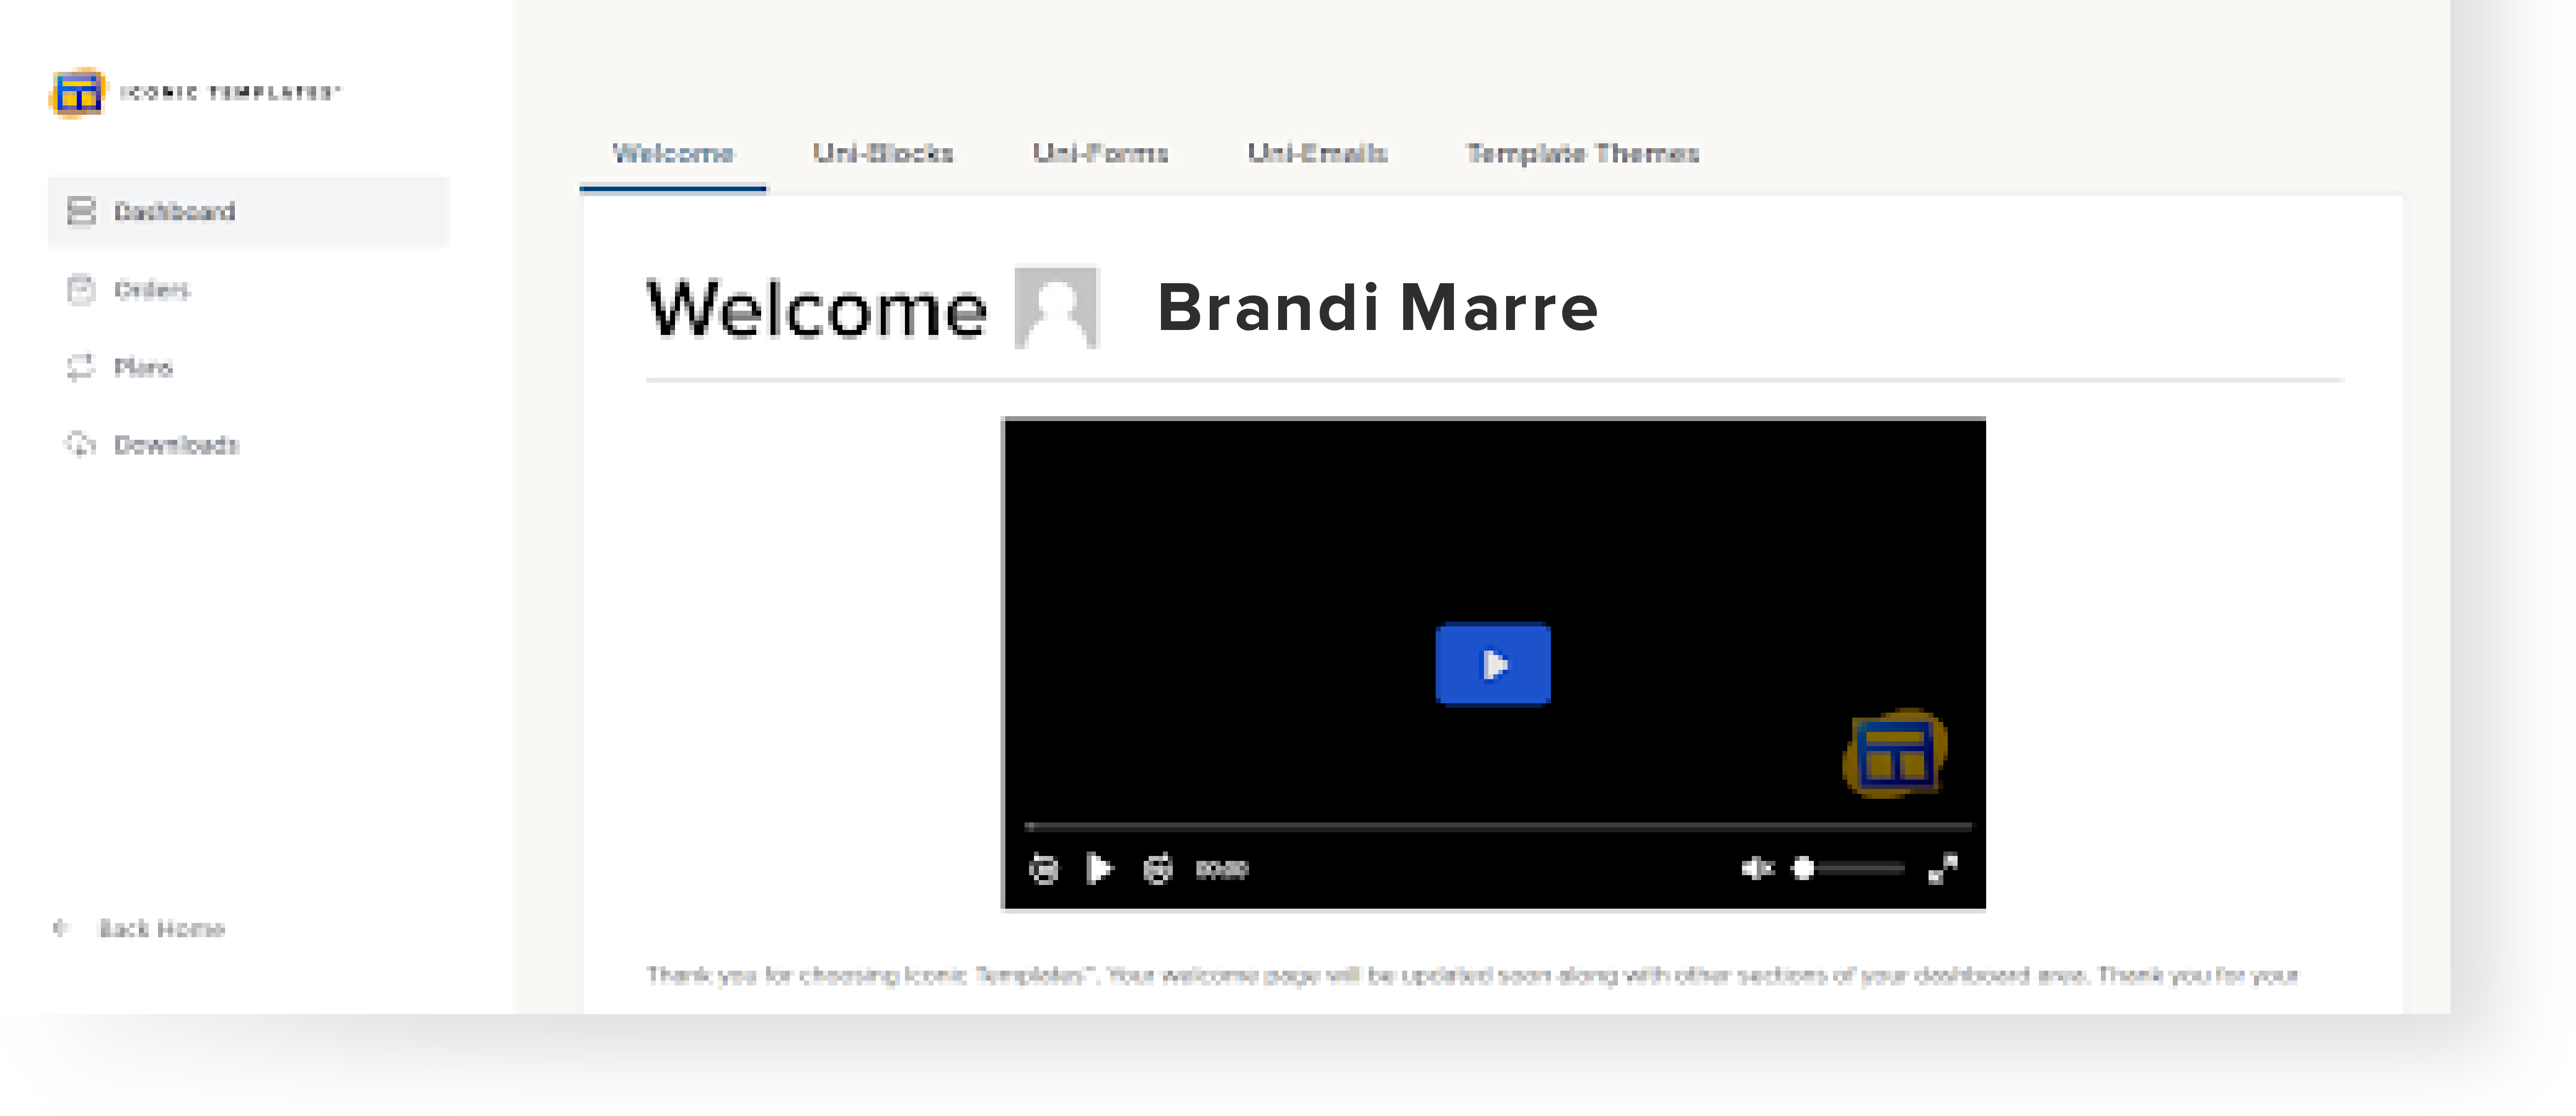
B. After you purchase Uni-Emails, you will receive download instructions in your email and on your account dashboard.
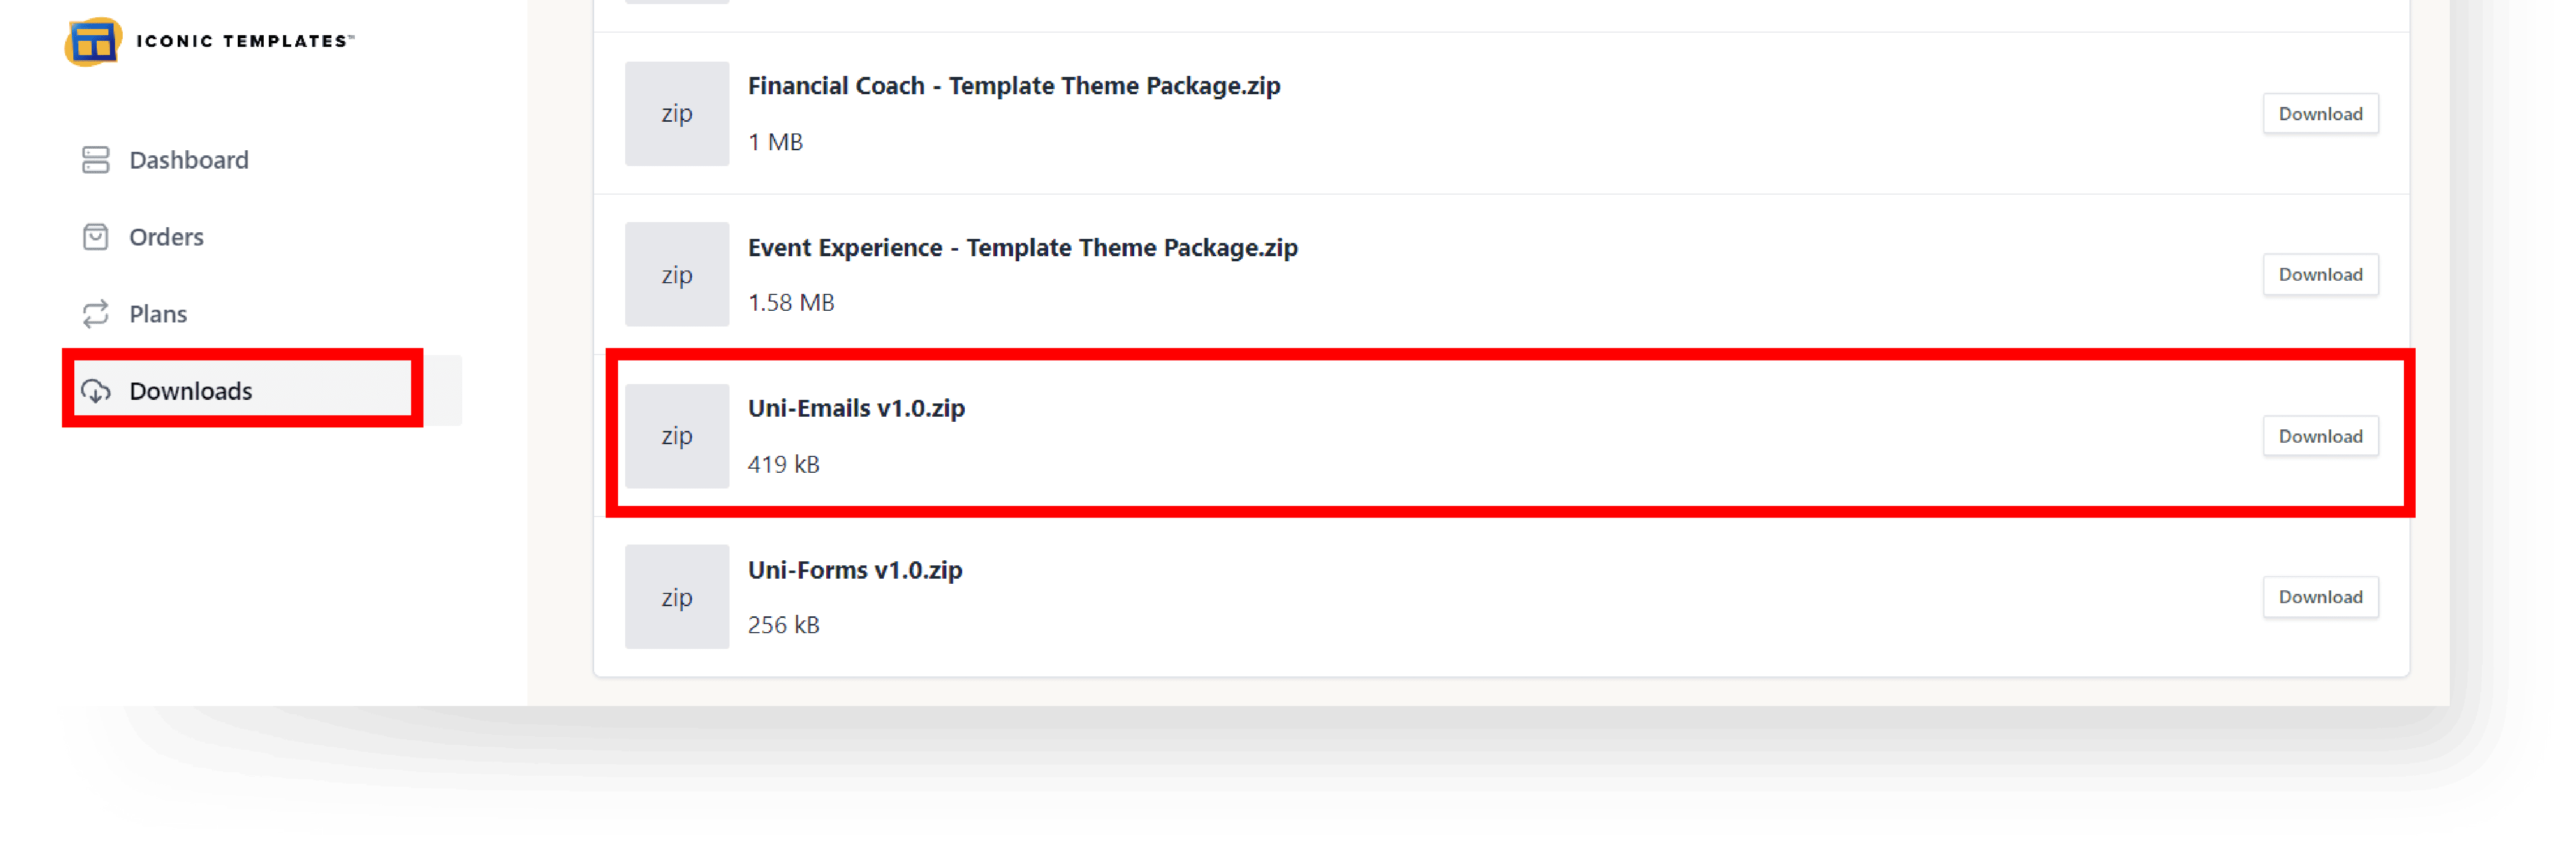
C. Go to Dashboard → Downloads → Uni-Emails/Plan to download the Uni-Emails zip file.
Step 3: Install FluentCRM Plugins #
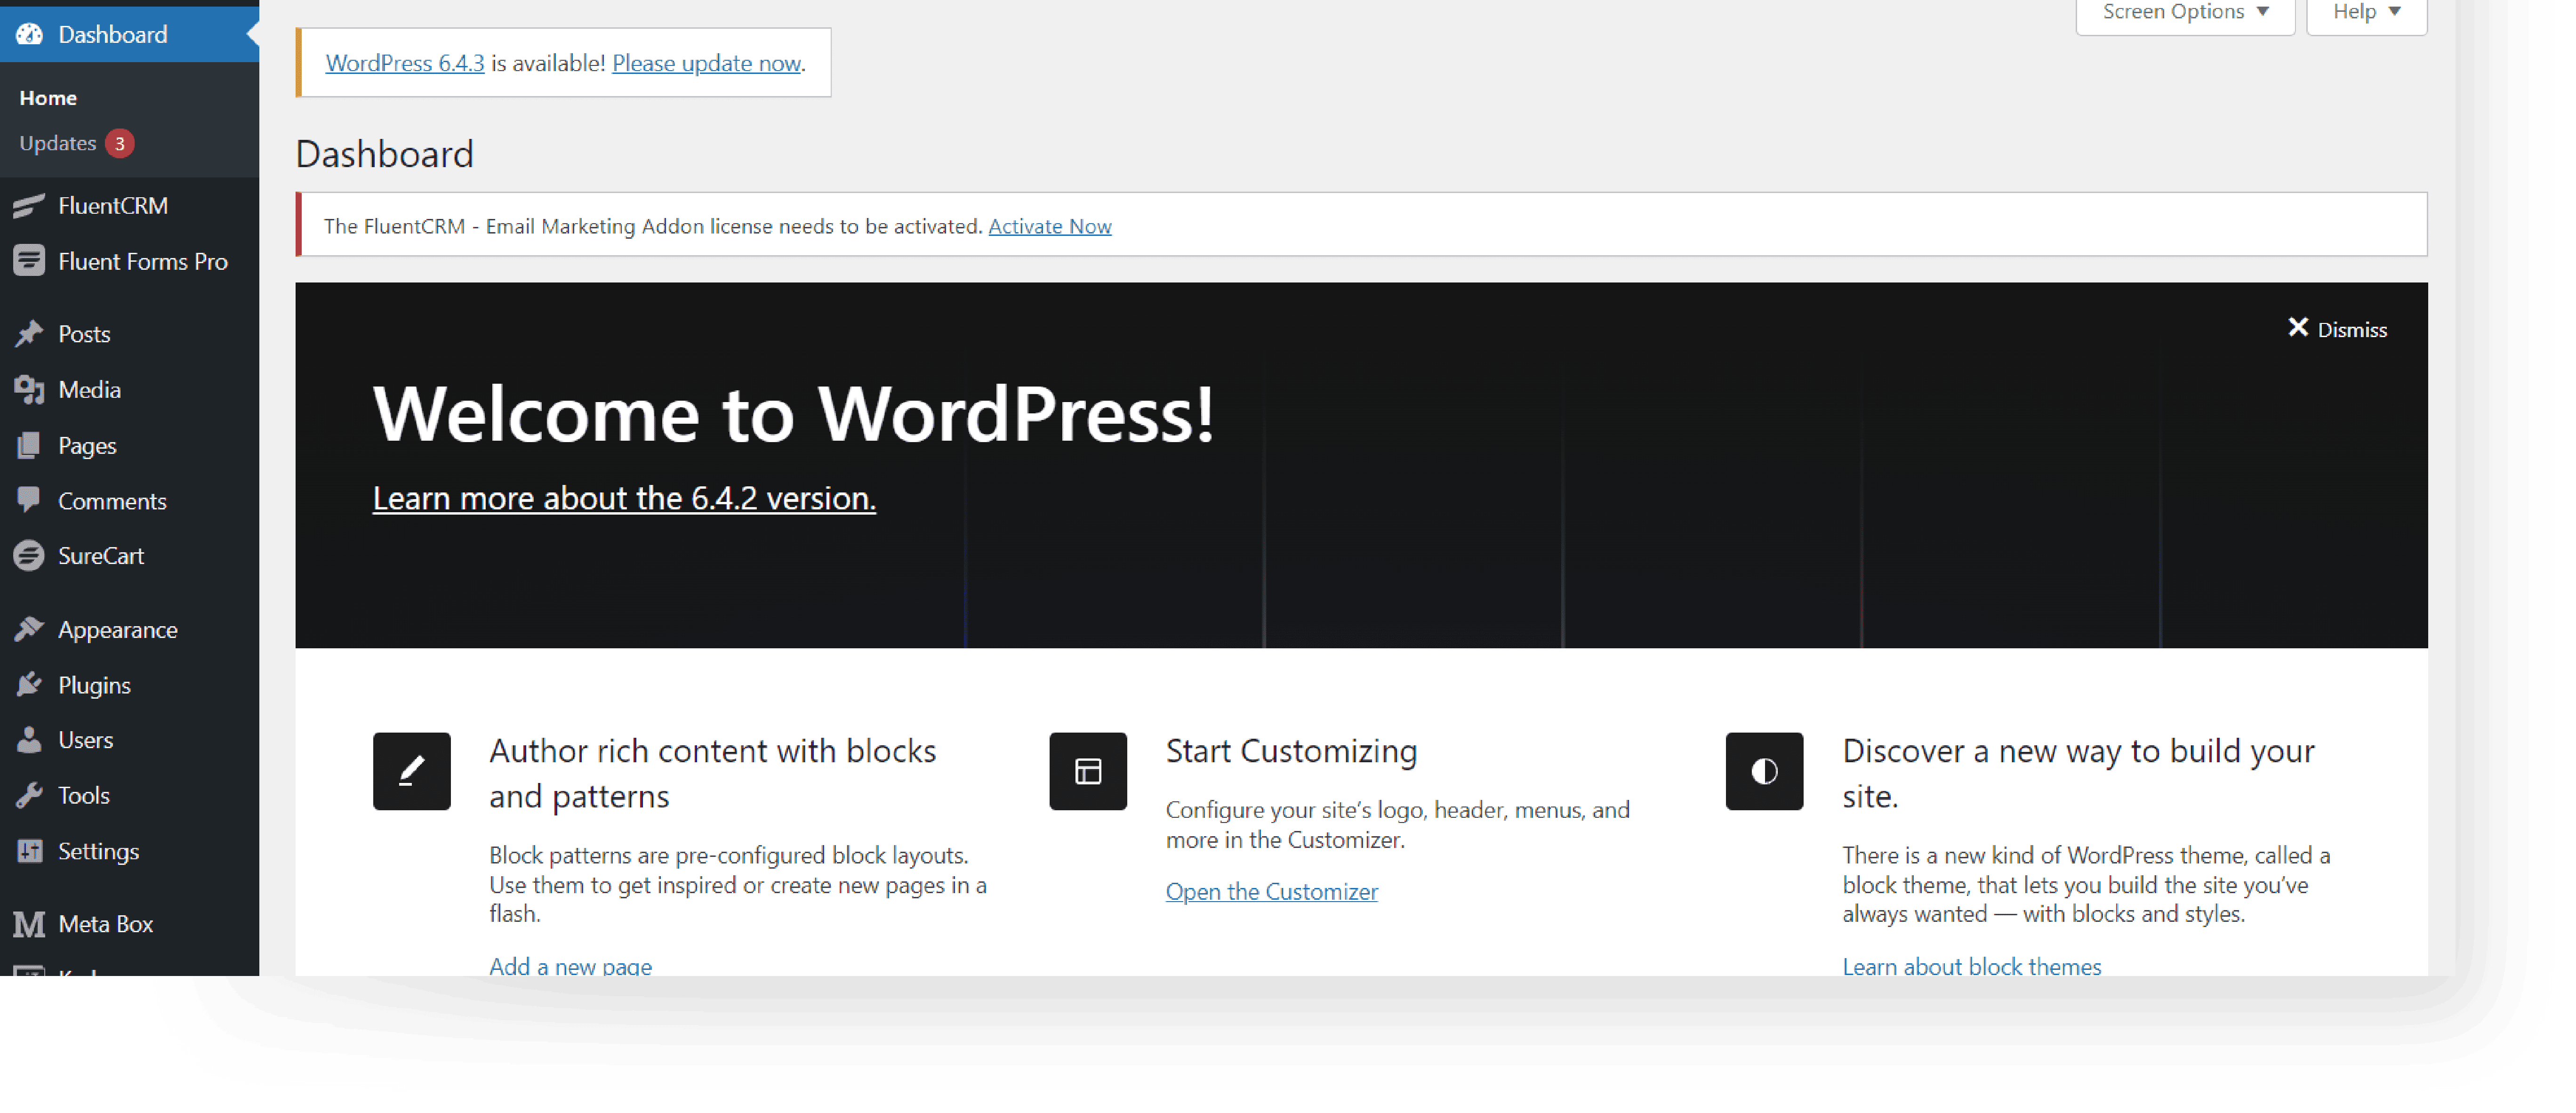
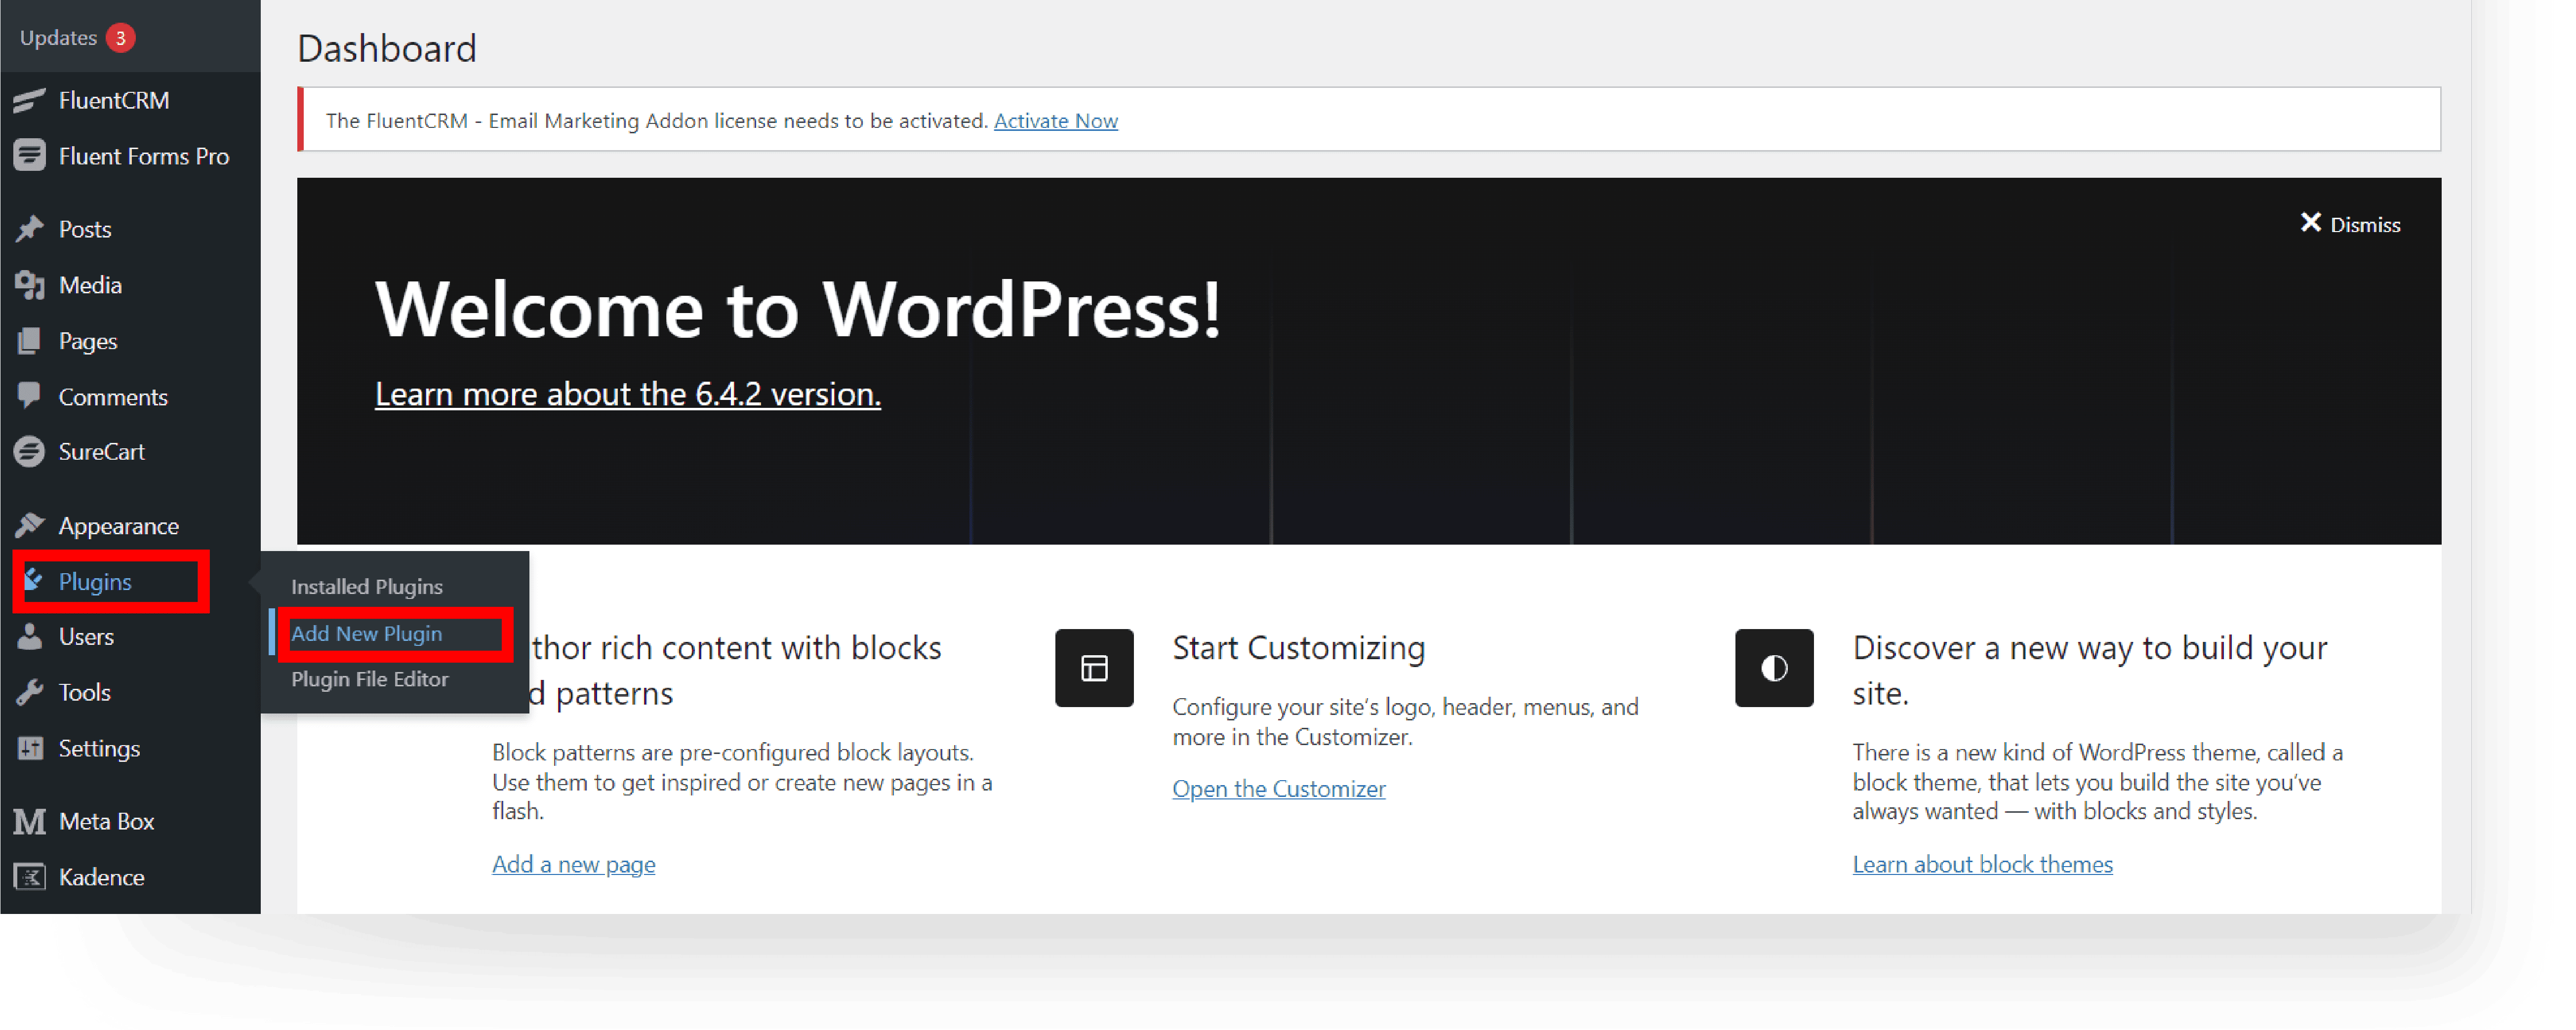
A. Log in to your WordPress Dashboard.
B. Go to Plugins → Add New.
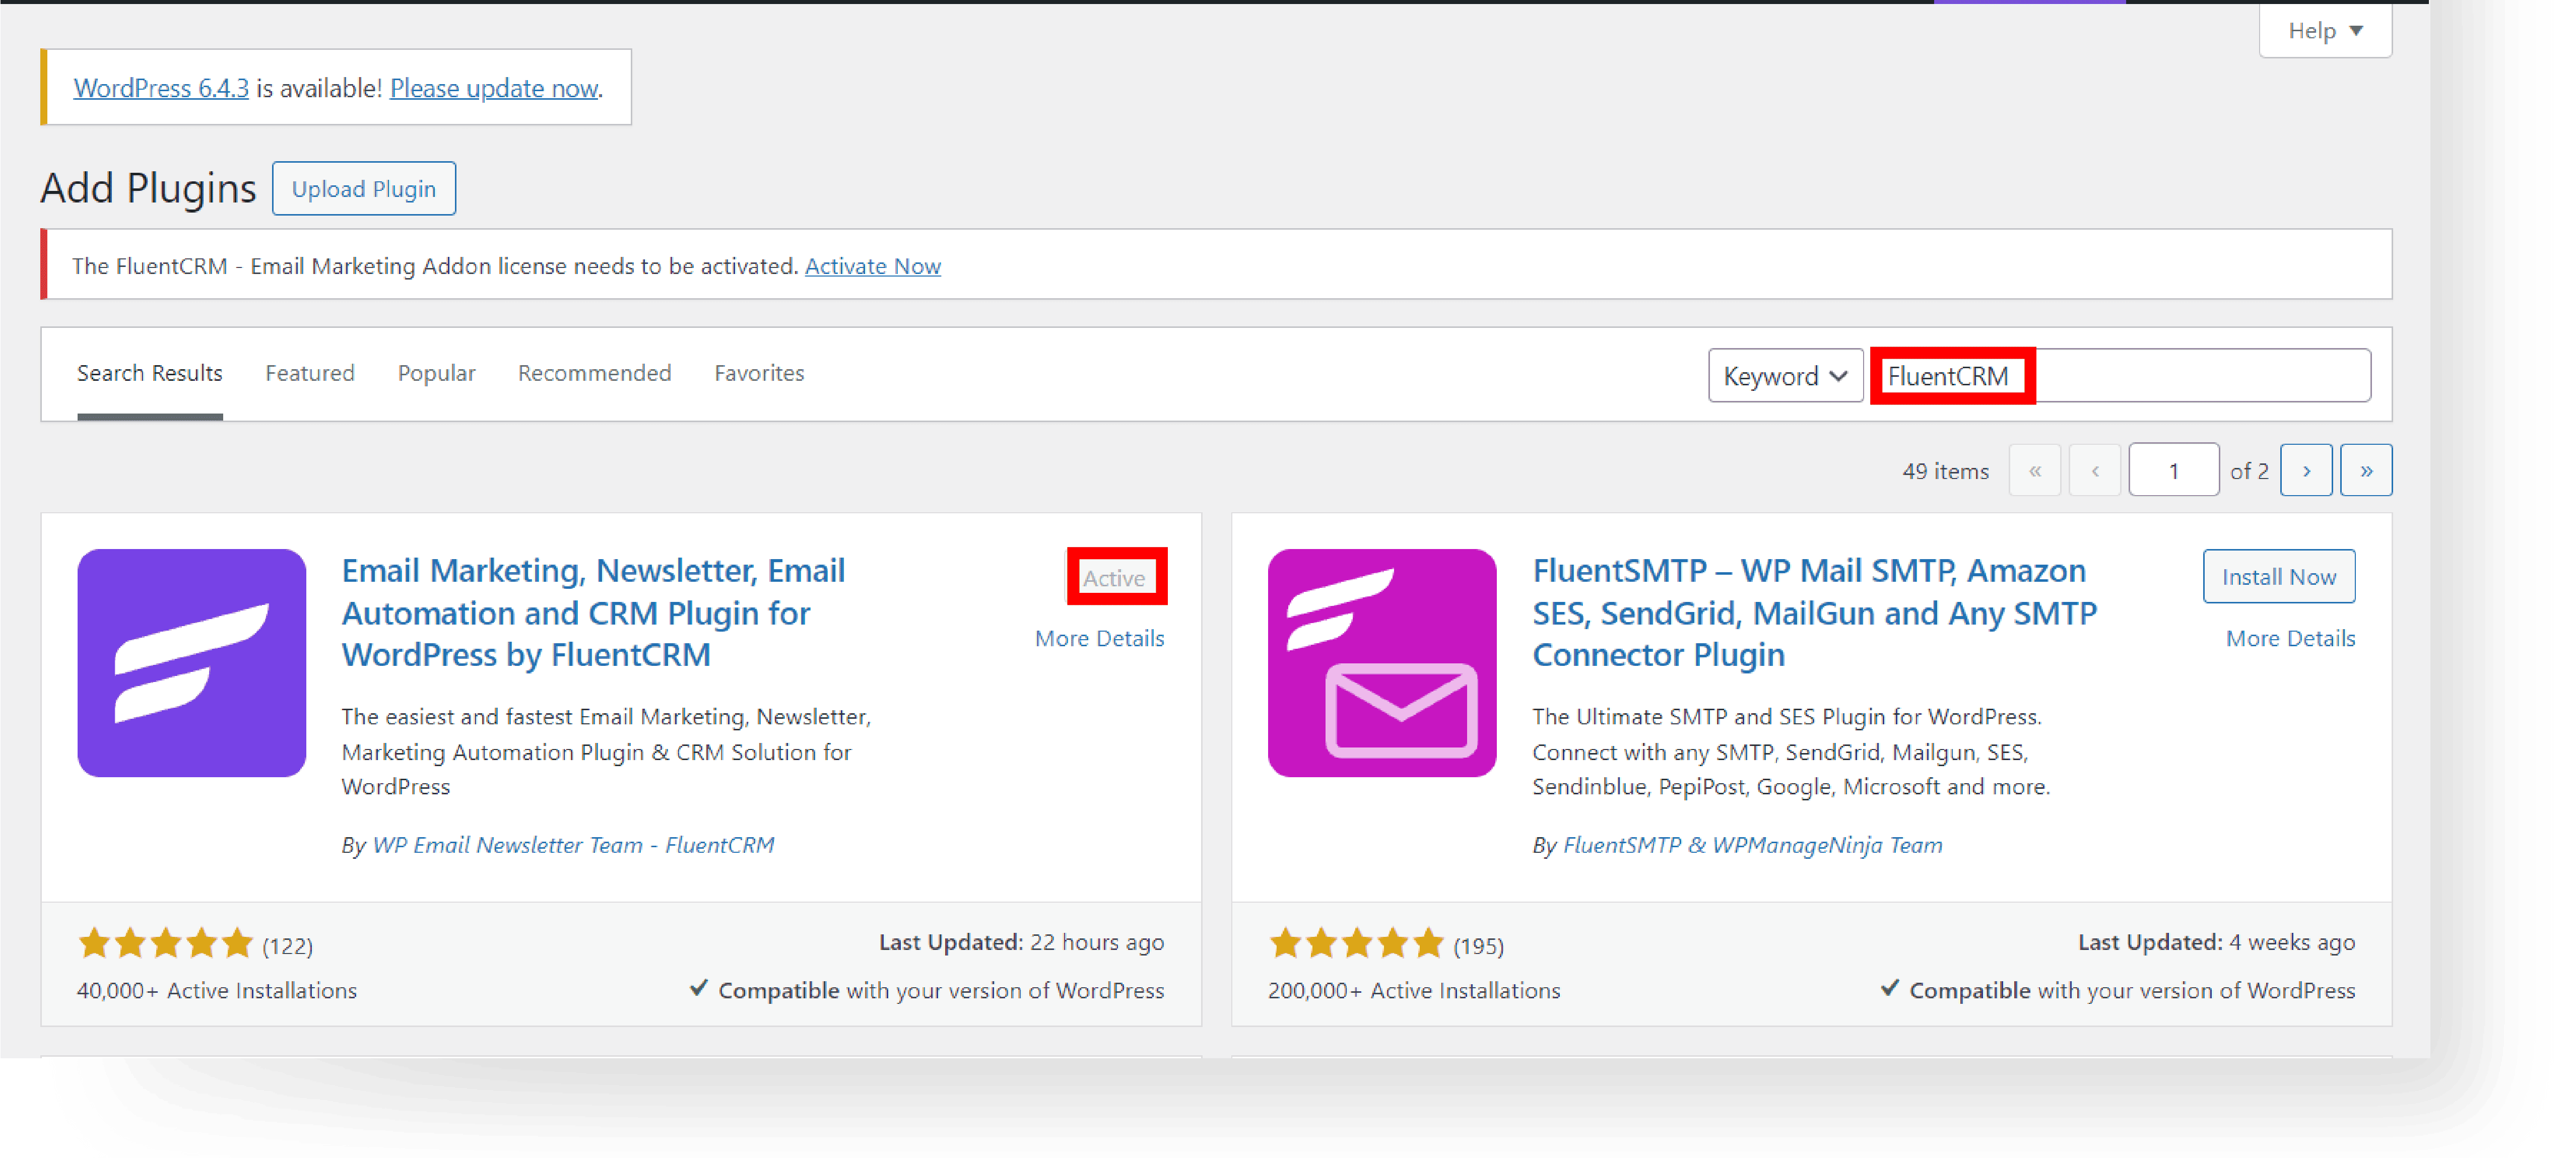
C. In the search bar, type “FluentCRM“, install and activate the plugin.
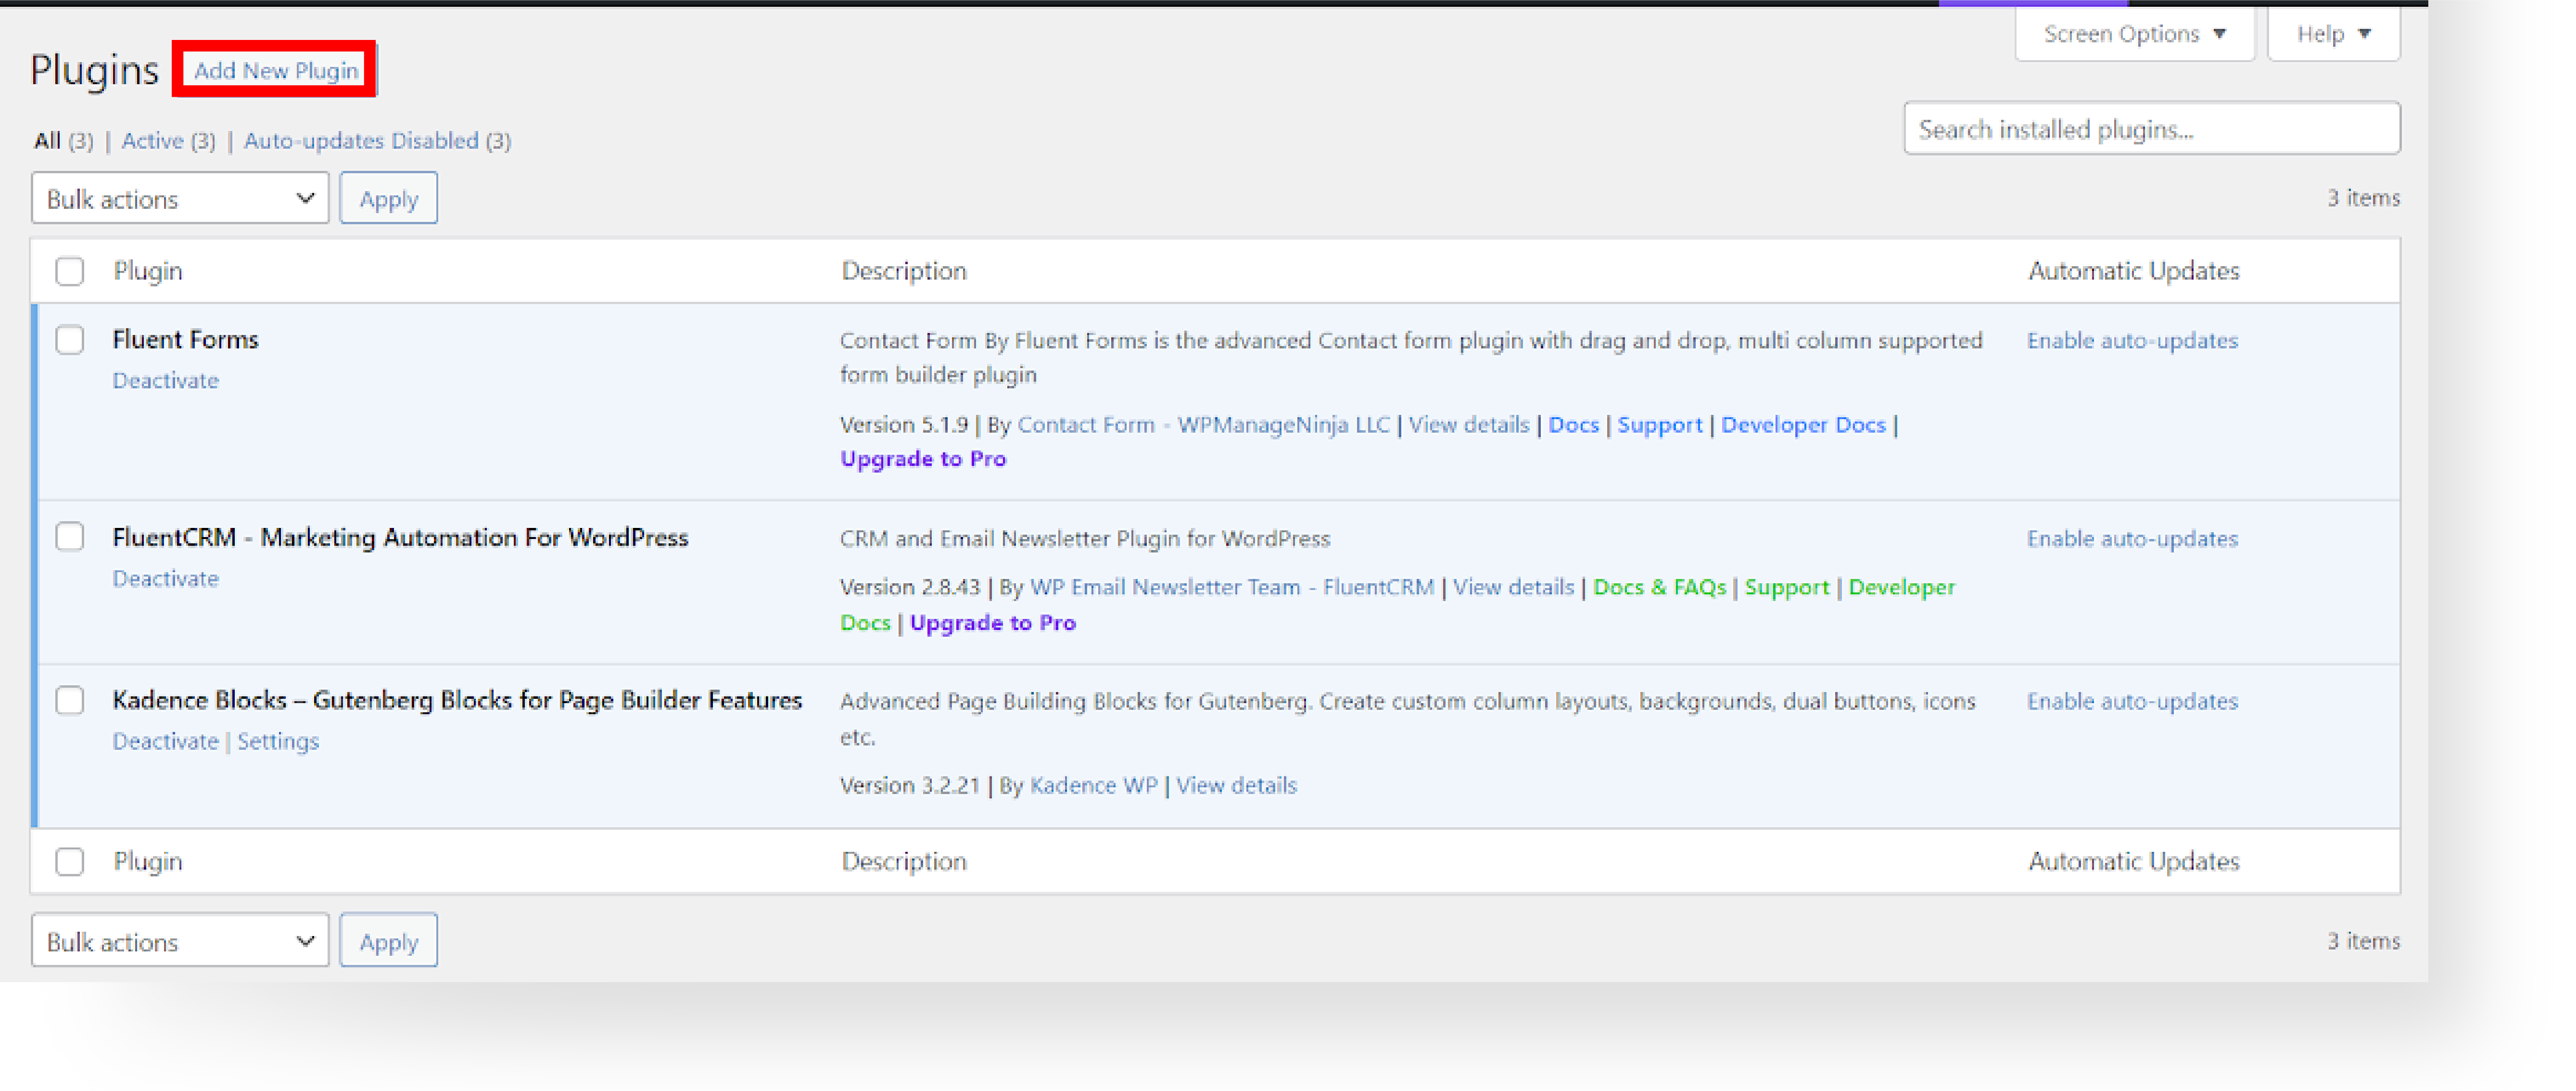
D. Next add FluentCRM Pro plugin, click Add New Plugin.
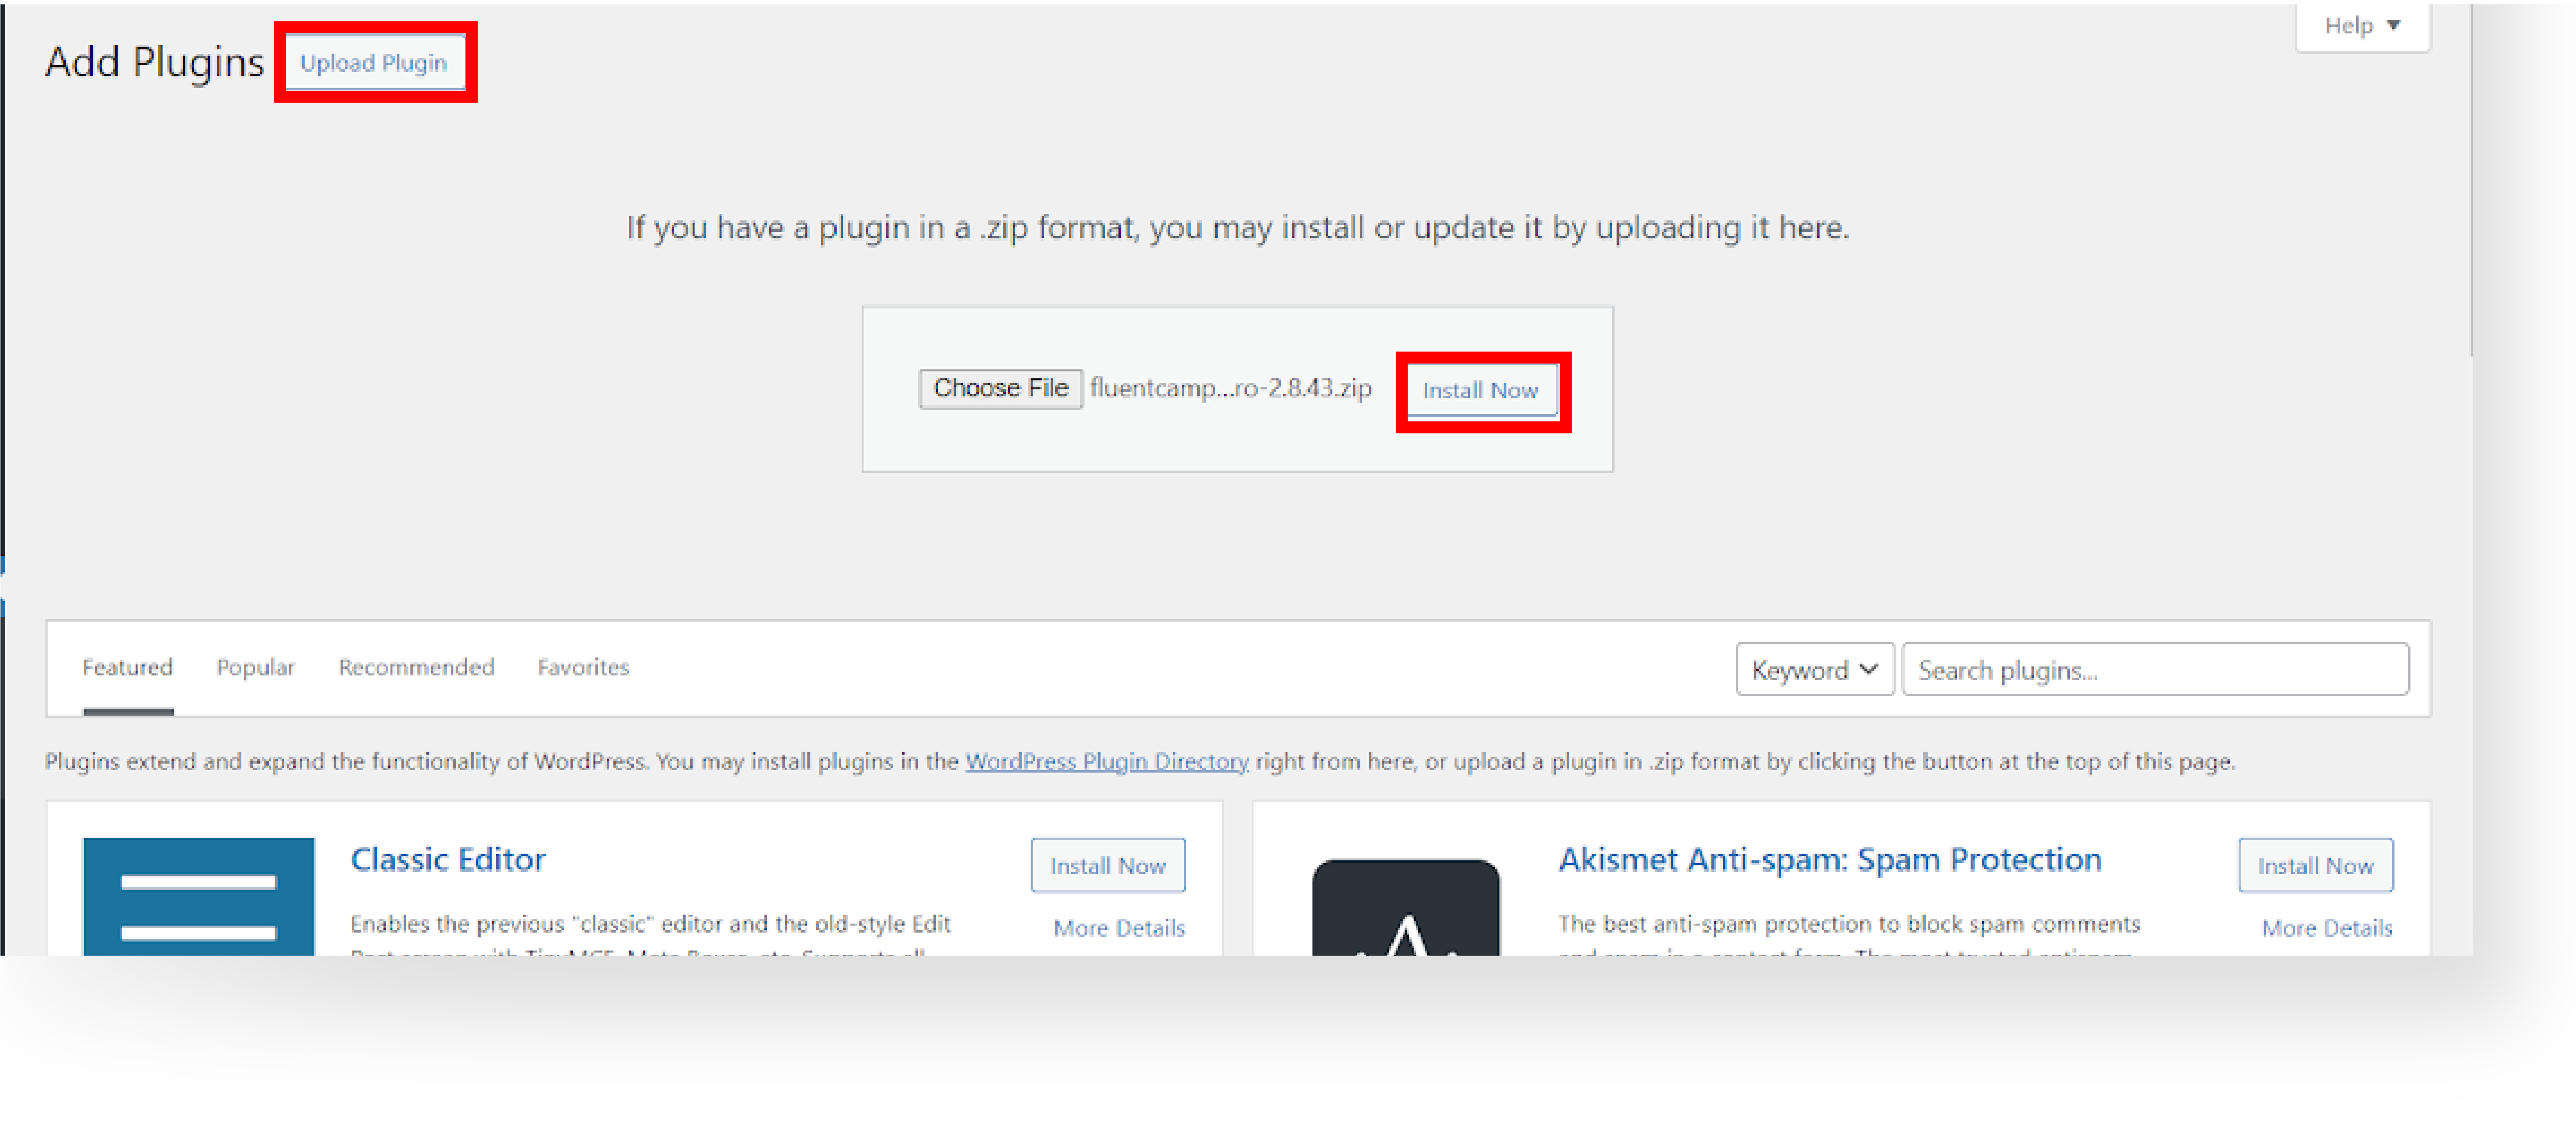
E. Click the Upload Plugin button. Insert FluentCRM Pro Plugin, click Install Now, and activate the plugin.
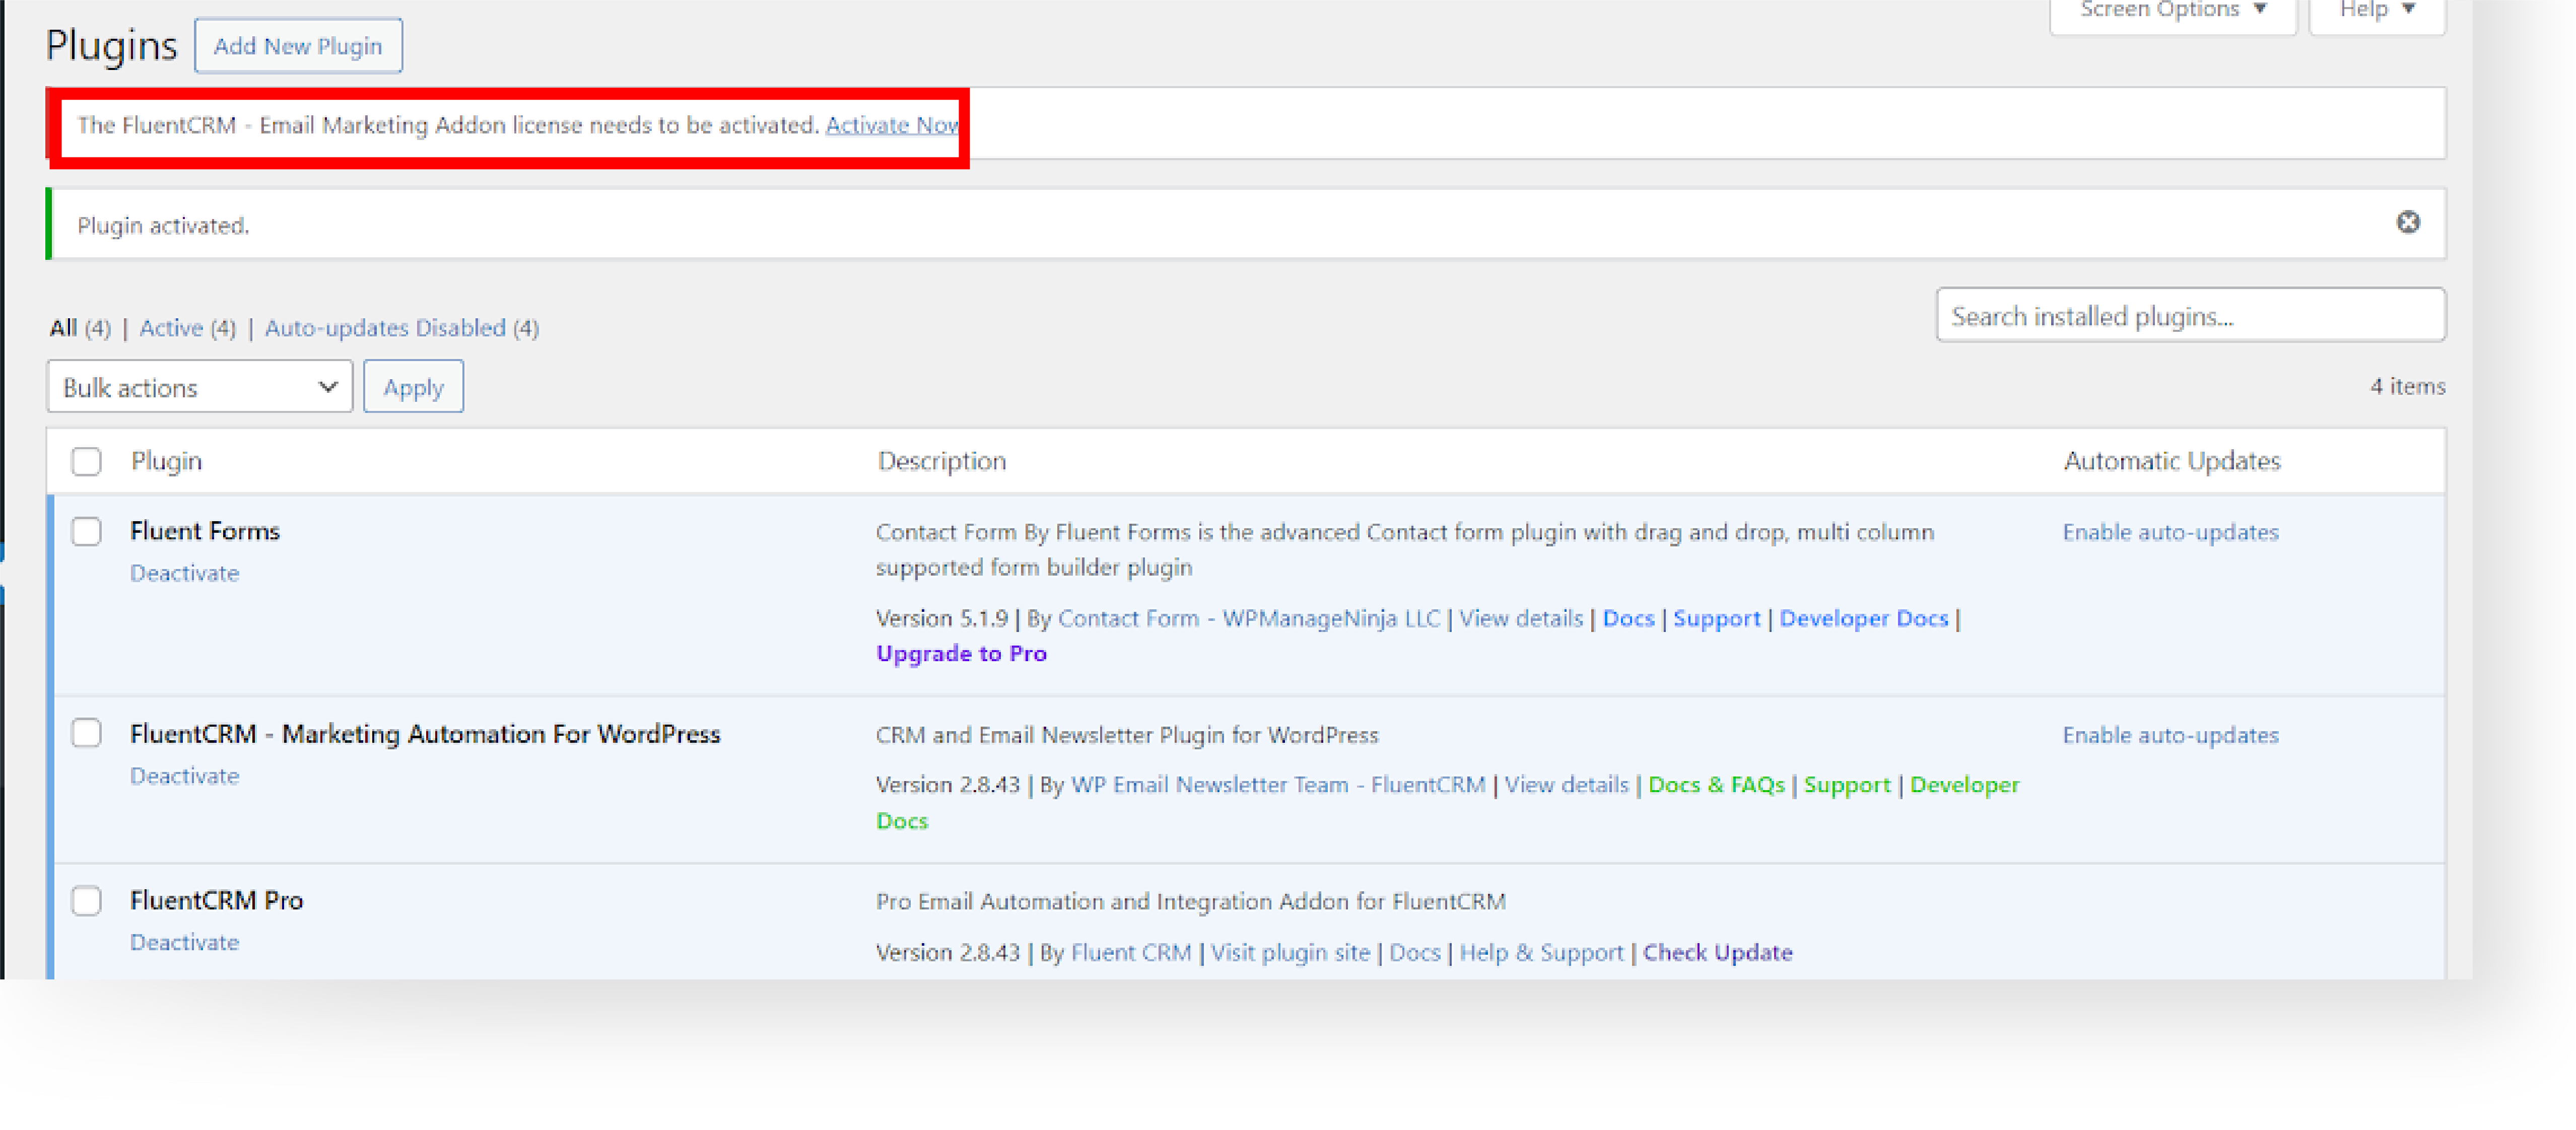
F. Activate The FluentCRM – Email Marketing Addon license, by click the Activate Now link.
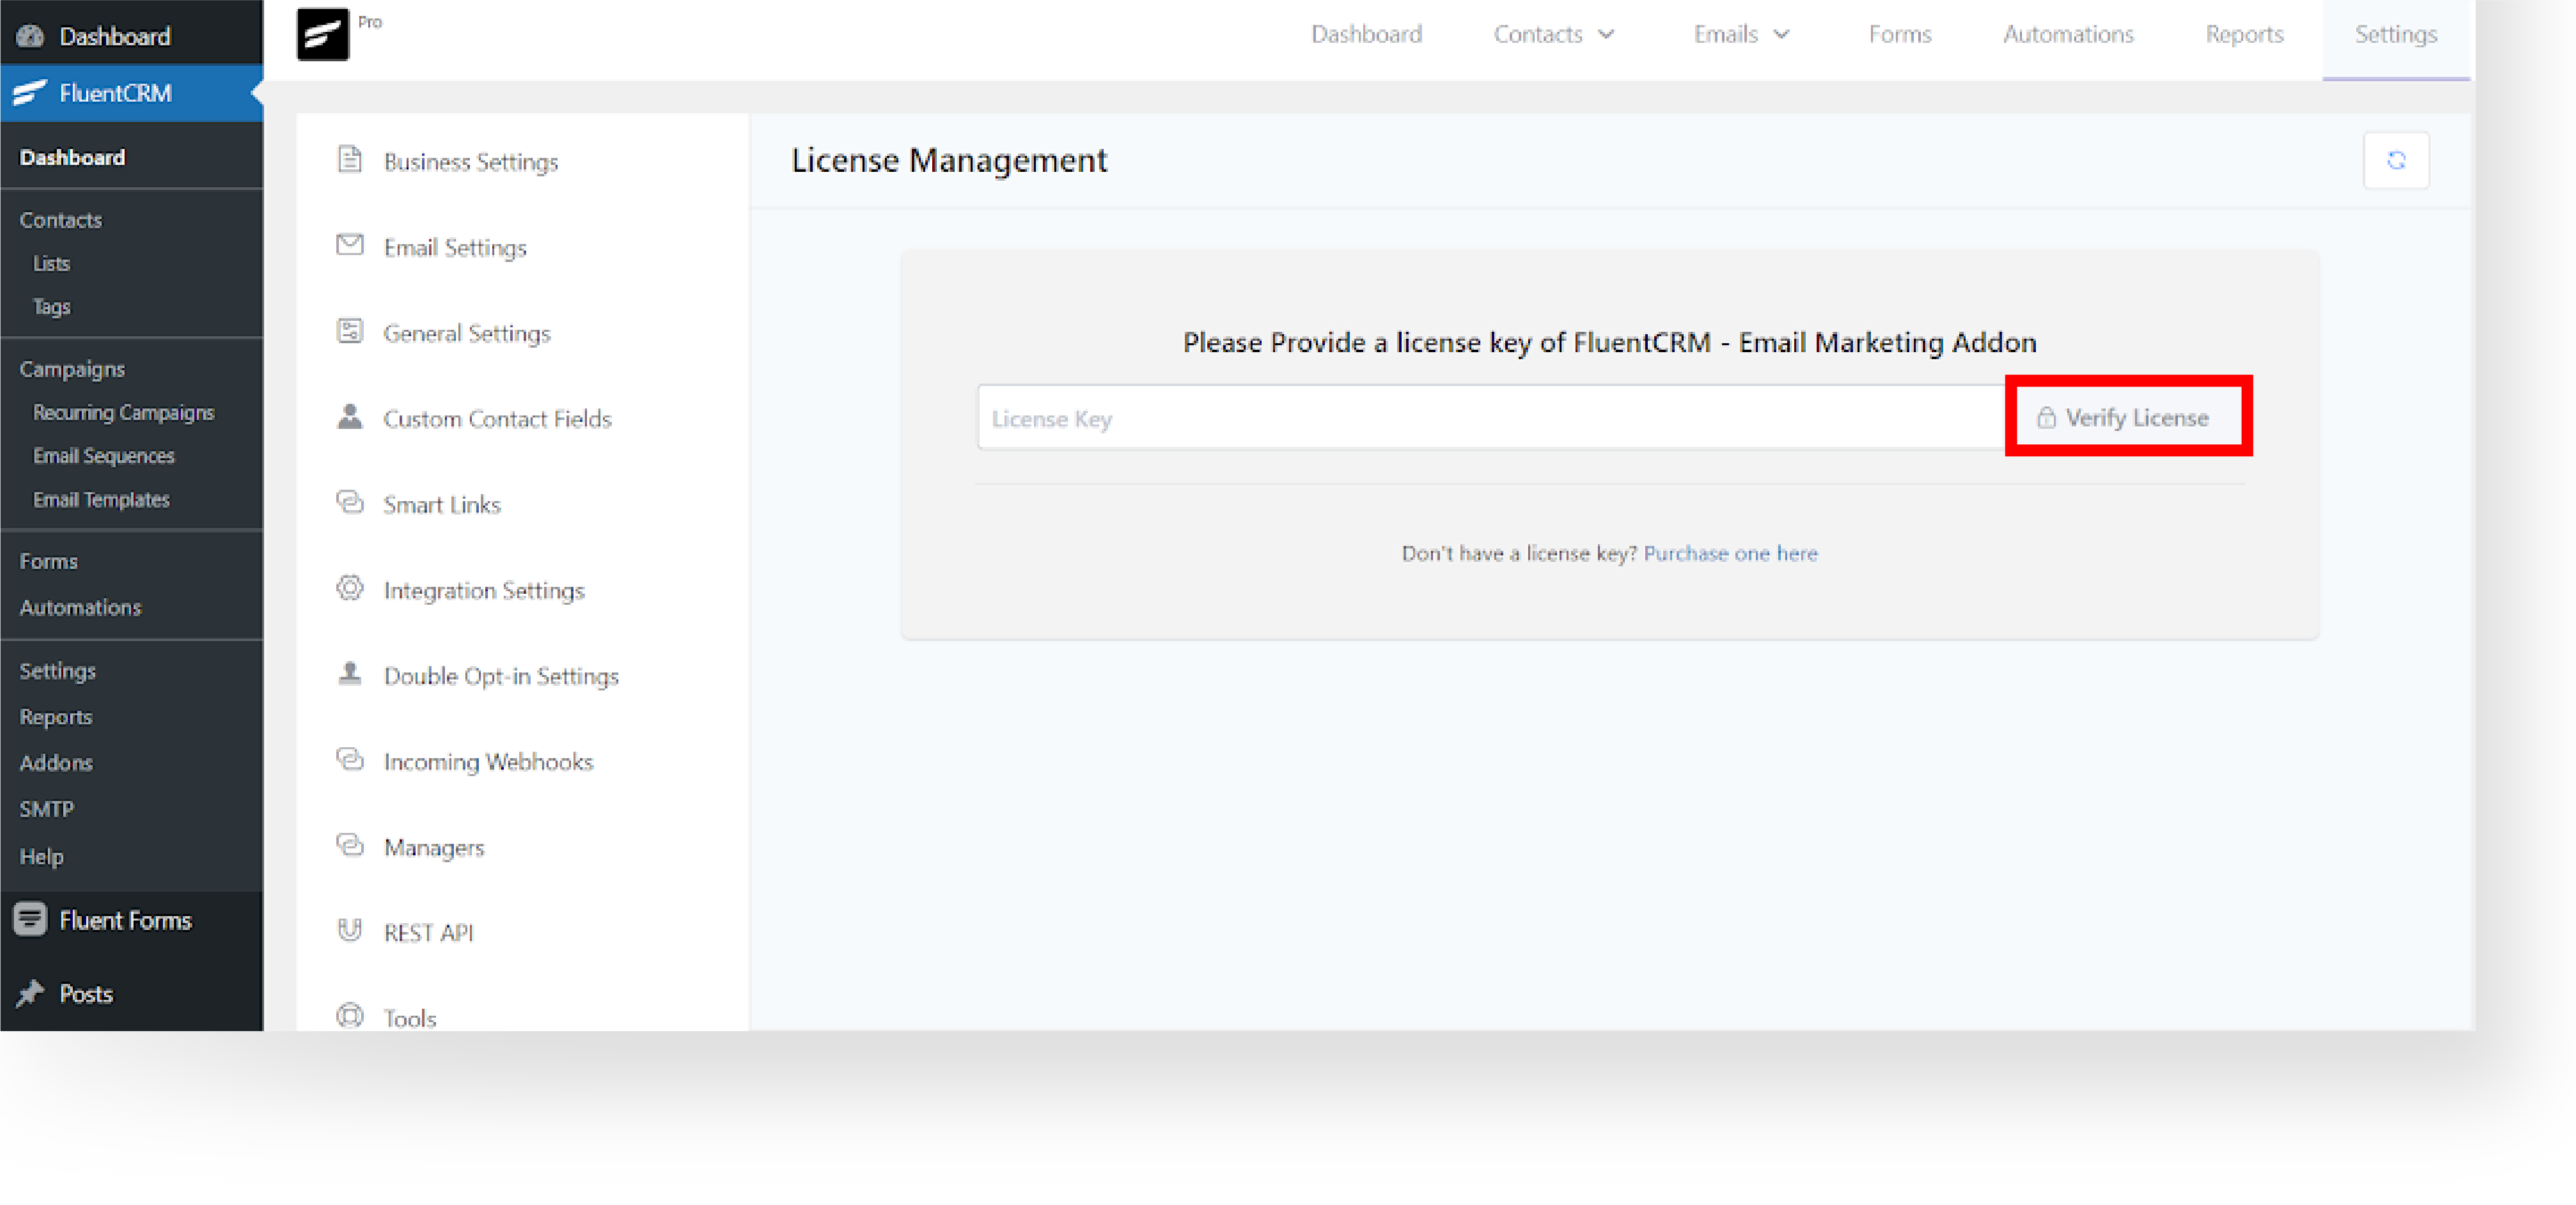
G. Insert the License Key and click the Verify License button.
Step 4: Familiarizing Uni-Emails Template #
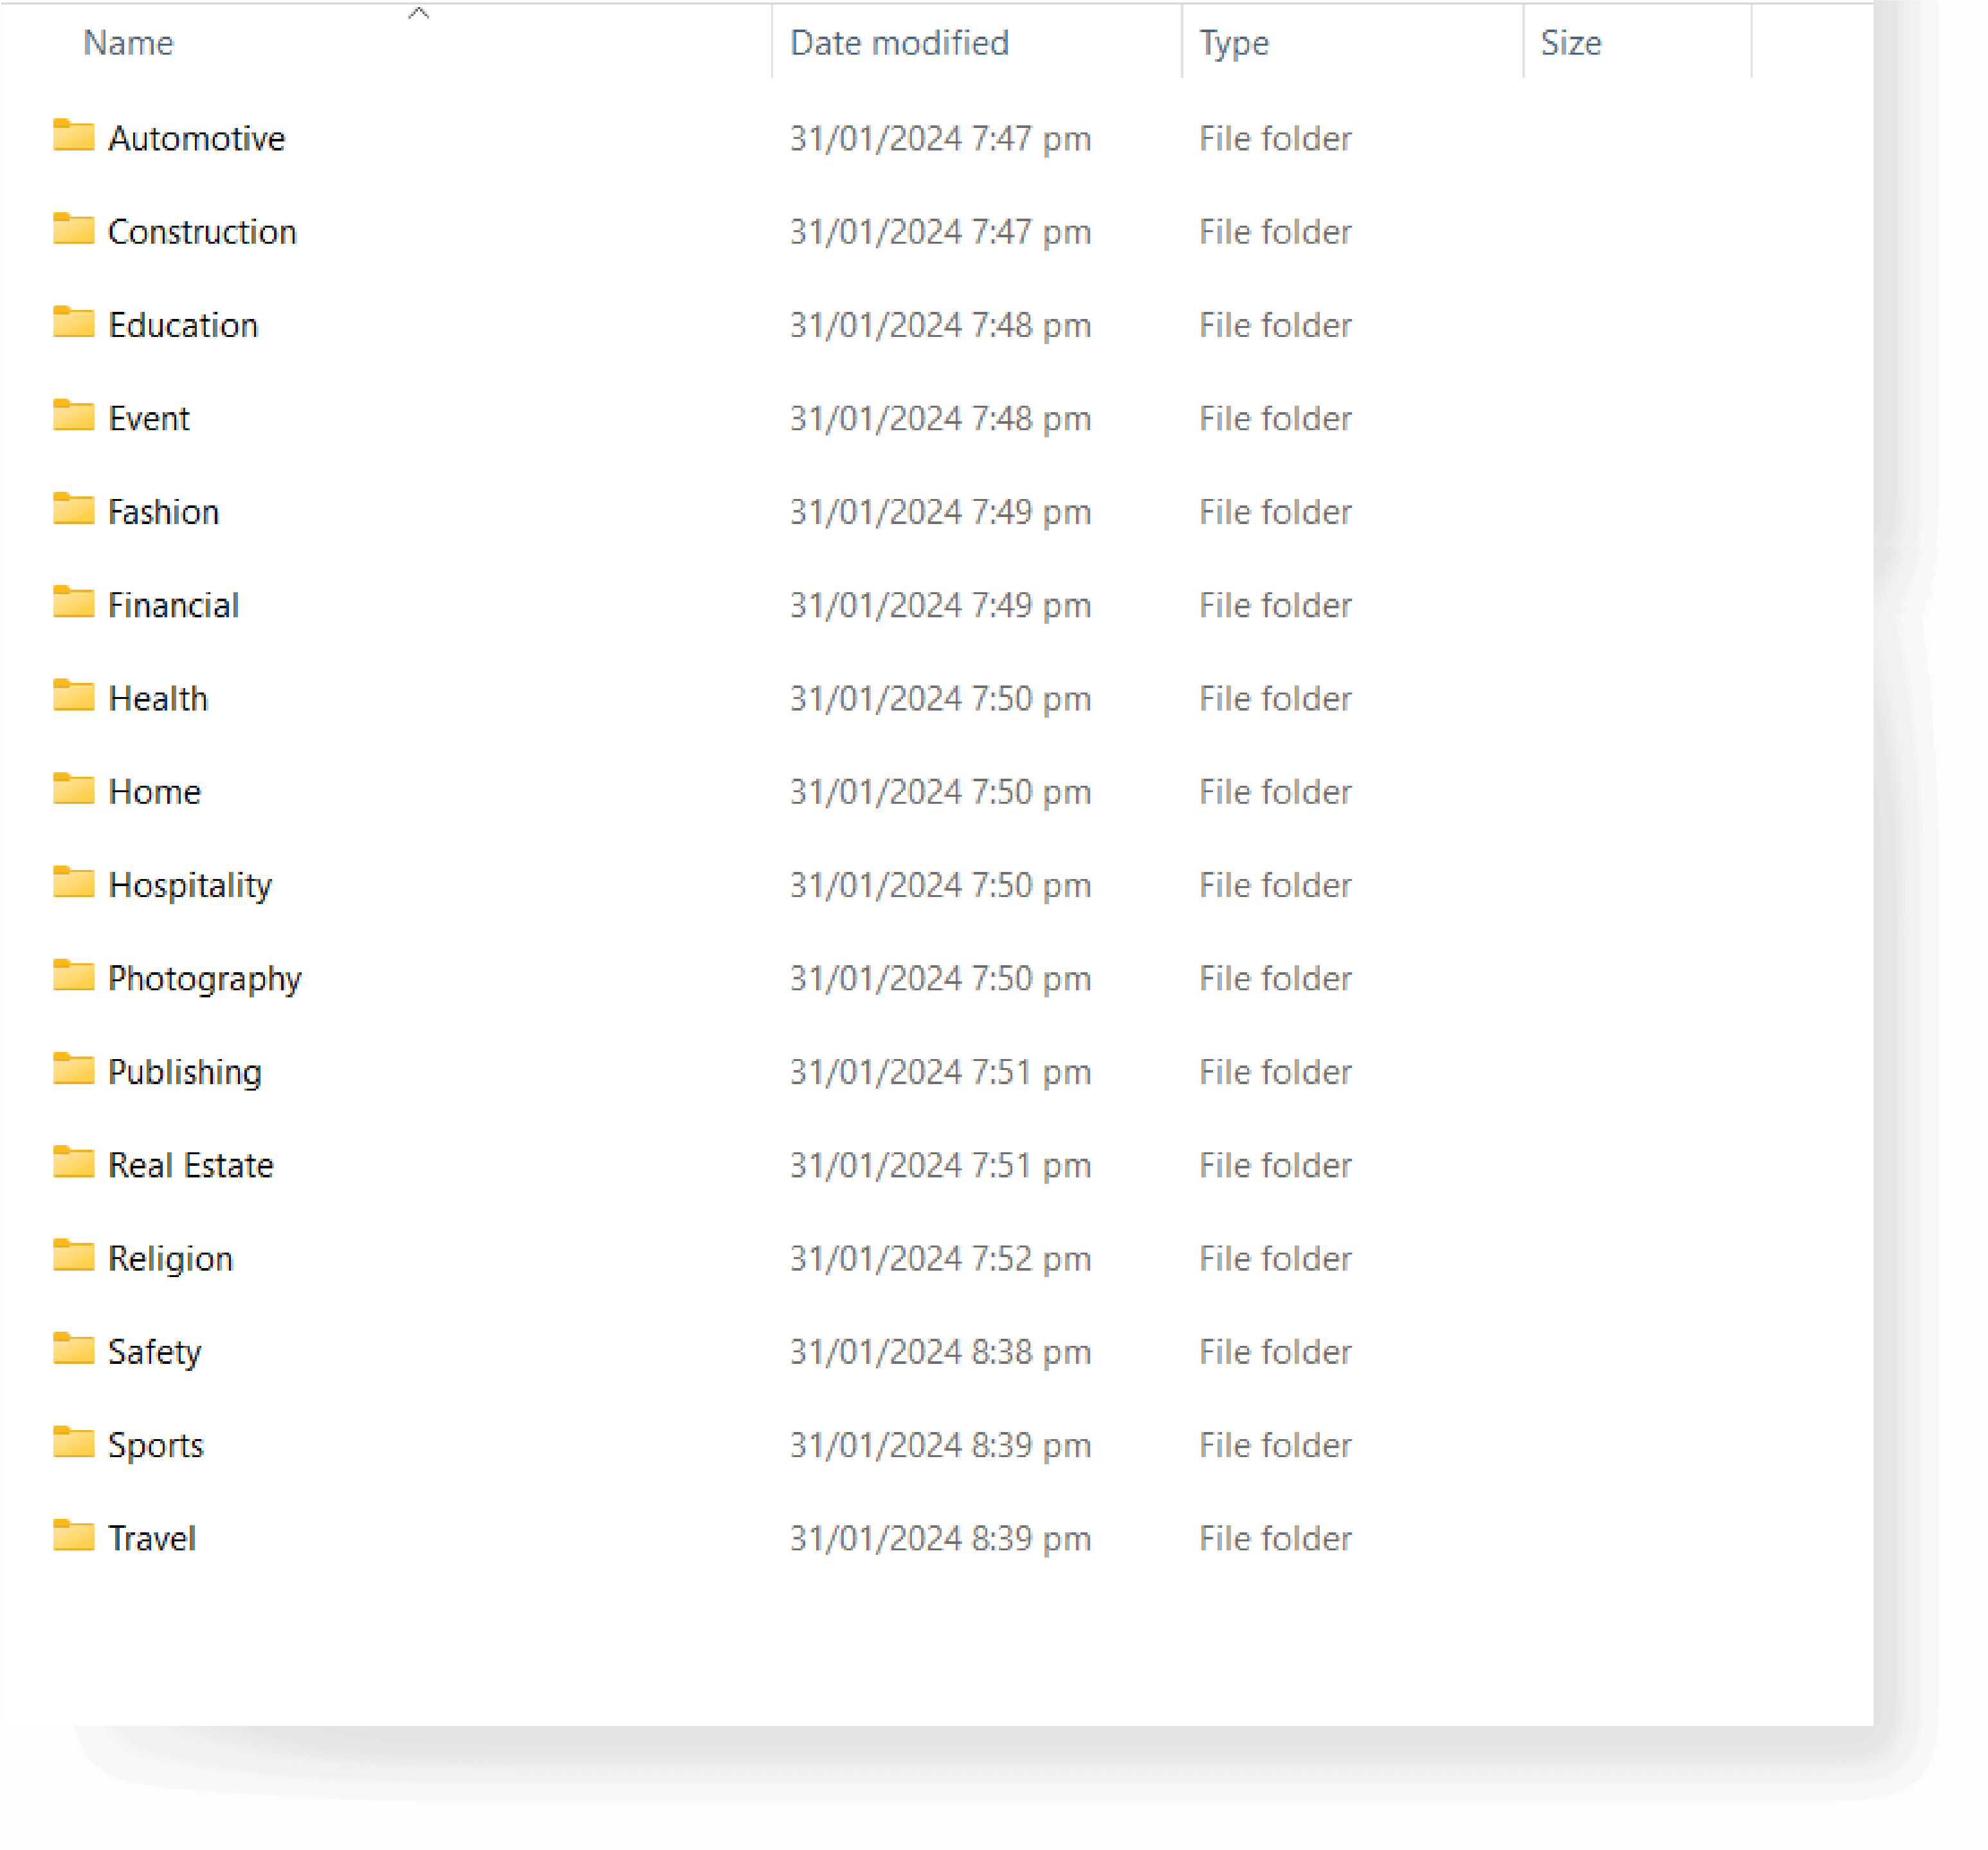
A. Locate the Uni-Email zip file and extract.
B. For FluentCRM Pro users, the process will involve importing templates from a file spanning over 15+ industry categories.
Step 5: Import Templates into FluentCRM Pro #
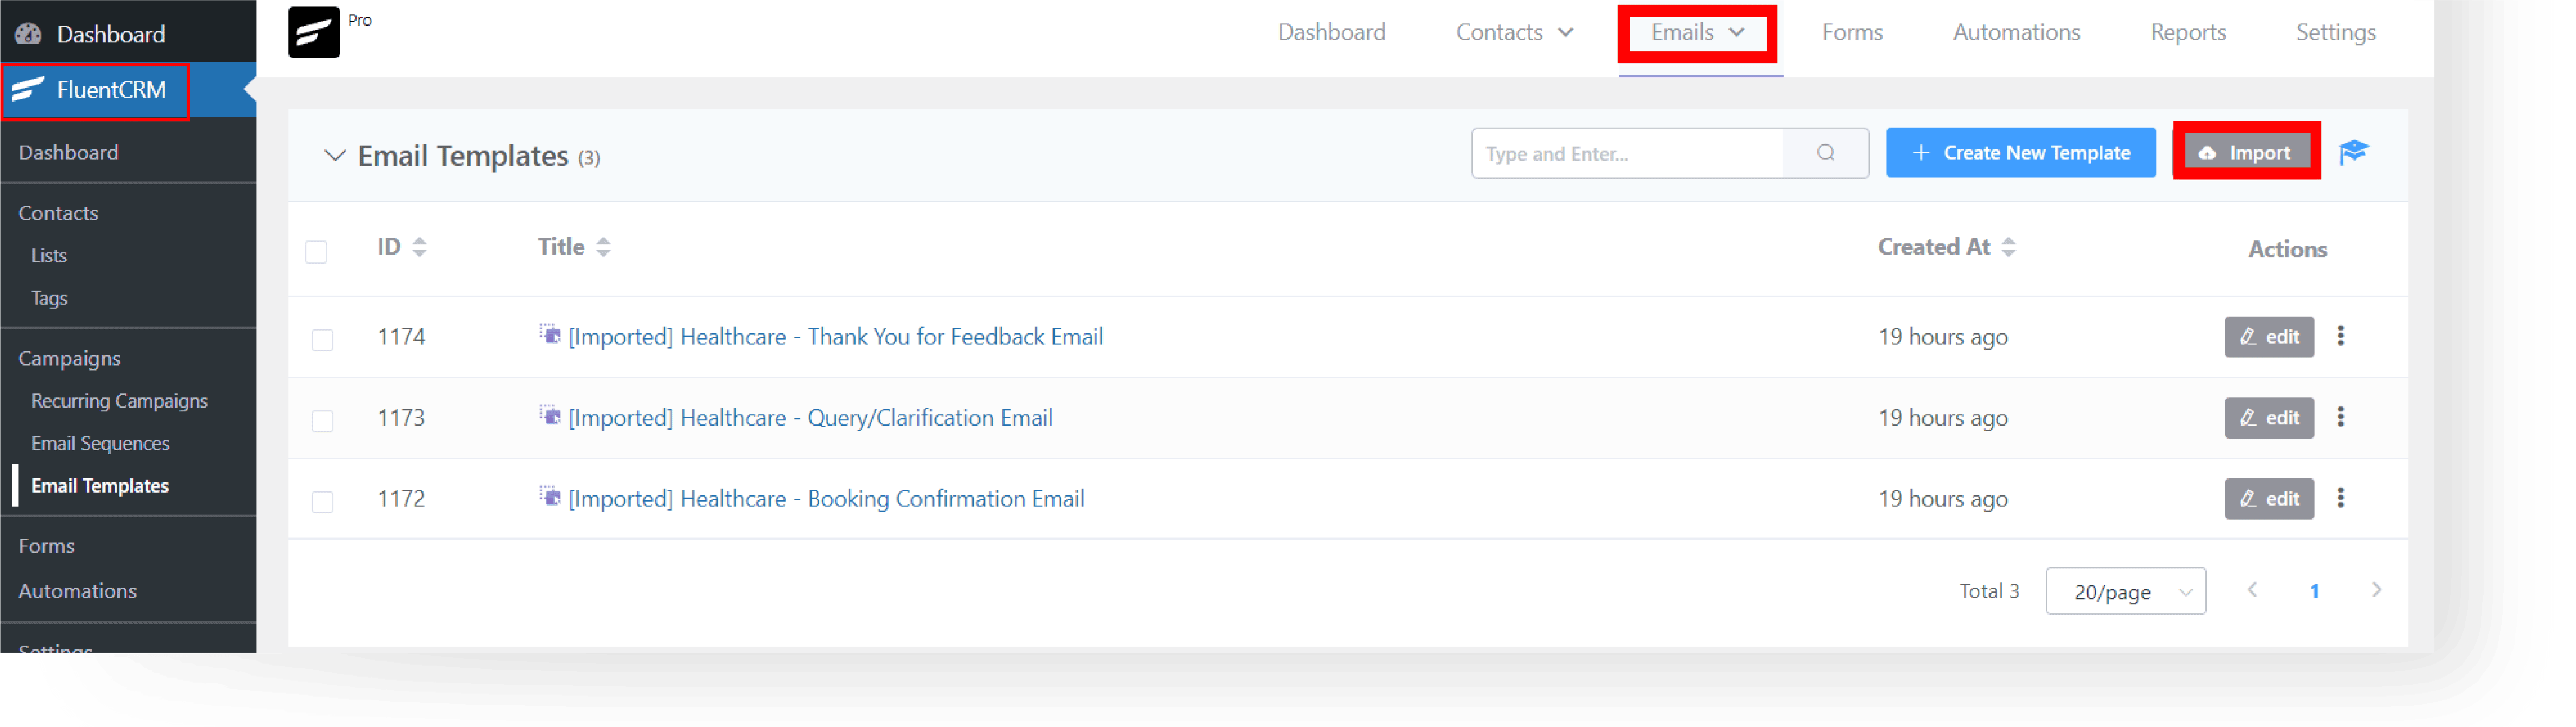
A. Go to your WordPress Dashboard. Open FluentCRM and navigate to the email templates section.
B. Click ‘Import’ and select the JSON file you downloaded from Uni-Emails.
C. After the successful import of the email templates, you will be directed to the email template editor.
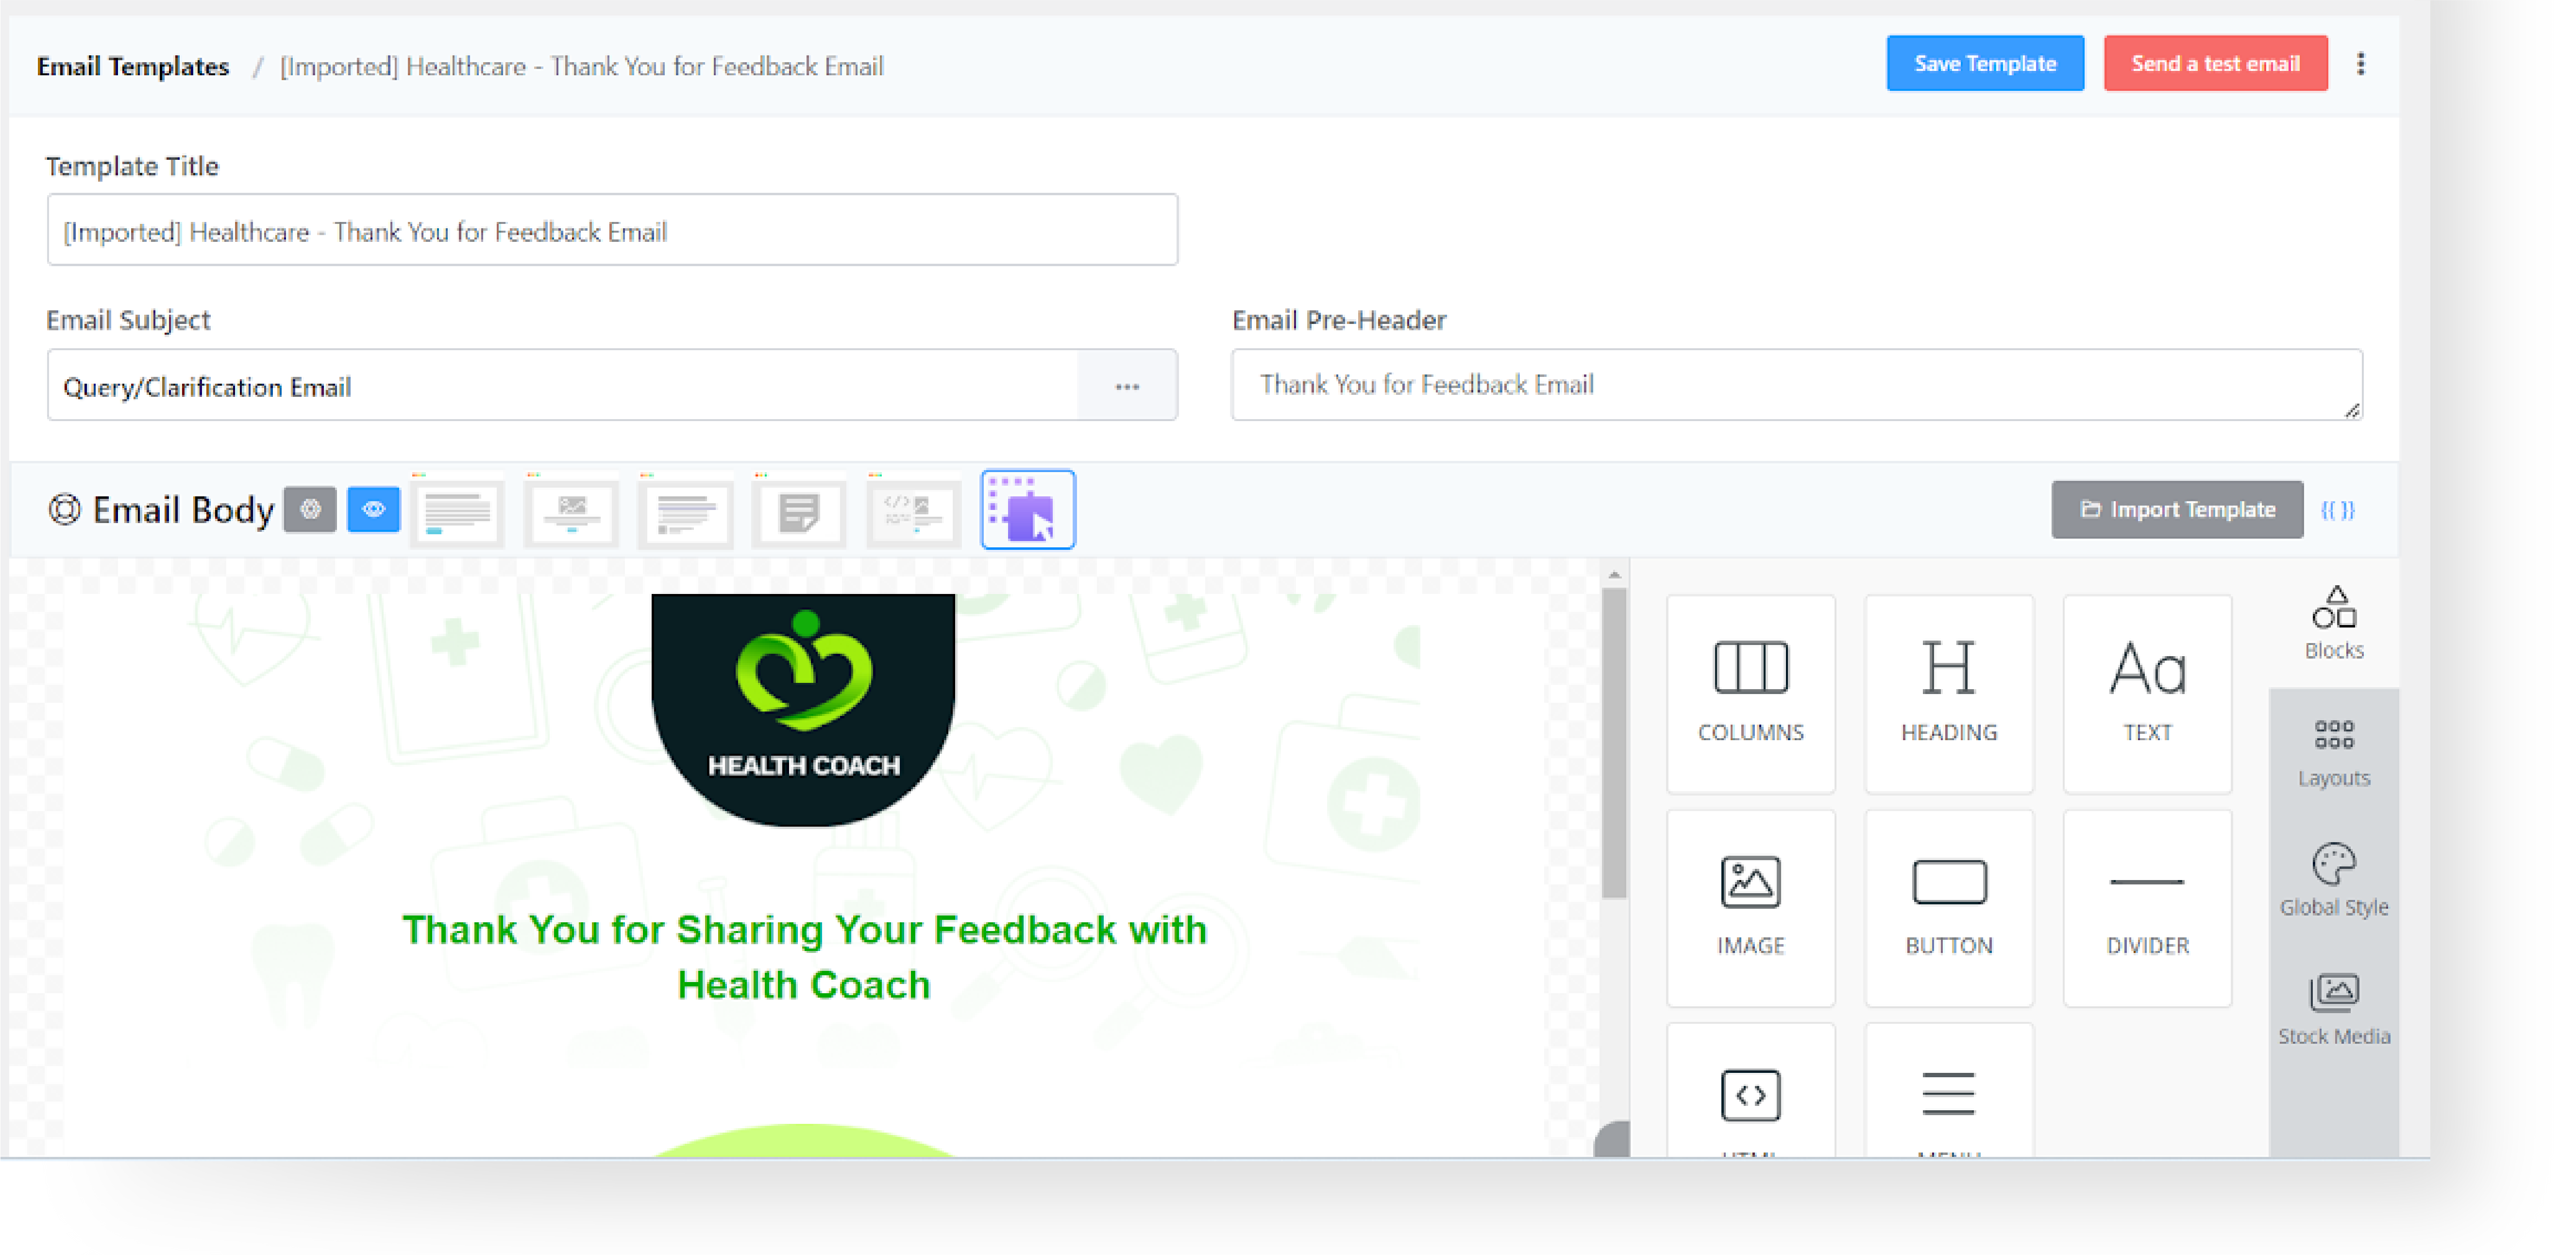
Step 6: Customizing Your Templates #
A. Once imported, edit the templates using the FluentCRM Editor.
B. Customize by adding content, changing colors, and adjusting layouts to your preference.

Step 7: Preview and Publish #
A. Regularly click the “Save Template” button on your email to update the changes and make your email live.
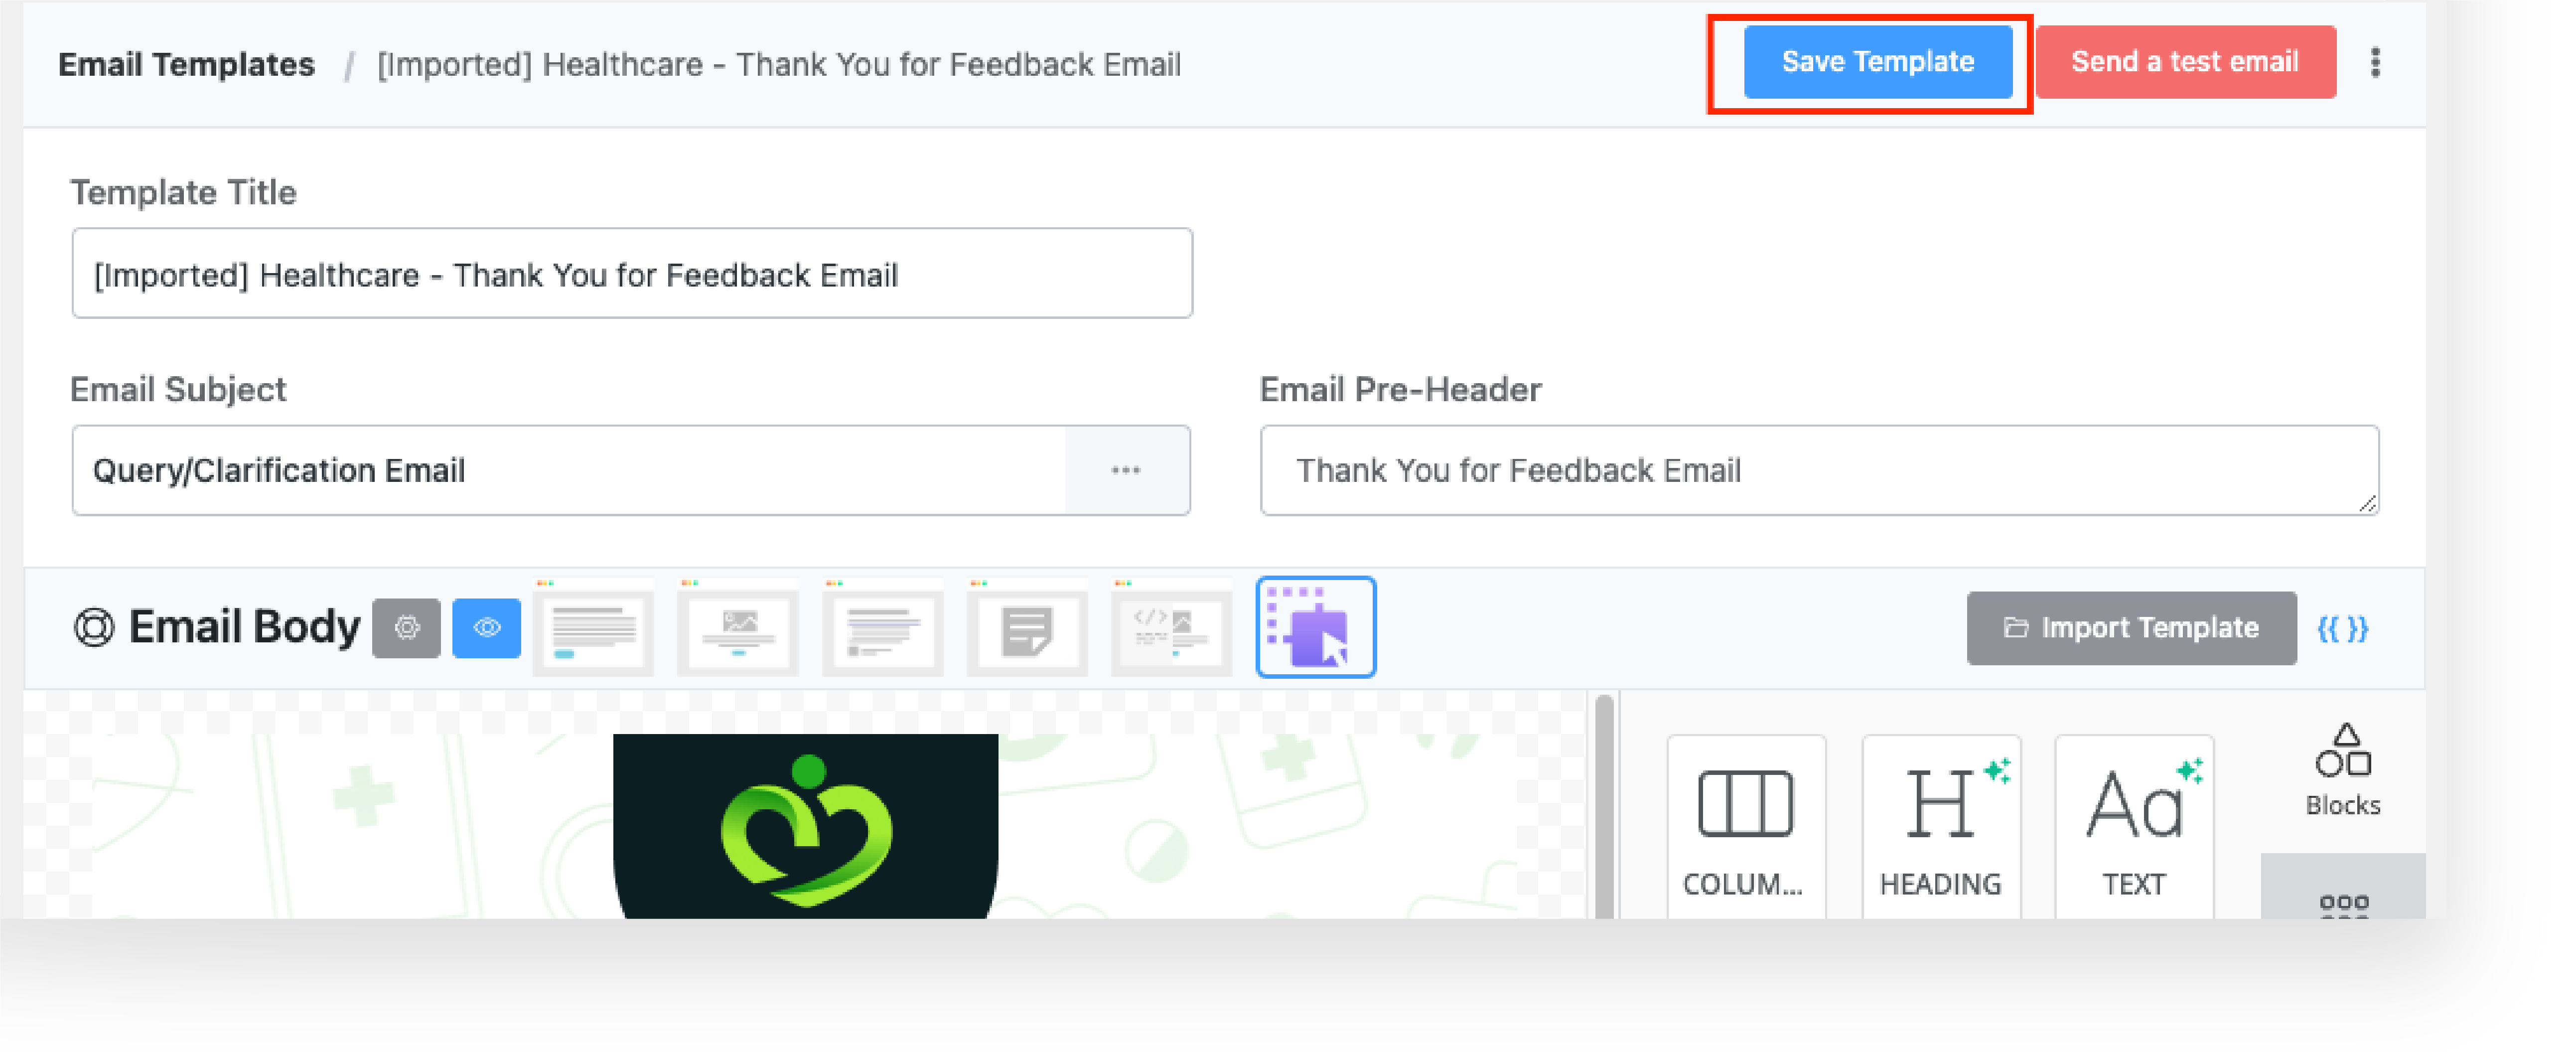
B. Congratulations! You’ve finished the setup process and you’re good to go.
