Step 1: Install WordPress #
A. If you haven’t set up a WordPress website. You can do this through most web hosting providers.
Step 2: Get Your Uni-Forms #
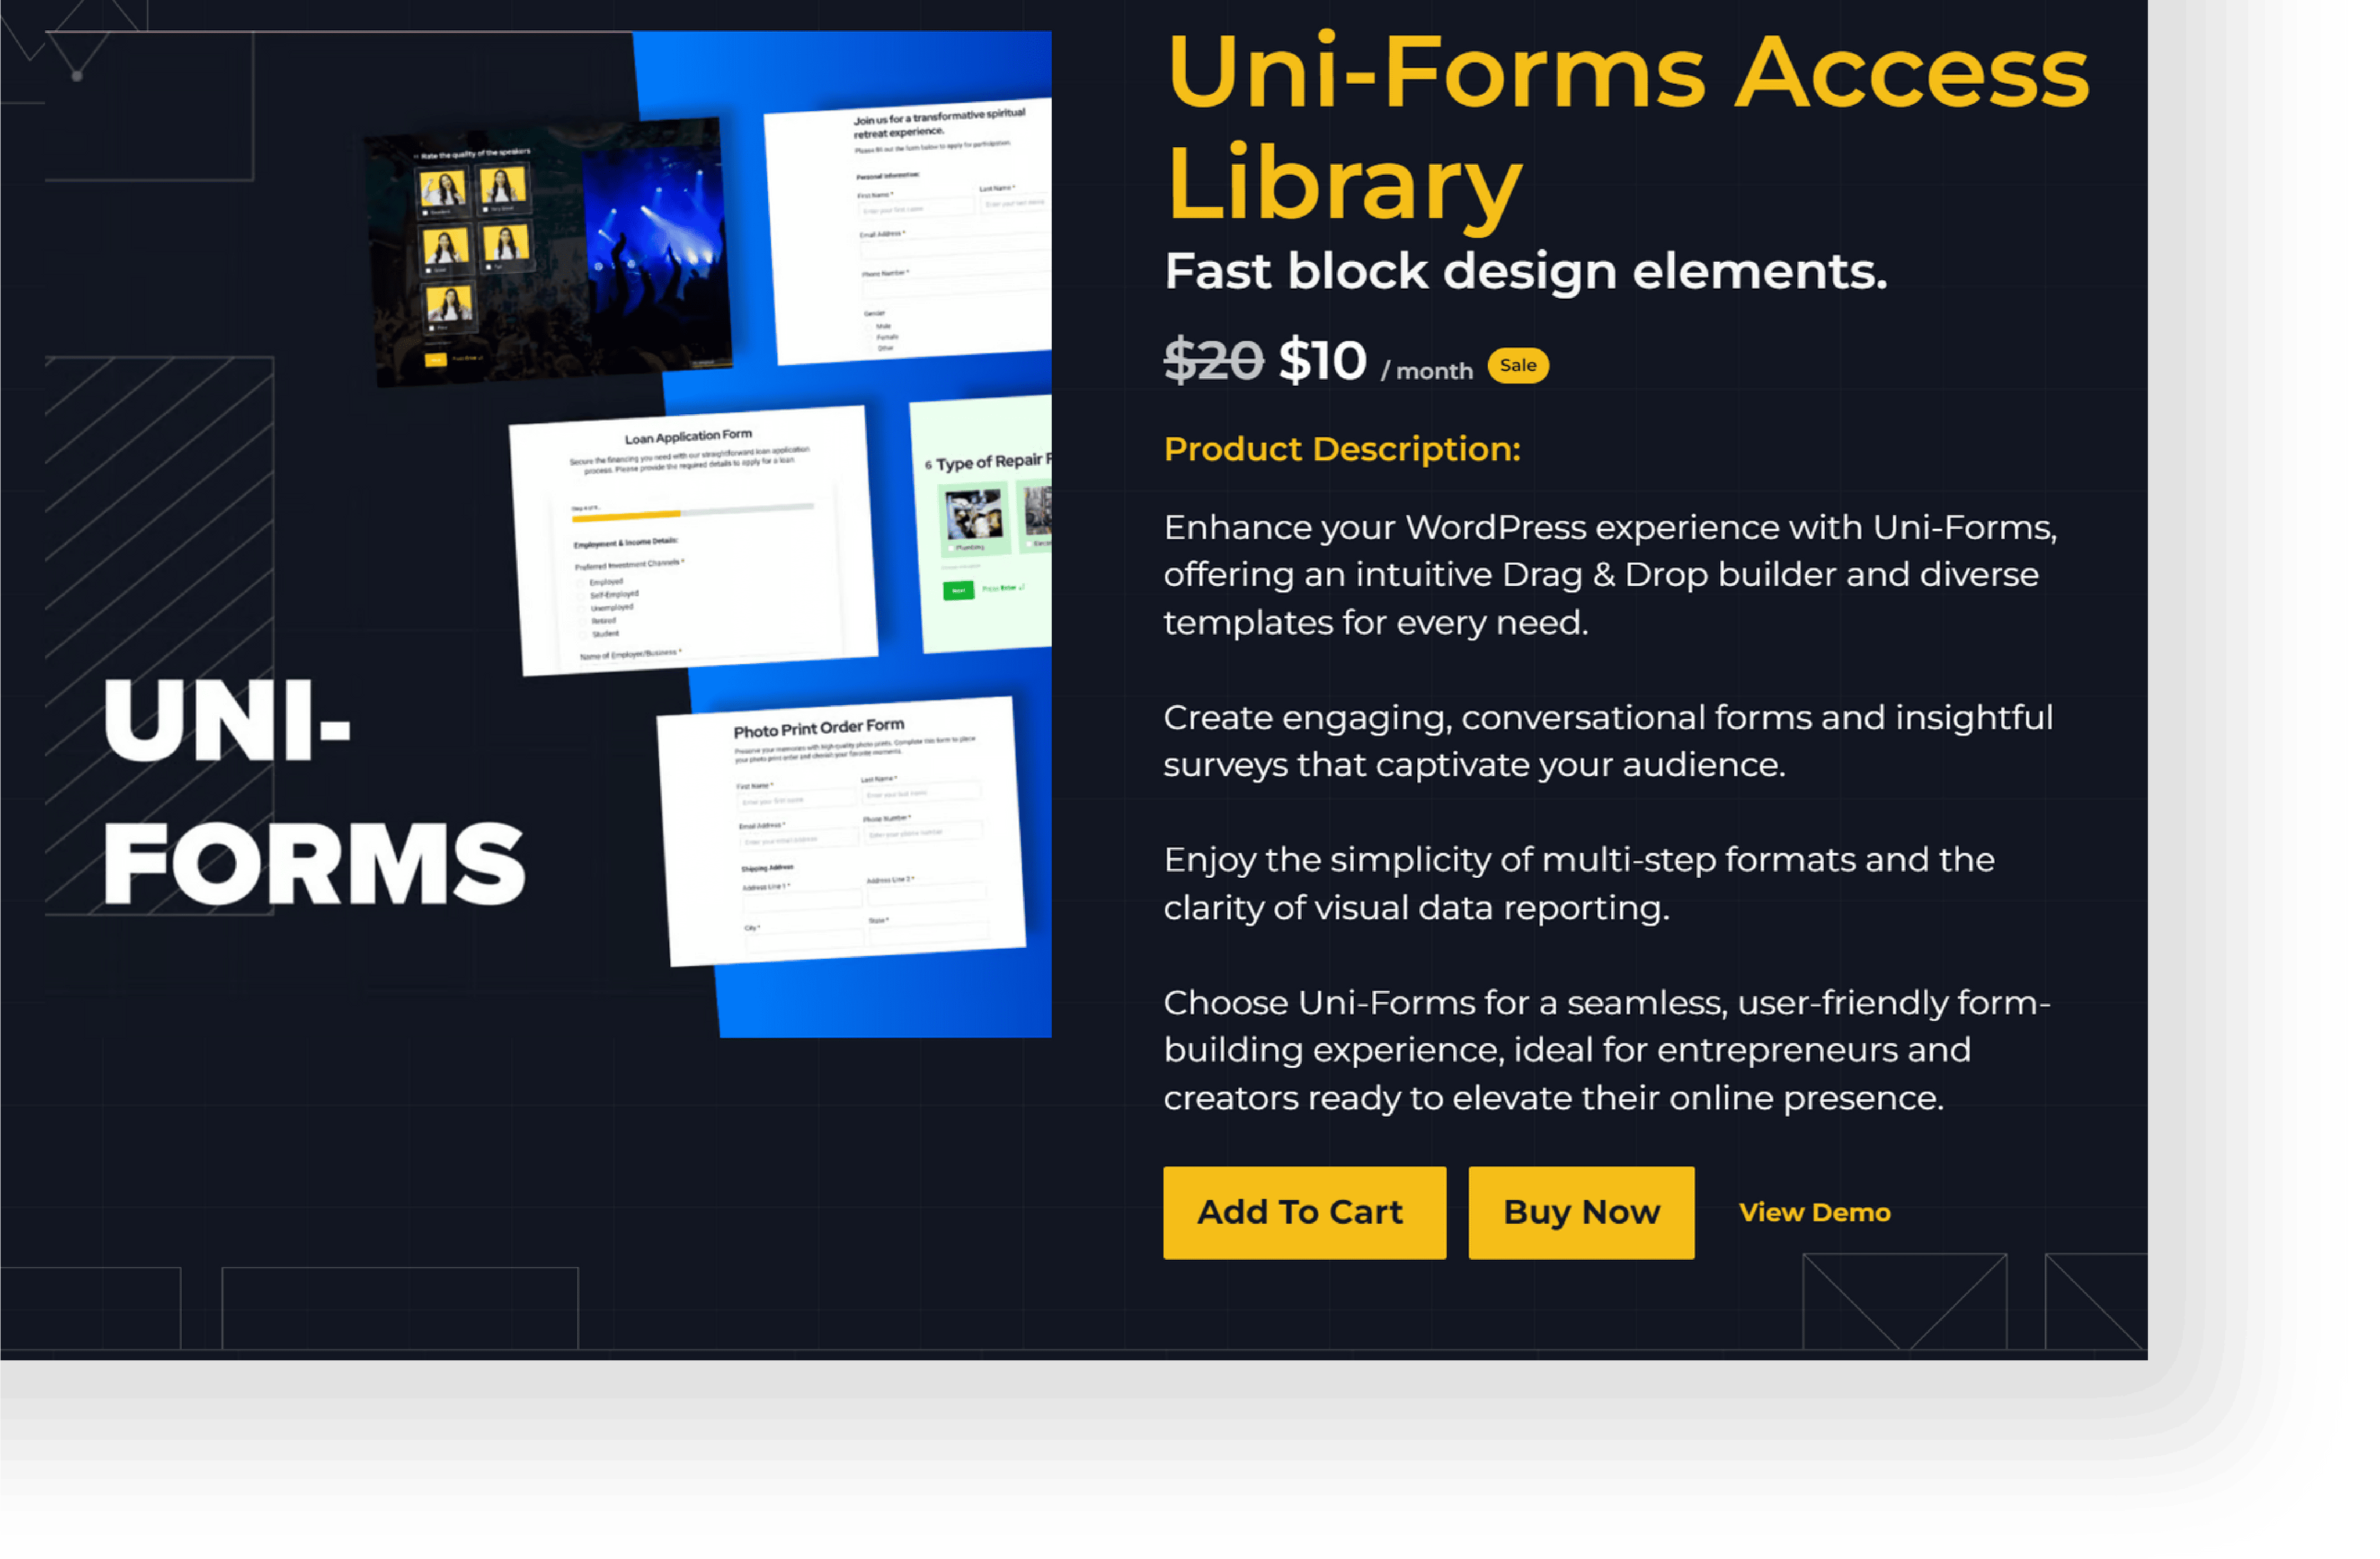
A. Visit the Iconic Templates website (https://iconictemplates.com) and purchase the Uni-Forms.
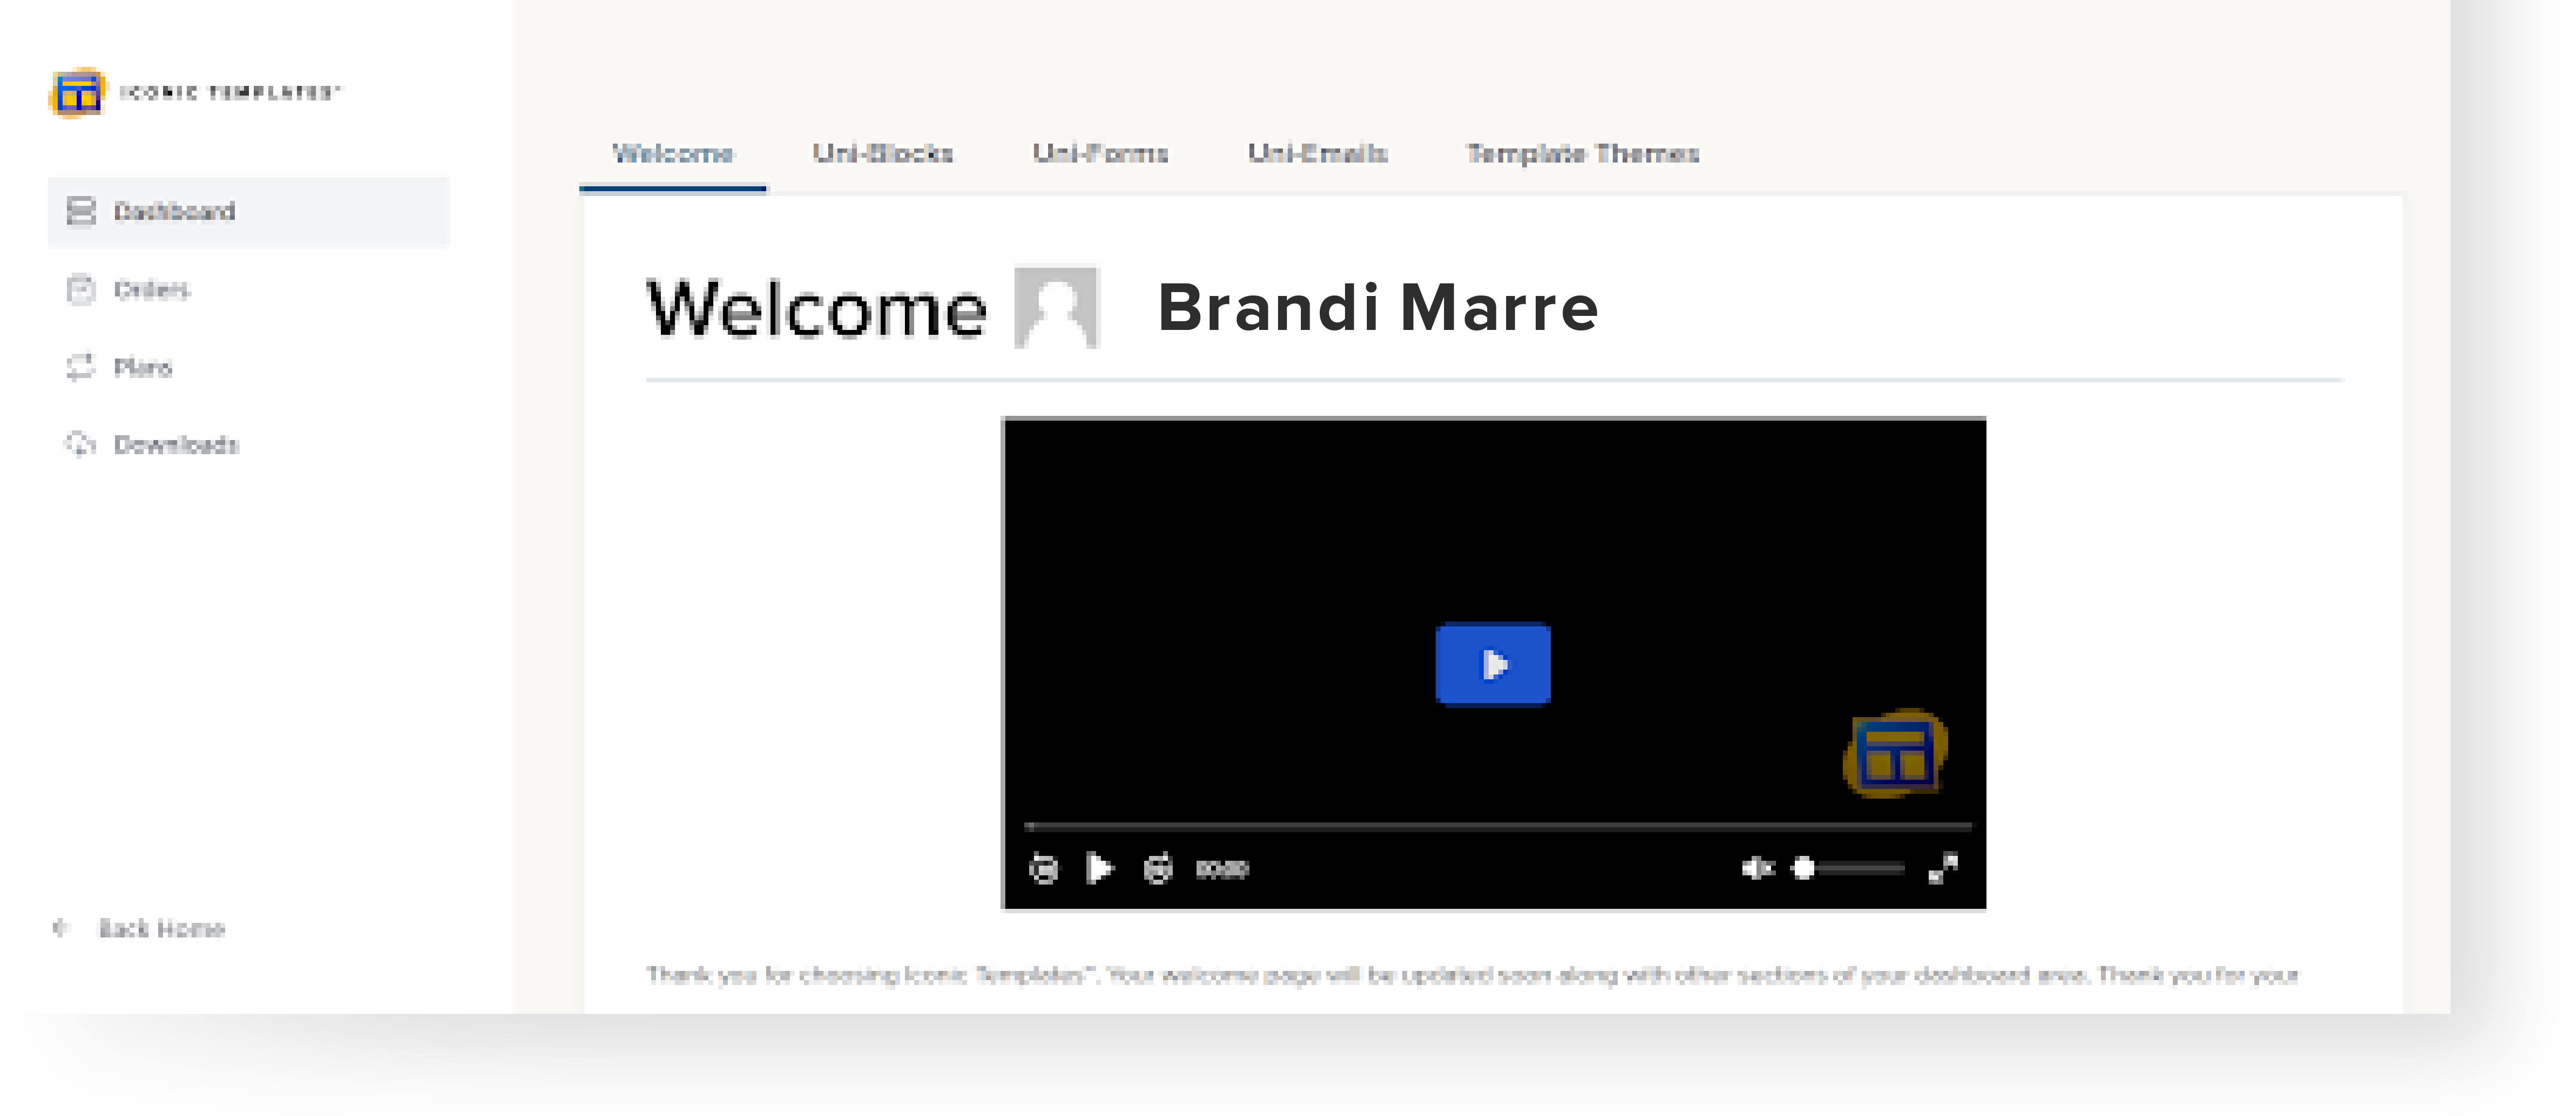
B. After you purchase Uni-Forms, you’ll receive download instructions in your email and on your account dashboard.
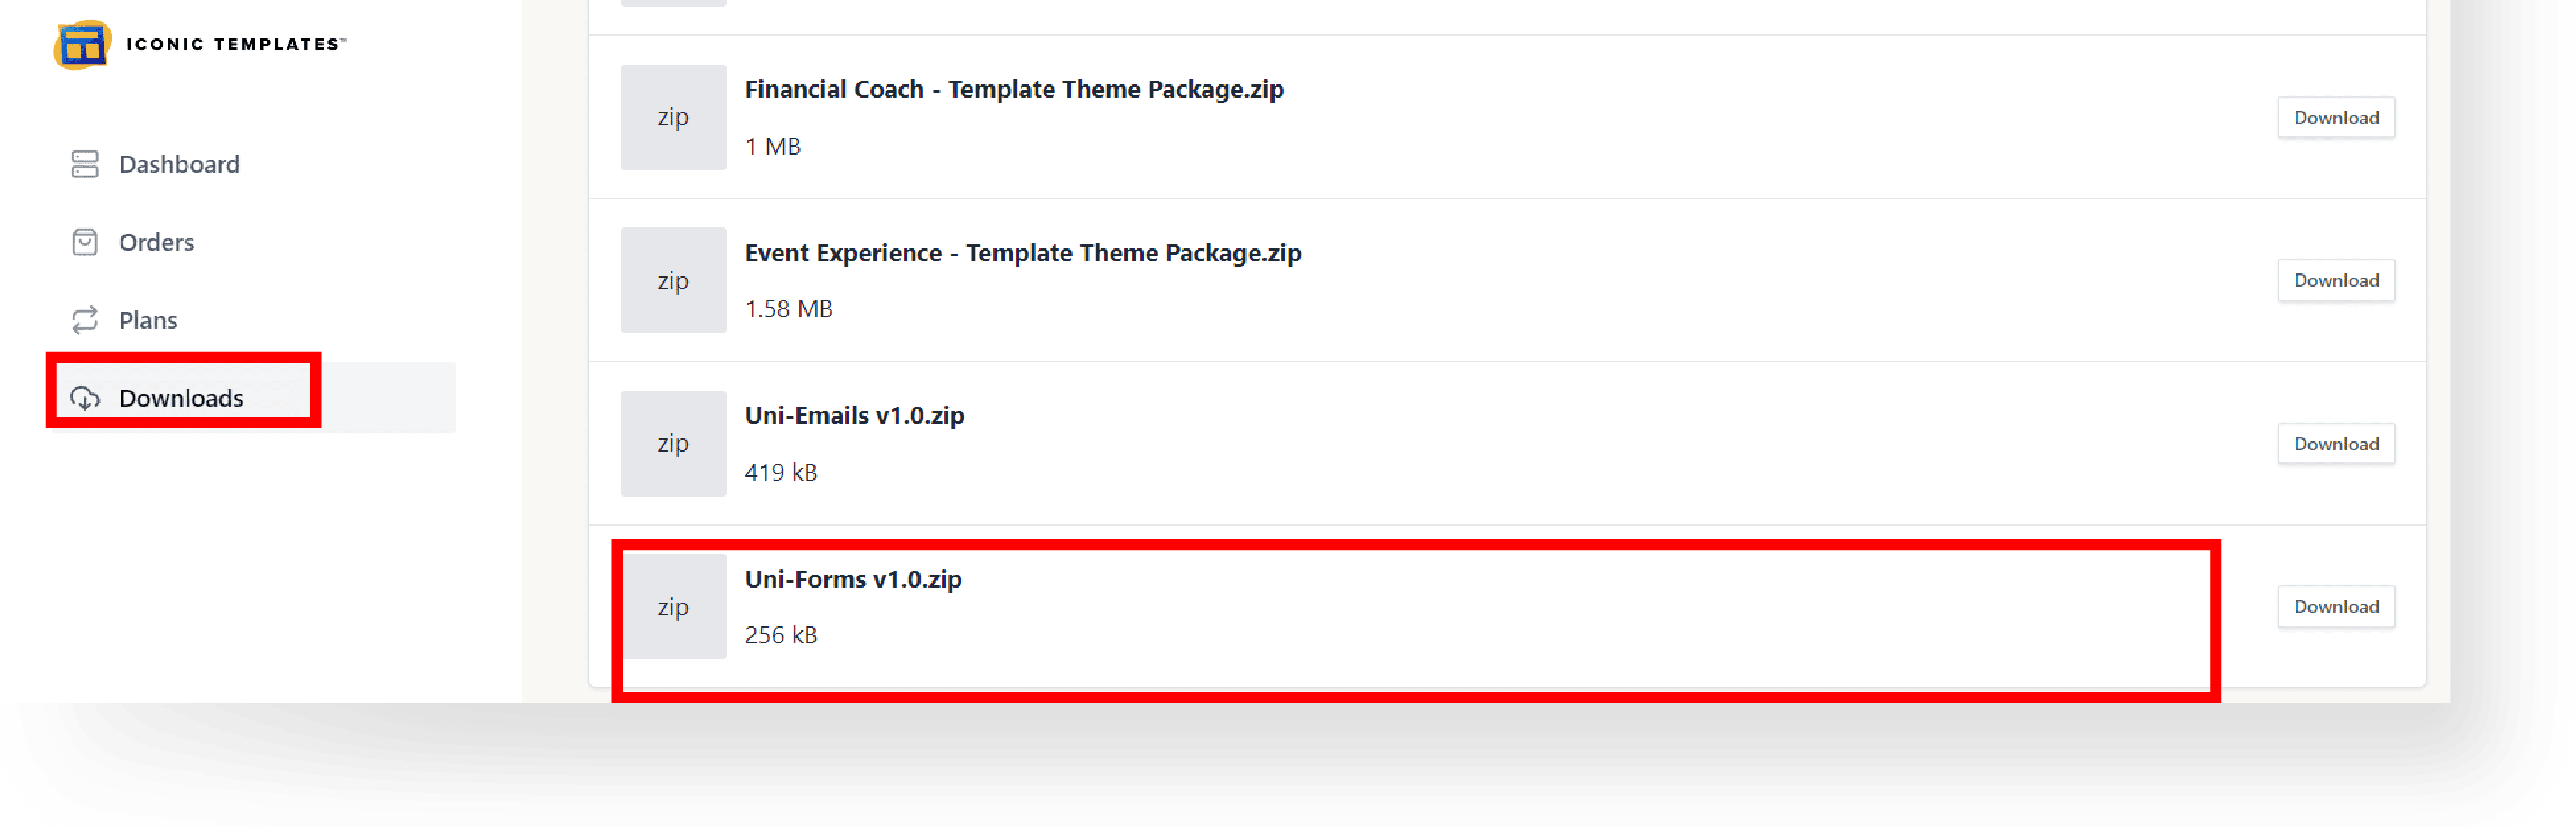
C. Go to Dashboard → Downloads → Uni-Forms/Plan to download the Uni-Forms zip file.
Step 3: Install Fluent Forms Plugin #
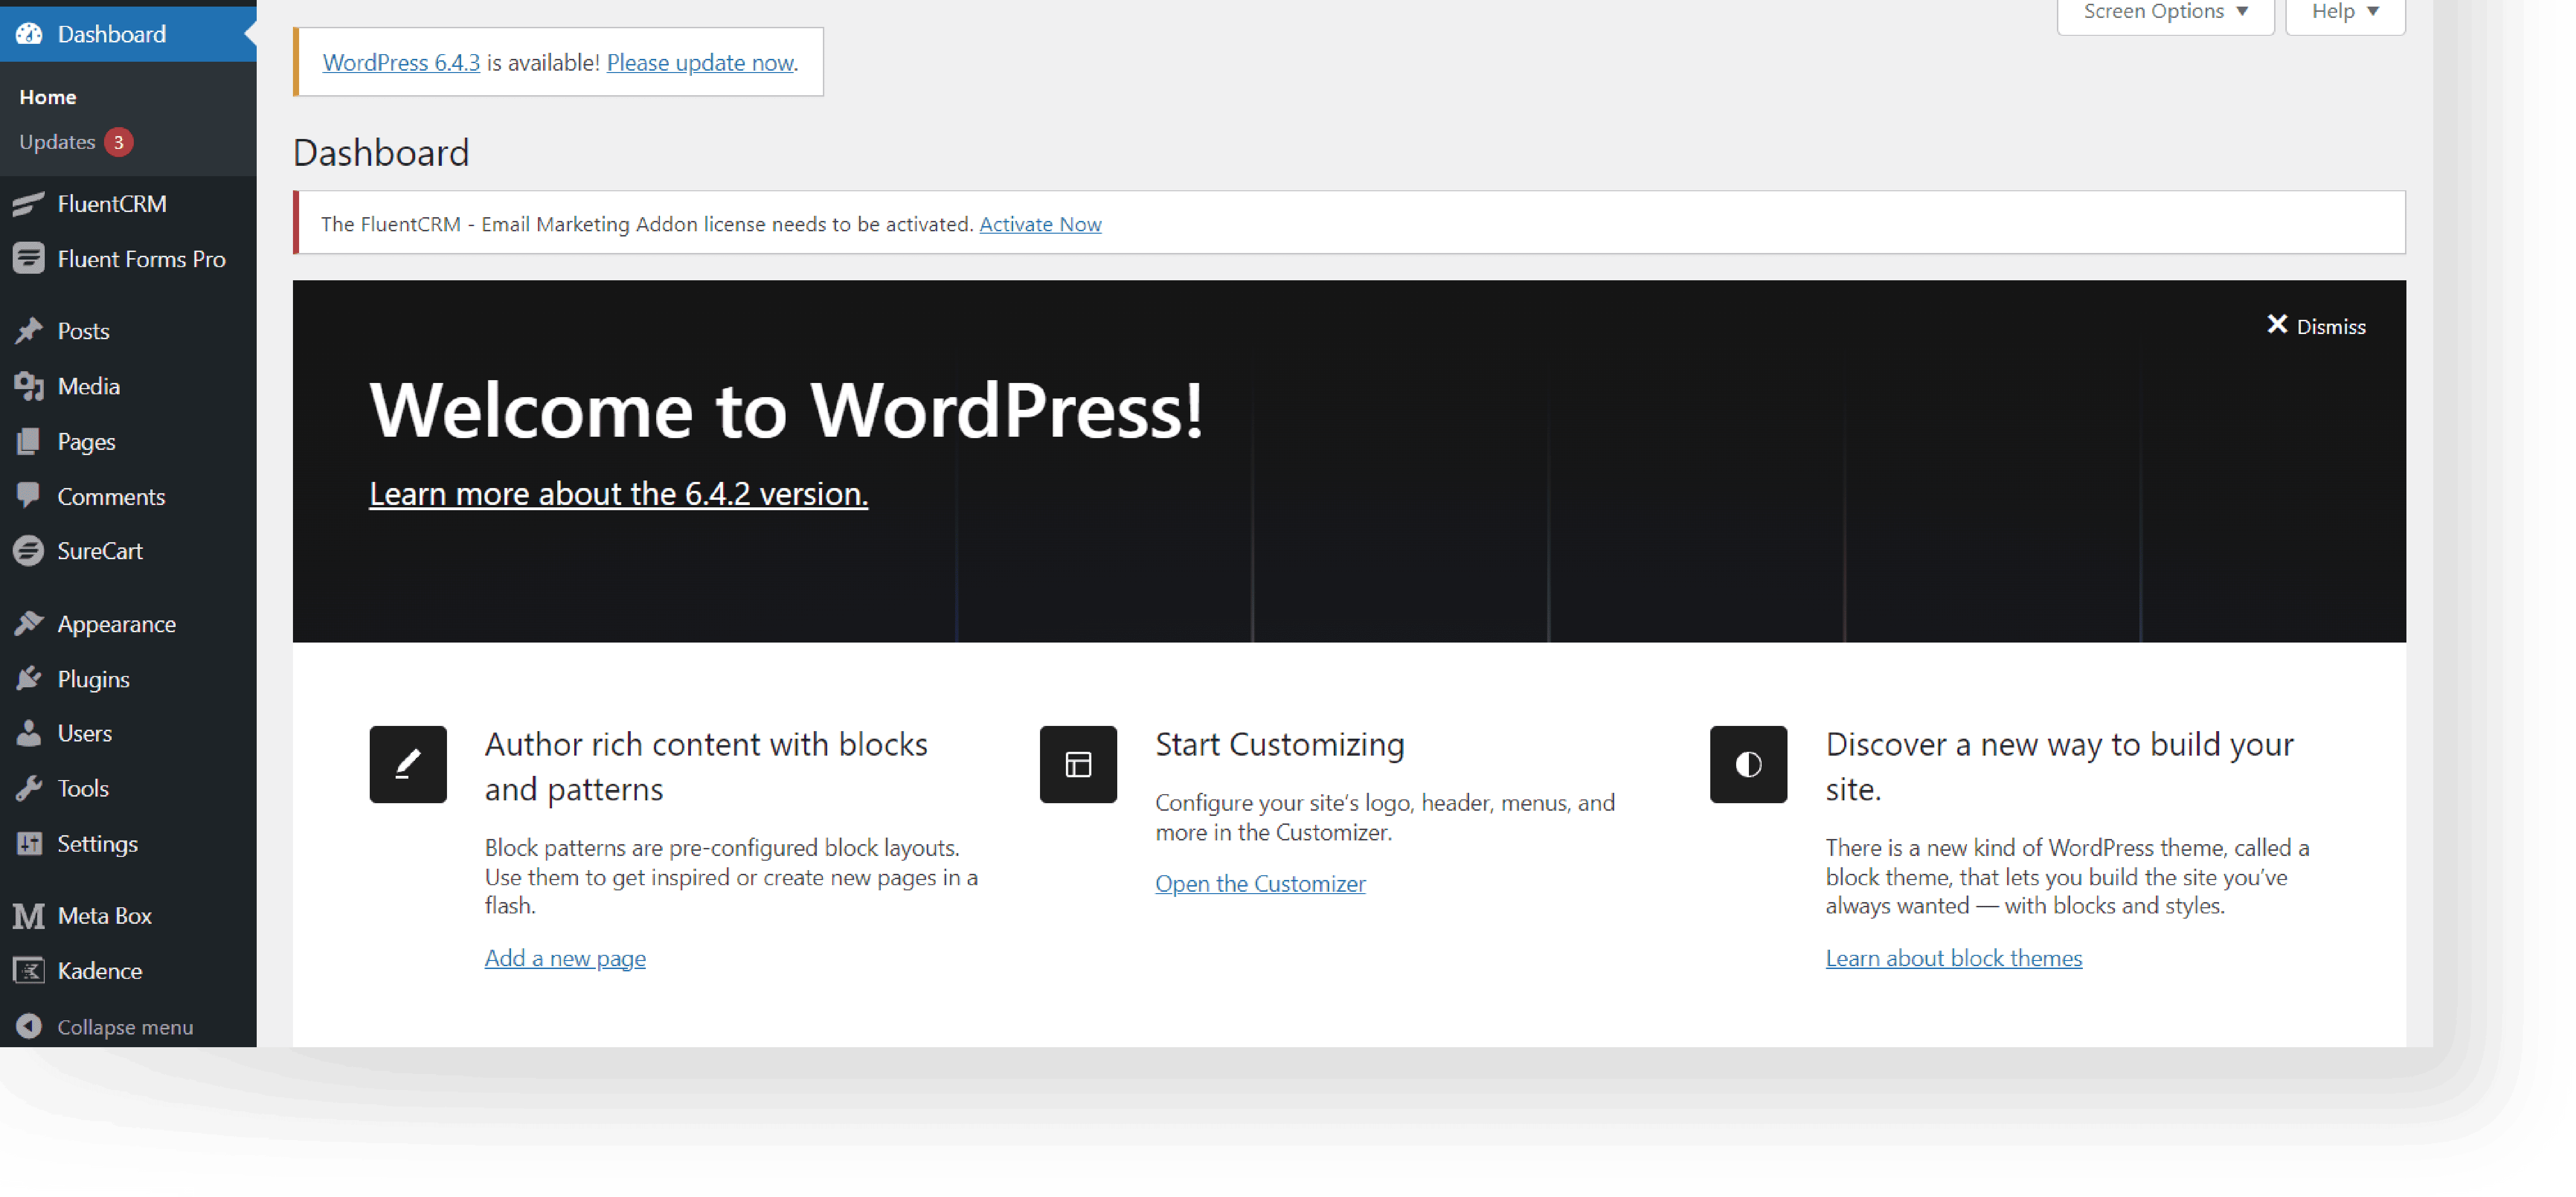
A. Log in to your WordPress Dashboard.
B. Go to Plugins → Add New.
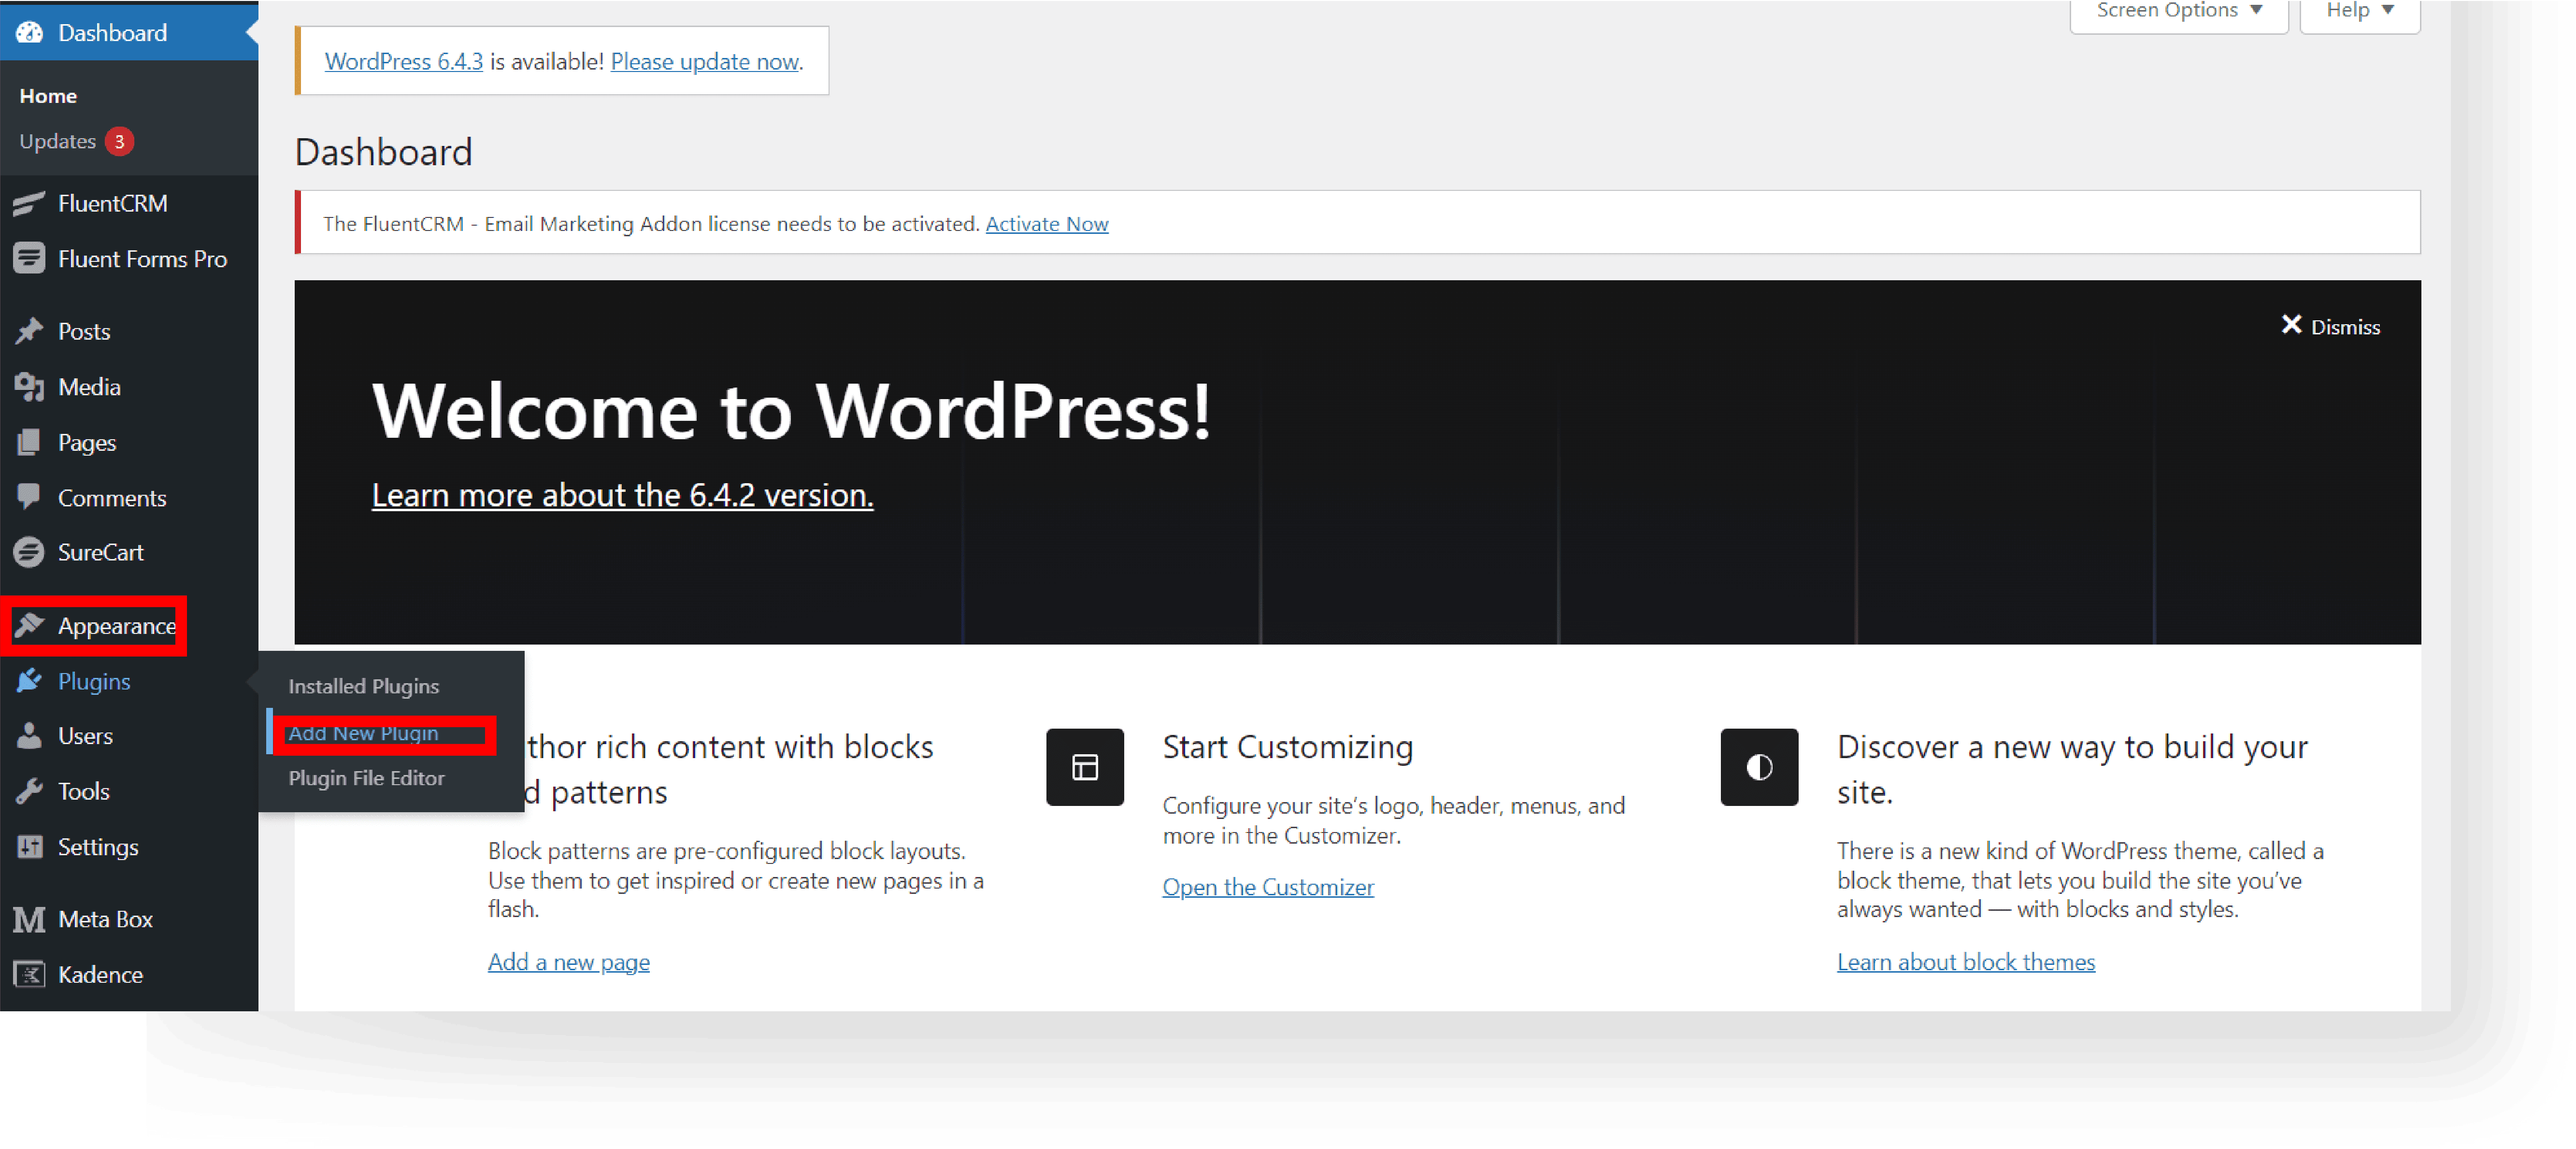
C. In the search bar, type “Fluent Forms“, install and activate the plugin.

Step 4: Import Uni-Forms Template into Fluent Forms #
A. Locate the Uni-Form zip file and extract.
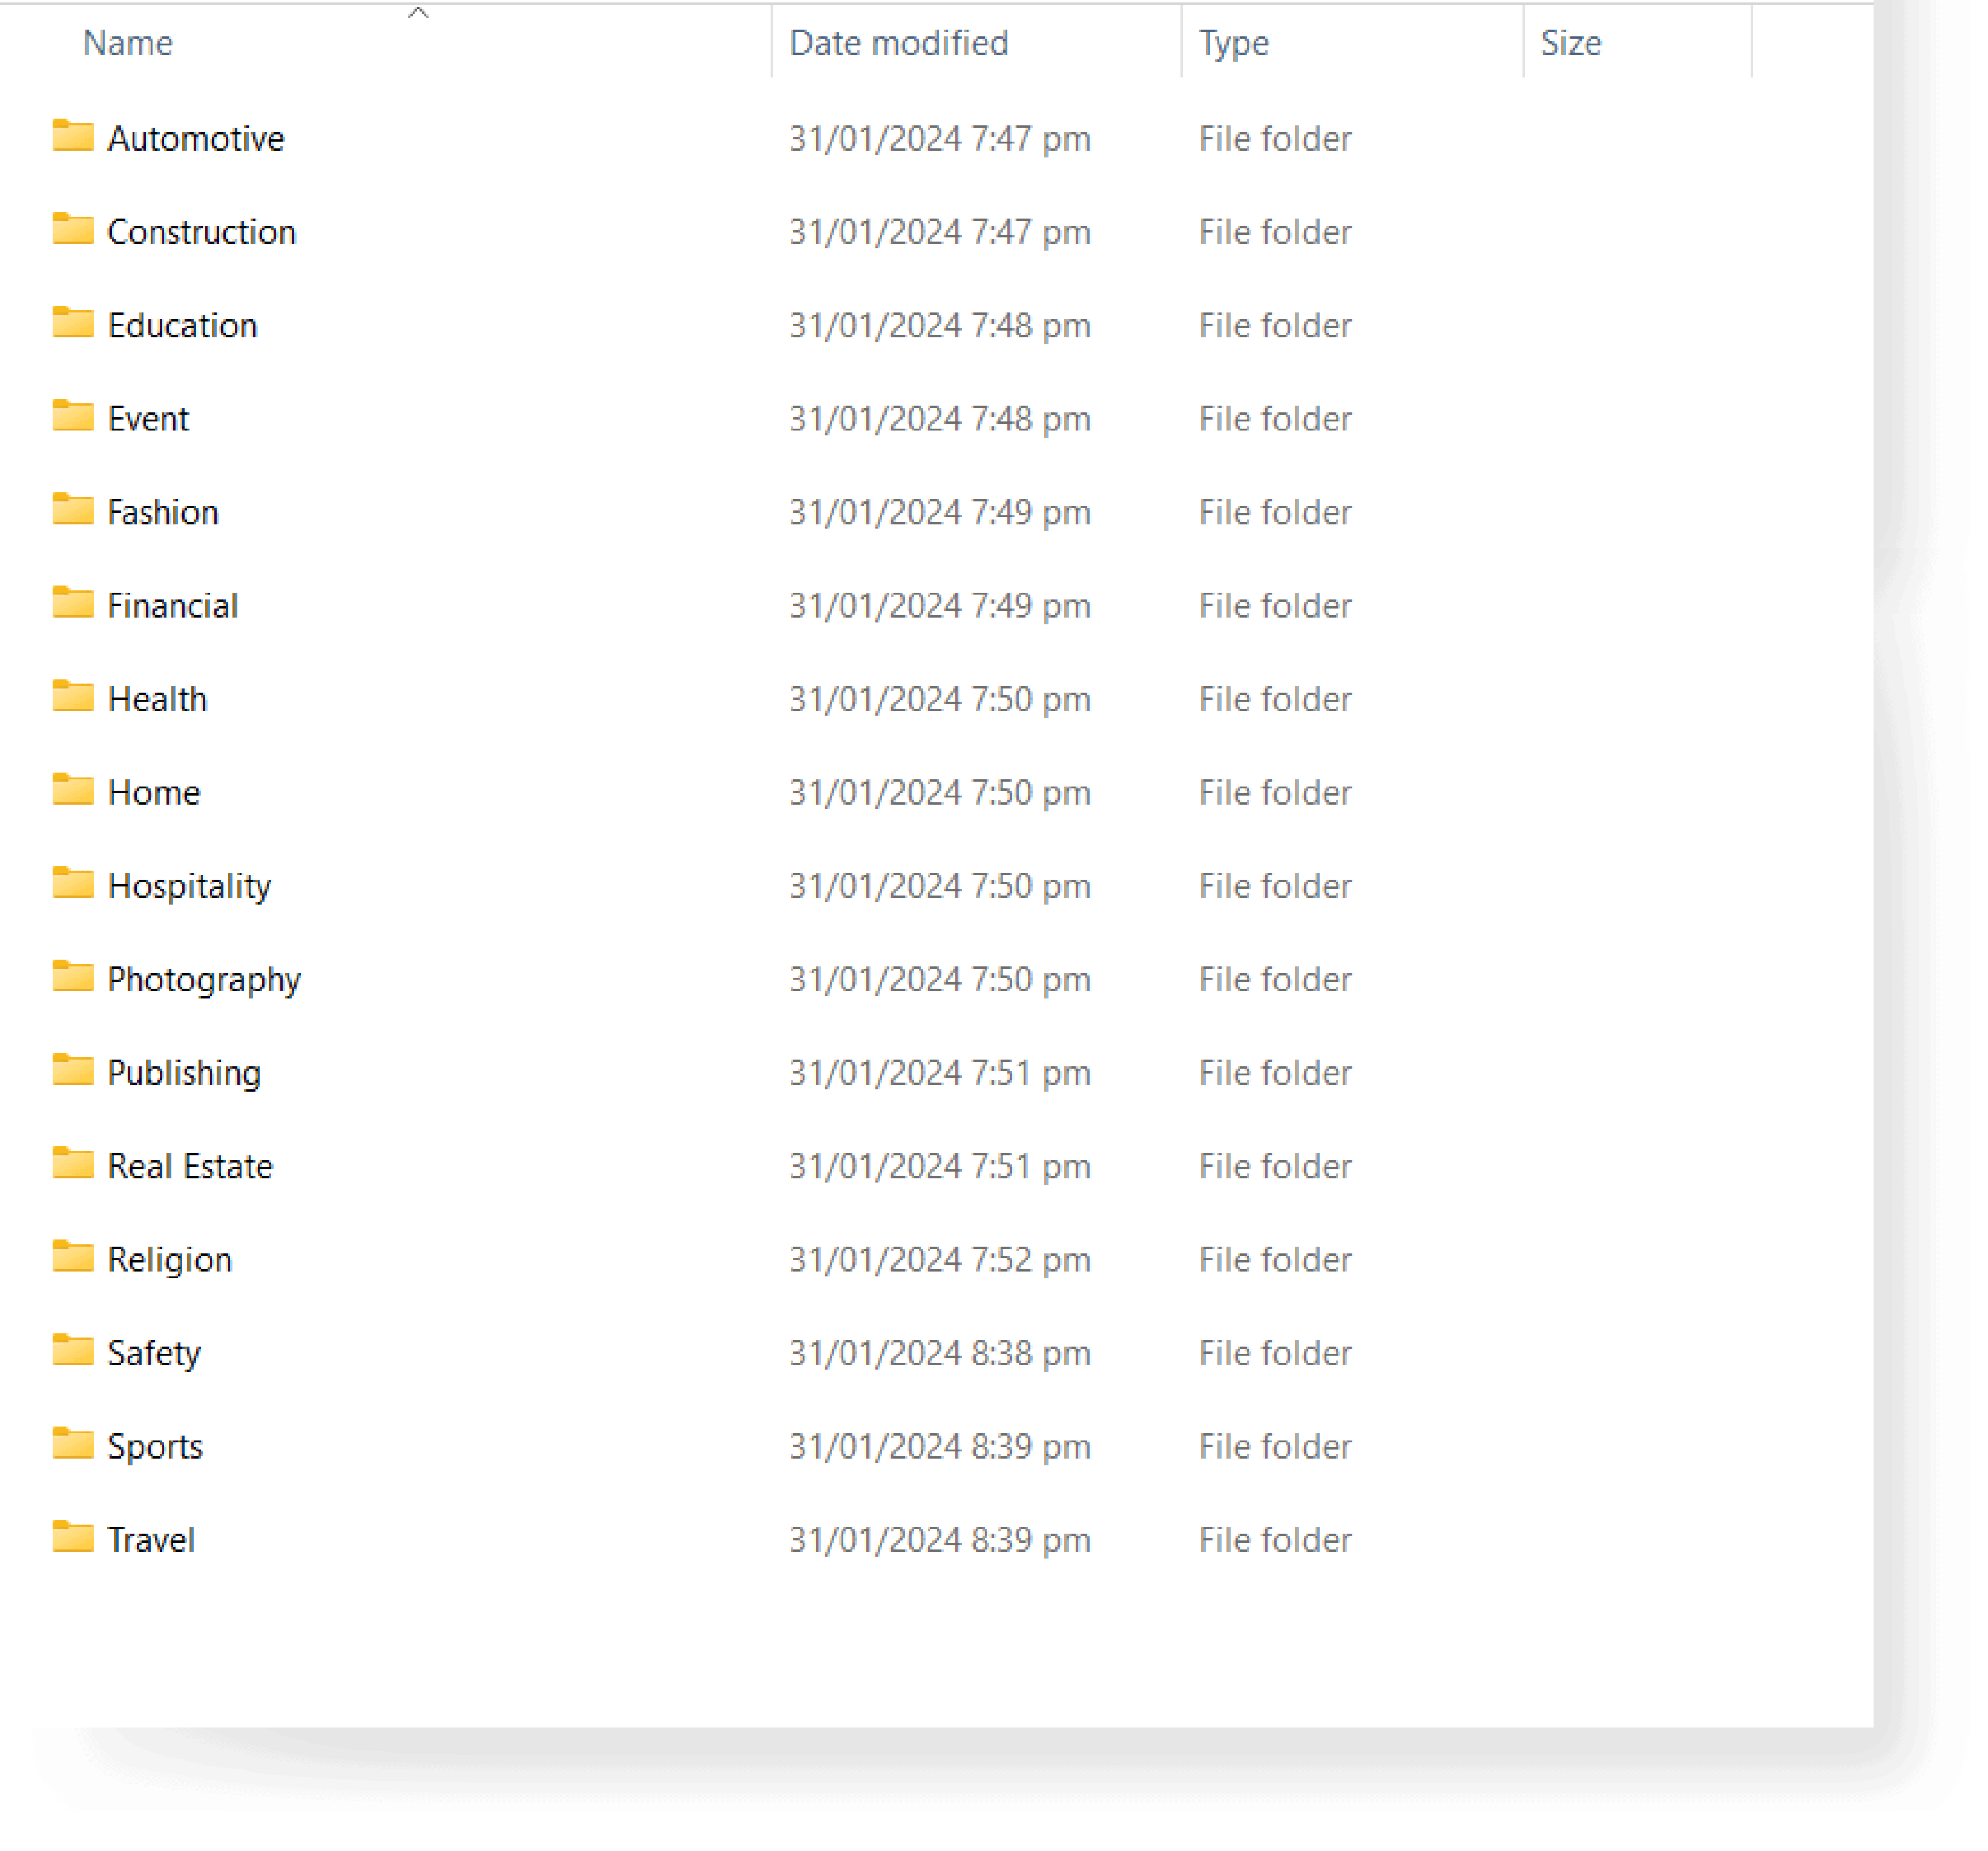
B. After extracting the zip file, go to your WordPress Dashboard.
C. Go to Fluent Forms → Add New Form → Import Form
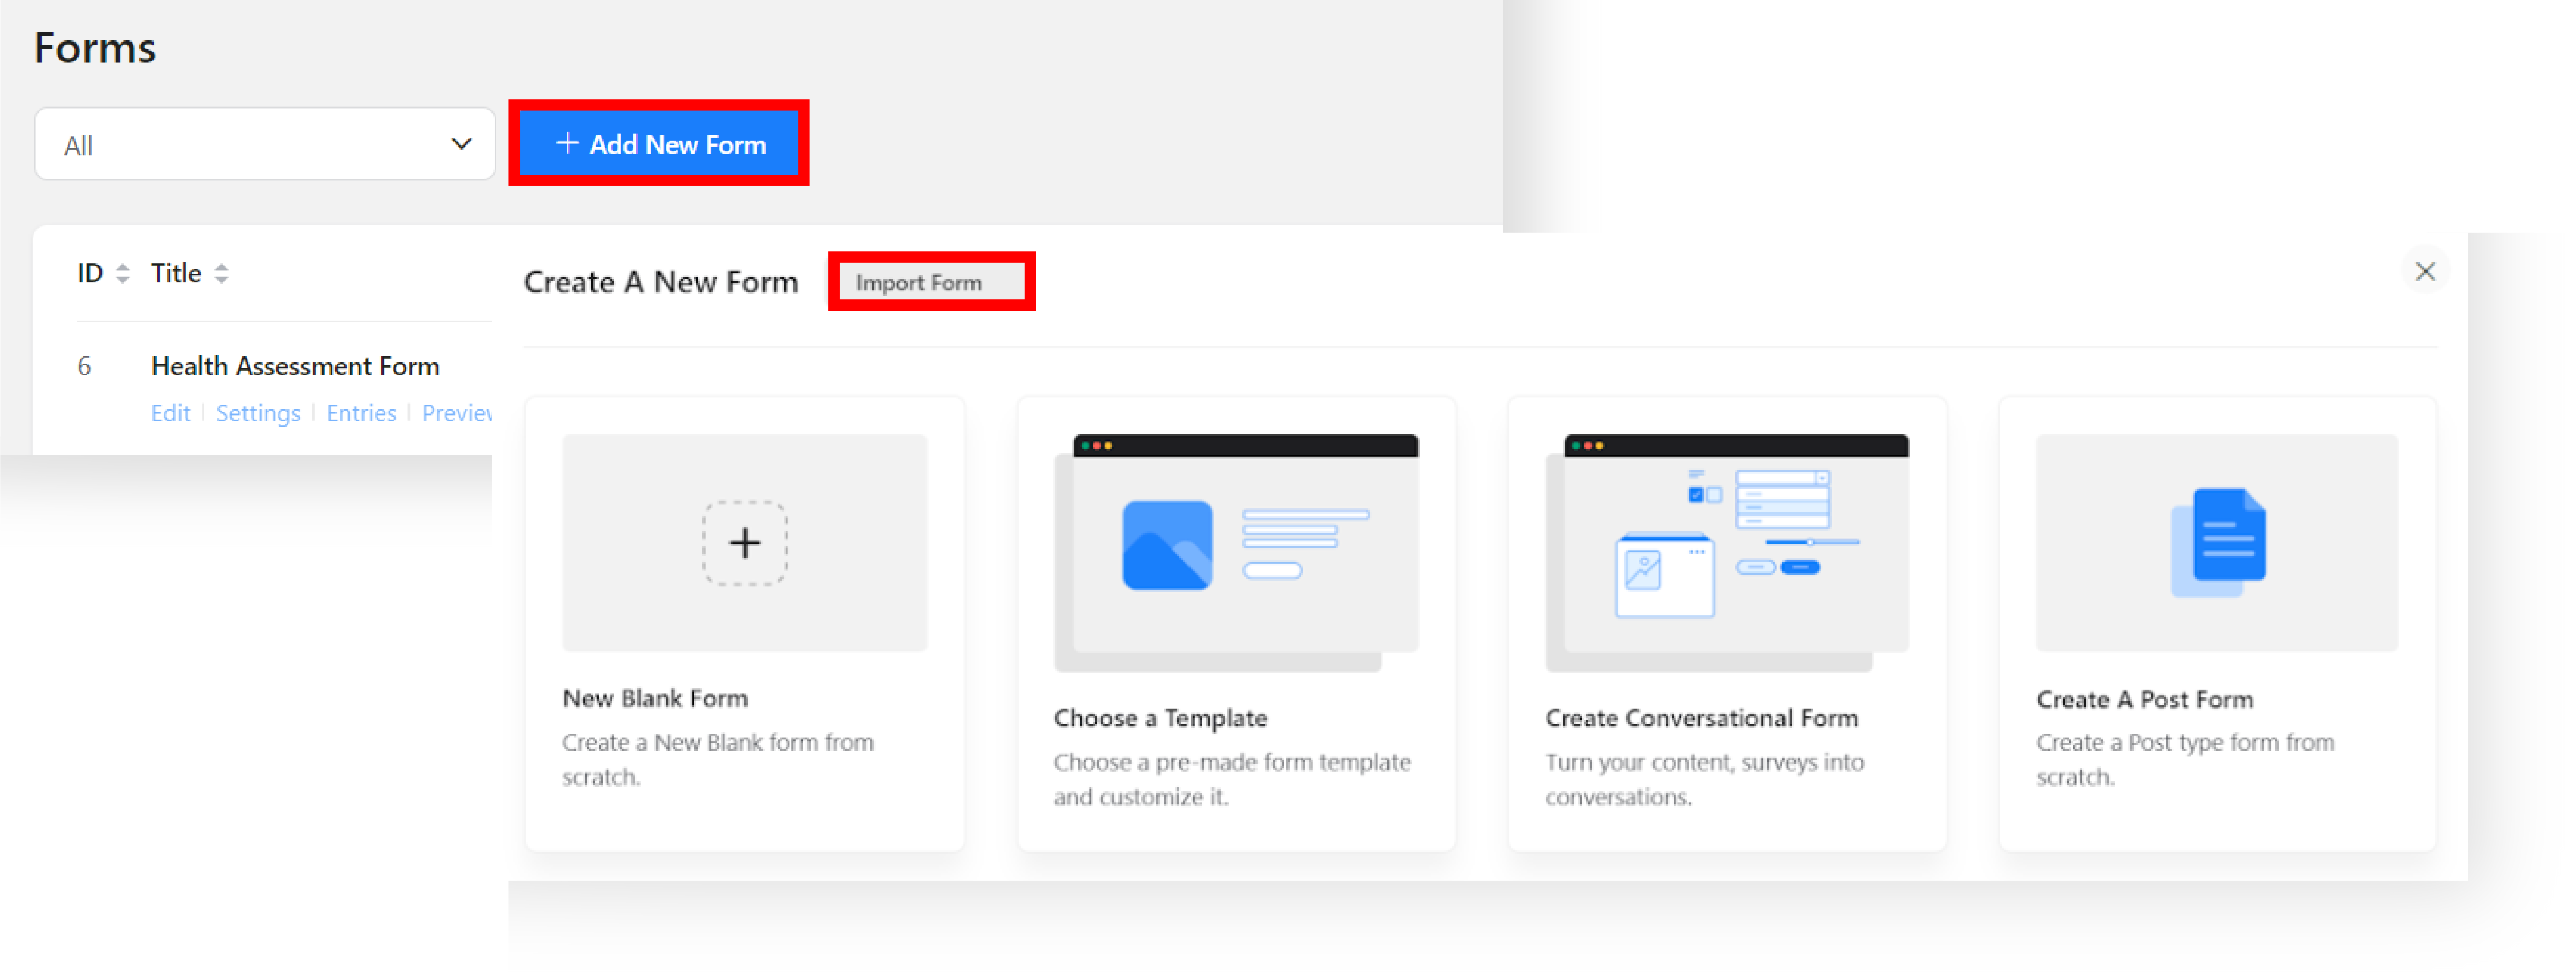
D. Import the JSON file you downloaded inside the Uni-Forms template.

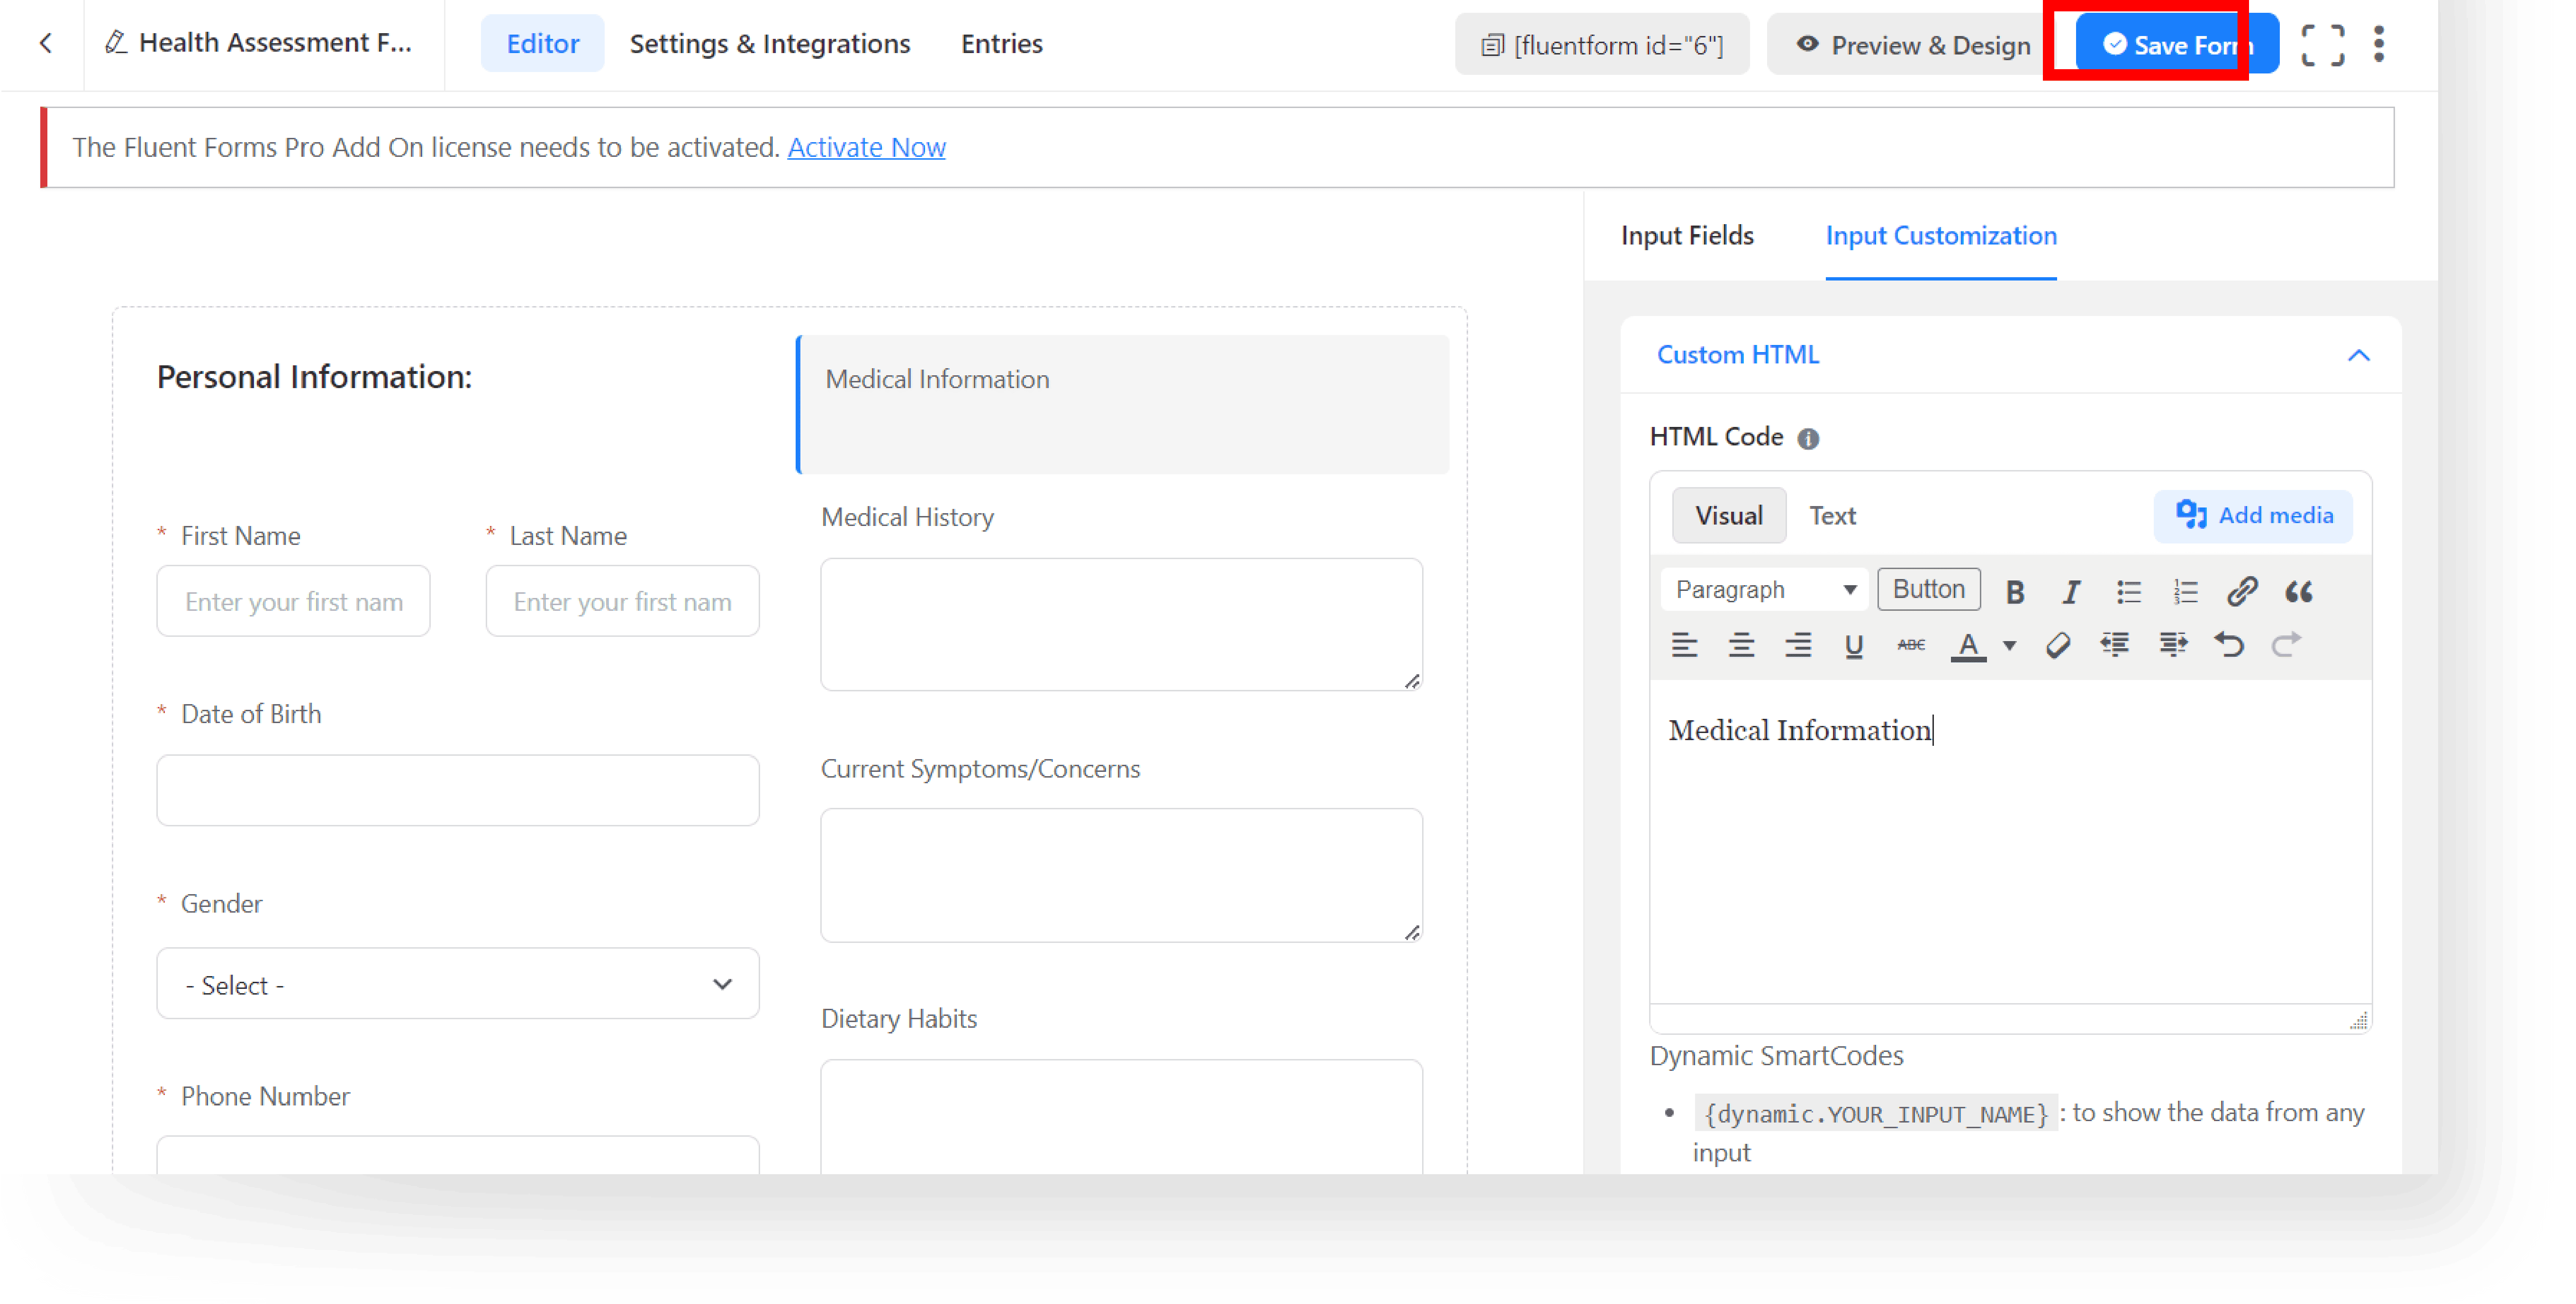
Step 5: Customize Your Uni-Forms Template #
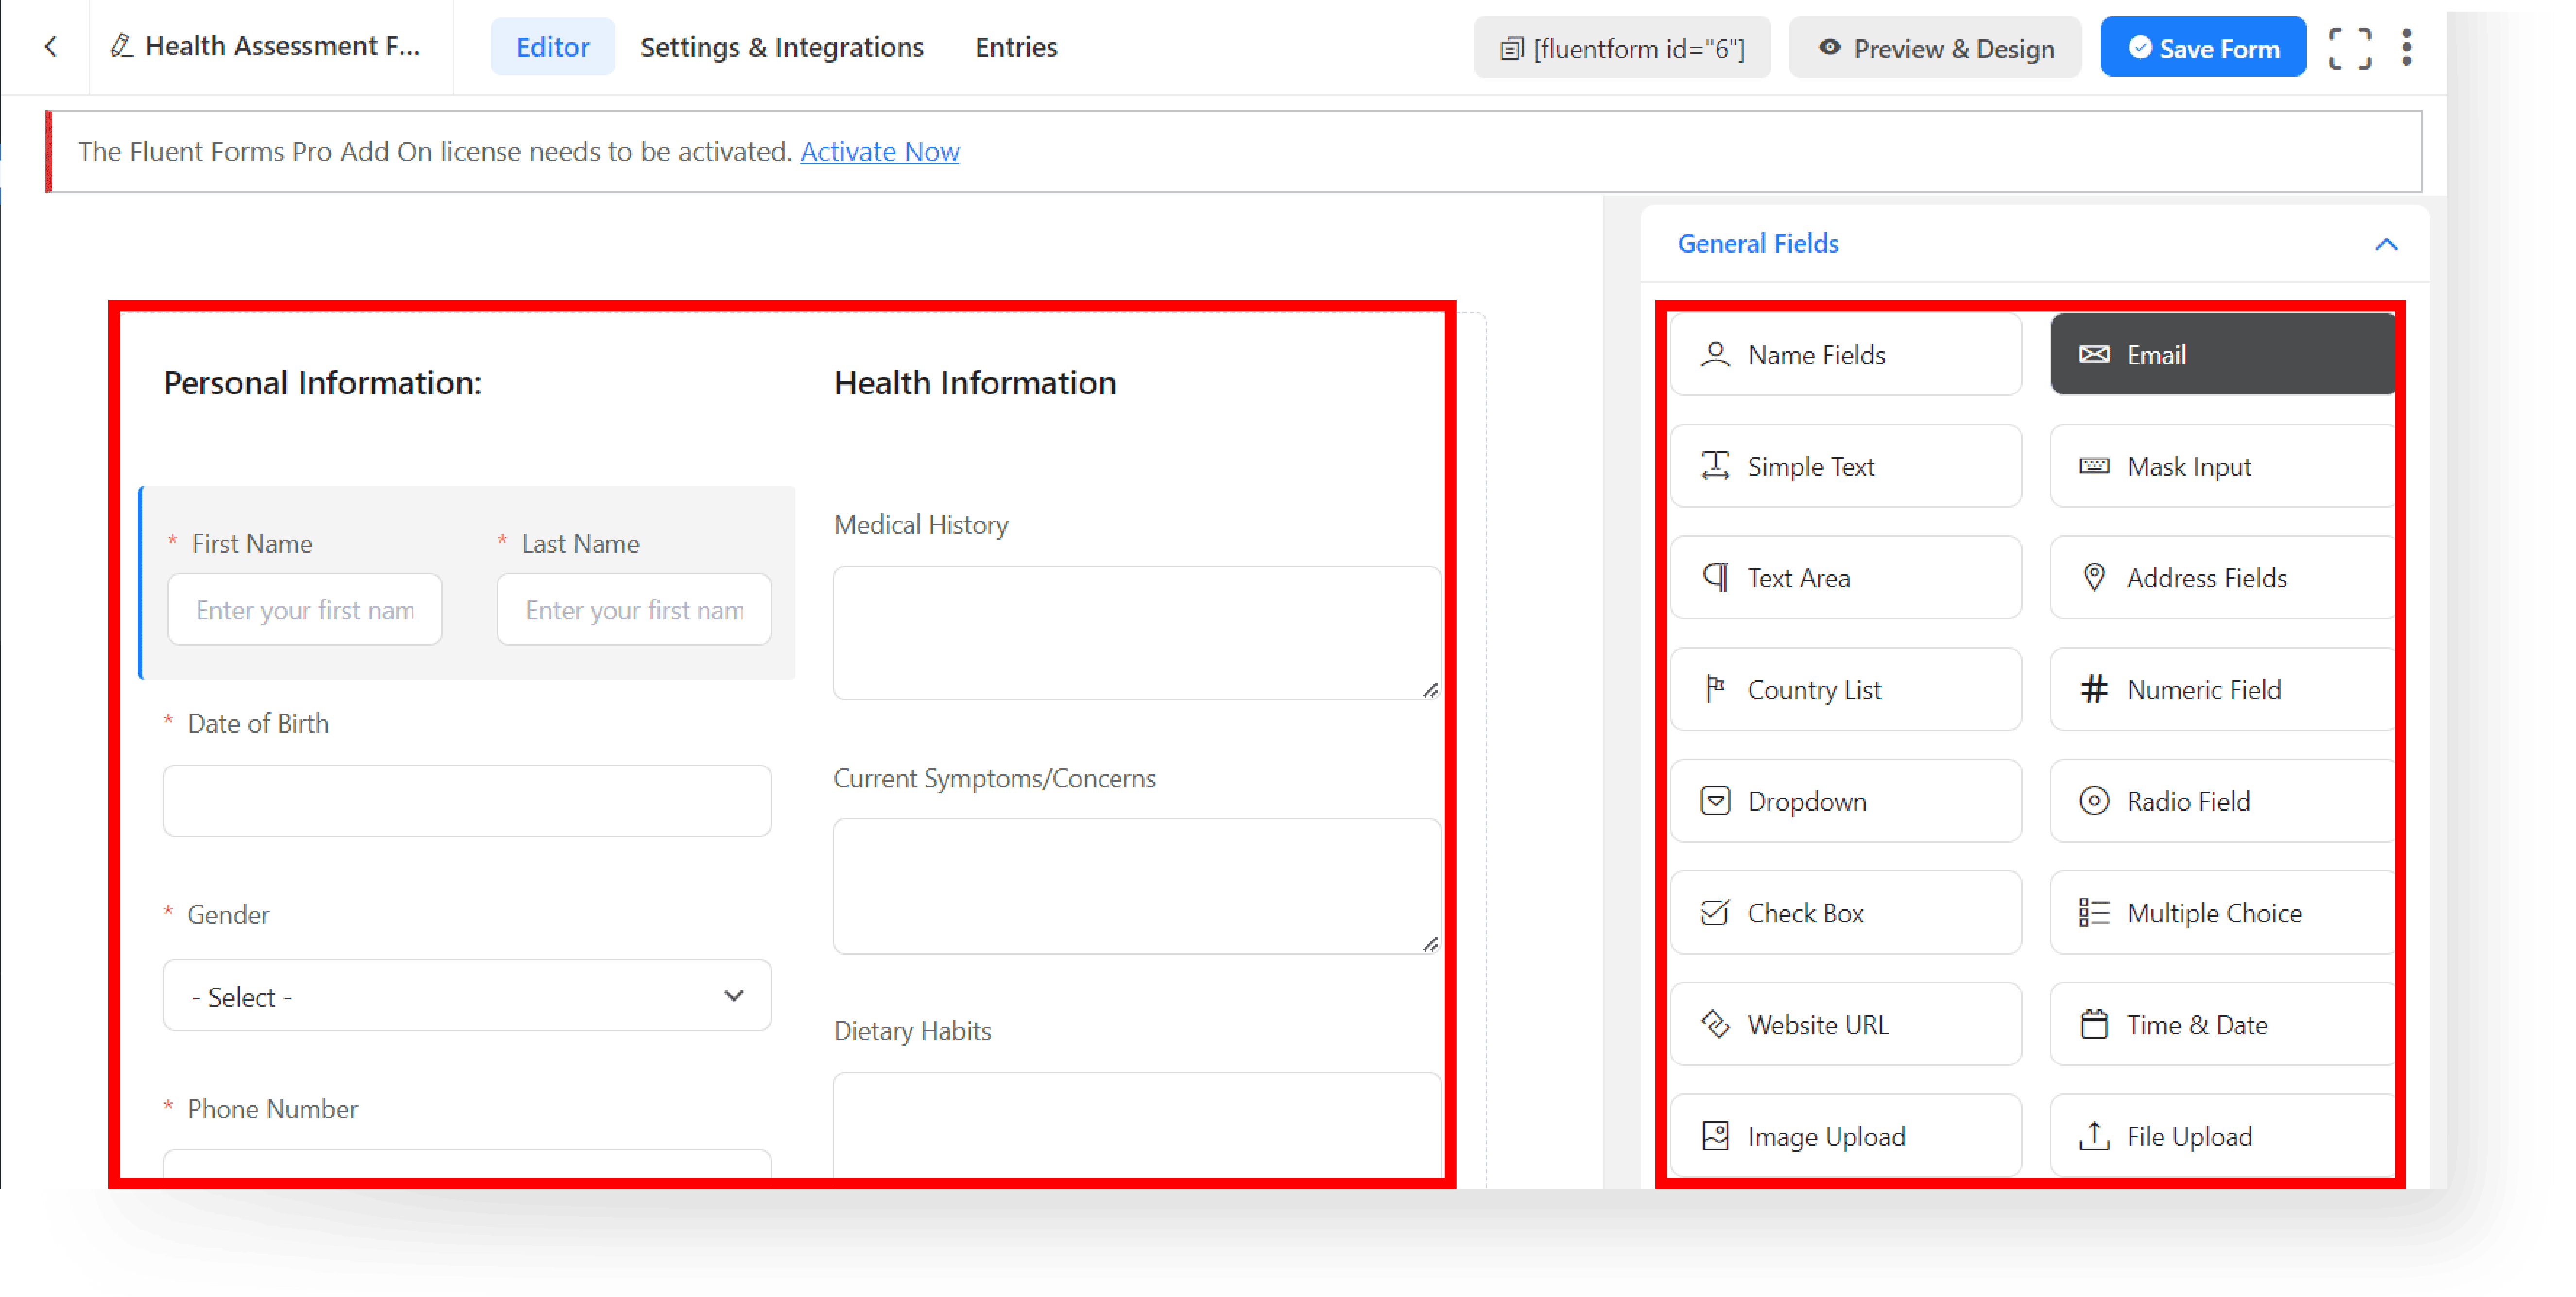
A. Once imported, click Edit to customize the templates using the Fluent Forms Editor.
B. Customize by adding content, changing colors, and adjusting layouts to your preference.
Step 6: Preview and Publish #
A. Click Preview to see how your forms looks.

B. Once satisfied, close the preview tab and click Save Form to make your form live.
C. Congratulations! You’ve finished the setup process and you’re good to go.
